Projets Raspberry Pi : Contrôleur de jeu Alpakka, enregistreur de blackout et compteur de lumière
Découvrez ces trois projets Raspberry Pi sympas !
Contrôleur Alpakka pour le Pico
Si vous avez toujours voulu une manette, vous pouvez bien sûr en acheter une.
Mais nous sommes des passionnés de Raspberry Pi !
Nous ferons des choses 100 fois plus difficiles parce qu'elles sont 100 fois plus amusantes !
Alors, laissez tomber votre commande de manette de jeu Logitech et optez pour une manette Alpakka d'Input Labs.
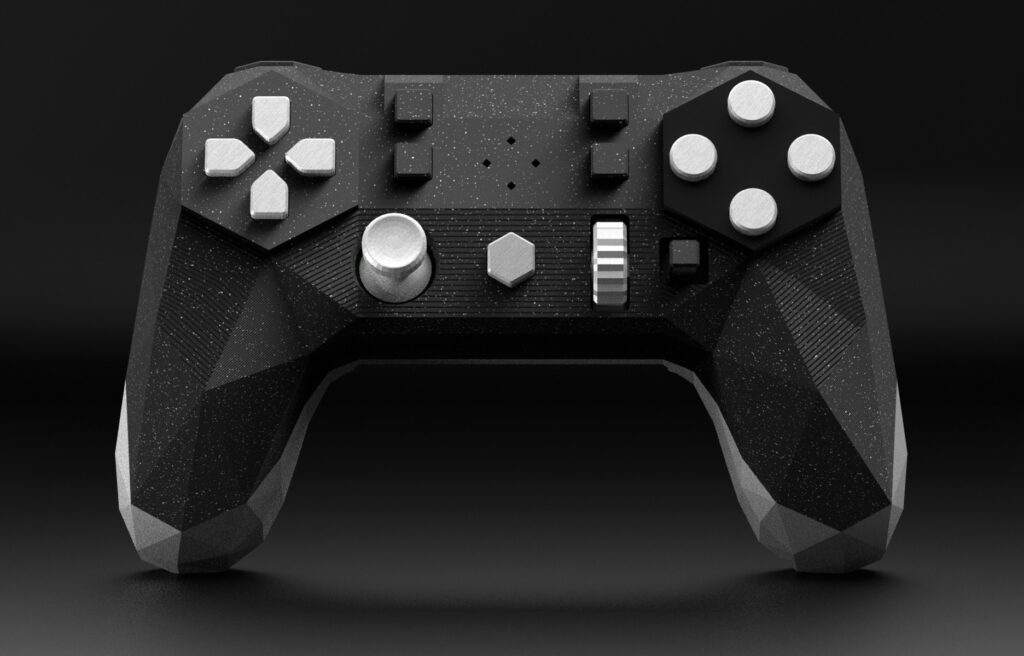
Alpakka vous offre en fait quelques avantages par rapport à un contrôleur standard.
L'Alpakka est doté de "commandes gyroscopiques avancées, de performances compétitives comparables à celles d'une souris et de la puissance d'une communauté open source offrant des options d'accessibilité et de personnalisation illimitées".
Le gyroscope intégré promet de vous rapprocher de l'efficacité d'une souris, à tel point que vous pourrez peut-être même jouer à des jeux de tir à la première personne. Dans la page FAQ, Input Labs indique qu'il suffit d'une minute d'apprentissage pour utiliser le gyroscope et obtenir de meilleurs résultats qu'avec une manette de jeu traditionnelle.
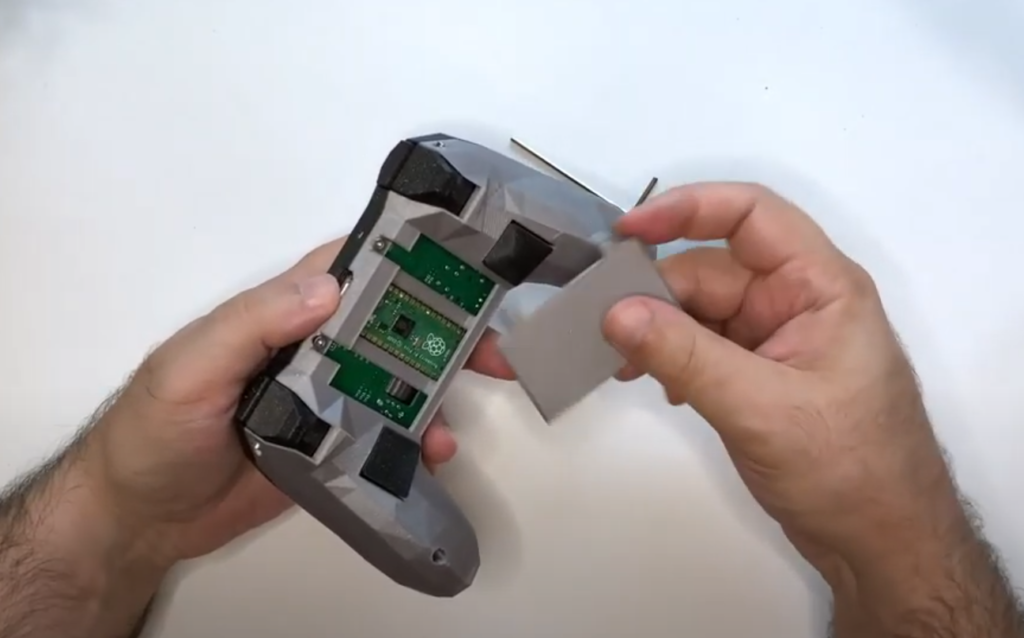
Input Labs a créé un guide très complet sur la façon dont vous pouvez construire votre propre contrôleur de jeu en achetant un circuit imprimé, en obtenant un boîtier imprimé en 3D et en assemblant toutes ces pièces avec un Raspberry Pi Pico au cœur.
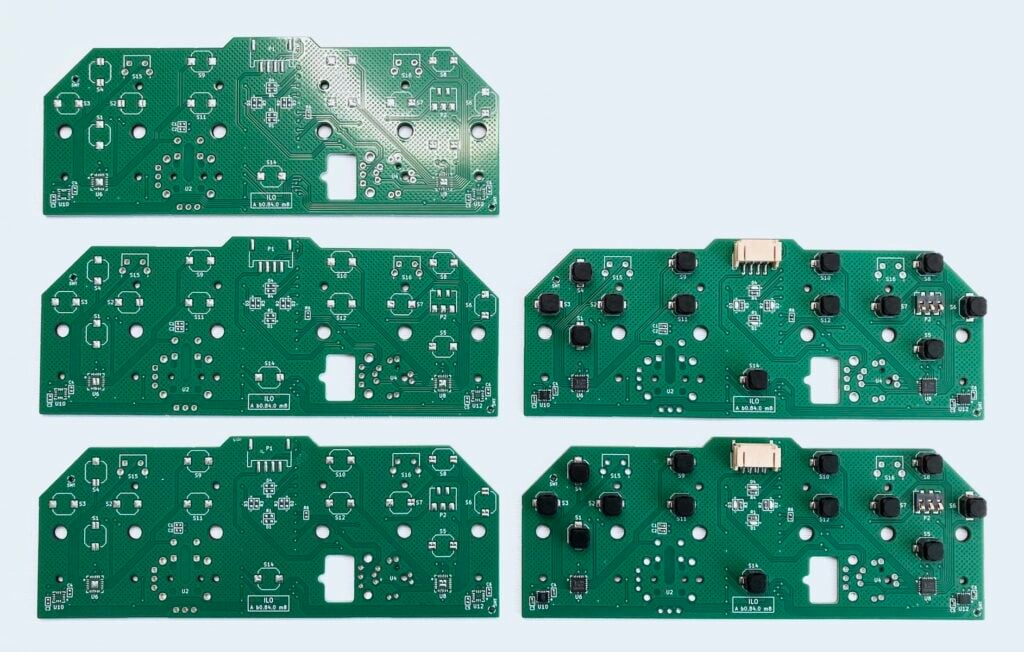
Input Labs a vraiment fait beaucoup d'efforts dans sa documentation. Vous pouvez regarder une vidéo YouTube de neuf minutes qui vous guide à travers les trois principaux processus : PCB + soudure, impression 3D et assemblage.
Vous pouvez également consulter leur documentation sur leur site web qui aborde les détails de la création du contrôleur Alpakka.
Traceurs de pannes d'électricité
Je n'ai jamais vécu dans un endroit où il y a régulièrement des pannes d'électricité. La pire que j'ai connue a été la tempête de verglas de 2013, qui a entraîné la fermeture de nombreuses villes autour du lac Ontario.
Mais il y a des endroits dans le monde où les coupures d'électricité sont régulières. L'Inde, le Myanmar, l'Afrique du Sud et l'Ukraine, en raison de la guerre.
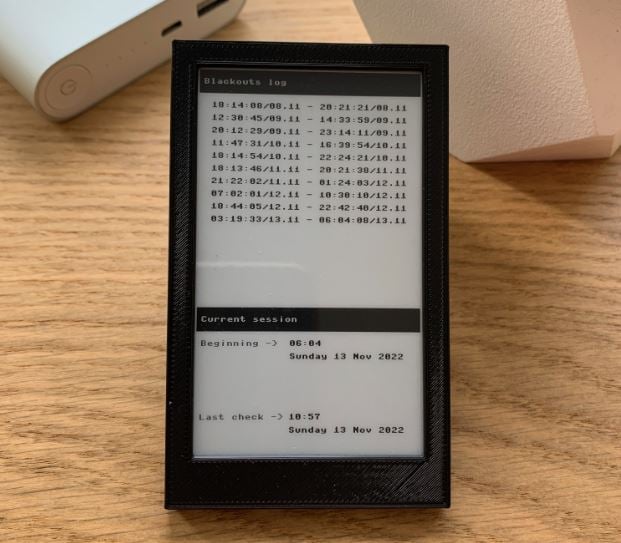
Dmytro Panin vit à Kiev et a donc créé un Blackout Logger.
Selon lui, le gouvernement ukrainien a mis en place des coupures d'électricité pour stabiliser le réseau il y a environ un mois. Il a également déclaré,
"Lorsque je rentre chez moi ou que je me réveille et qu'il n'y a pas d'électricité, je ne sais pas pendant combien de temps il n'y en a pas eu, et il est donc difficile de prévoir quand il y en aura. Inversement, lorsqu'il y a de l'électricité, je ne sais pas quand il y aura une coupure de courant si je ne suis pas l'heure. Pour pouvoir faire des plans à court terme, j'ai conçu ce dispositif. Il permet de savoir quand la coupure a commencé, quand elle s'est terminée et d'enregistrer les coupures précédentes.
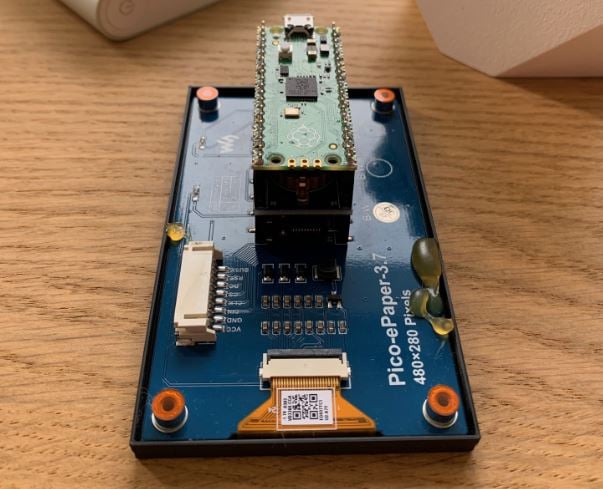
Le projet ne nécessite que trois éléments
- Raspberry Pi Pico
- Module RTC de précision (DS3231)
- Waveshare eink 3.7
Photon, le posemètre Raspberry Pi Pico
Les posemètres sont des outils standard dans le bon vieux temps de la photographie analogique, mais pas de nos jours.
Si vous avez des appareils photo qui n'ont pas de posemètre, ou si les posemètres sont en panne, il est peut-être temps de se mettre à l'ouvrage et d'en construire un !
VEEB Projects en a créé un à partir de sept pièces, dont un Raspberry Pi Pico, un écran OLED et le capteur de lumière BH1745 de Pimoroni.
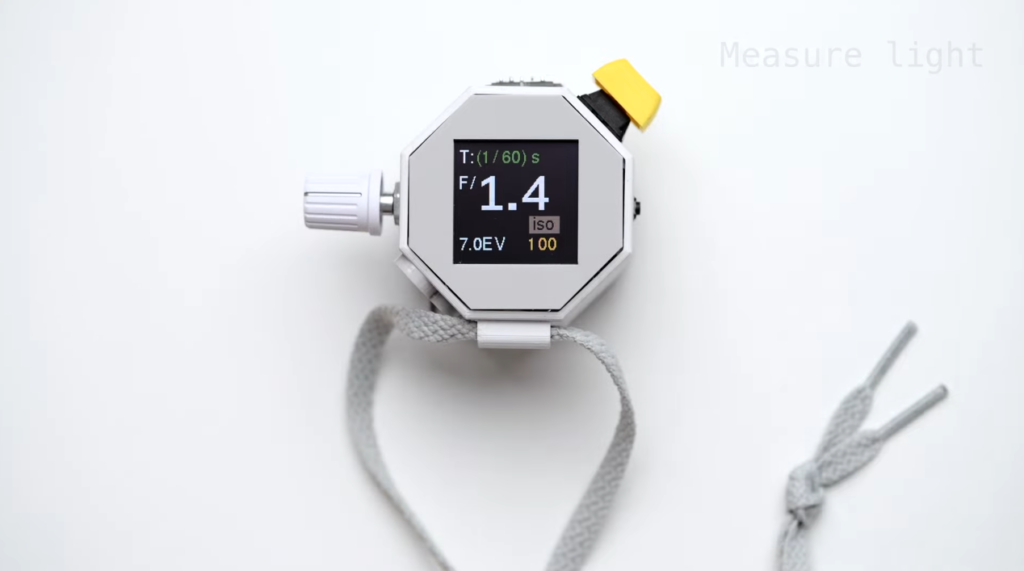
Ce projet est parfait si vous ne voulez pas dépenser des centaines d'euros pour acheter un posemètre commercial.
Lien vers Vidéo d'introduction sur YouTube
Voici donc nos trois projets Raspberry Pi de la semaine.
Envie de voir d'autres projets géniaux ?
Vous pouvez consulter notre série de projets Paragon en cliquant sur ici.
Et, comme toujours, si vous avez des questions ou si vous souhaitez suggérer un projet pour cette série, commentez ci-dessous !