Settings App

Using our Settings App, you can configure your Raspberry Pi.
The Settings App allows you to change the configuration through 9 separate modules:
- Boot
- Daemons
- Devices
- Fan
- AP Credentials
- Filesystem
- Locale
- Network
- X11
Here, we will go through all 9 of these modules and what they do.

Please note that your Raspberry Pi must be turned on and connected to the web interface for the Settings App to work.
Boot
The Boot module allows you to configure the boot splash as well as the boot order.
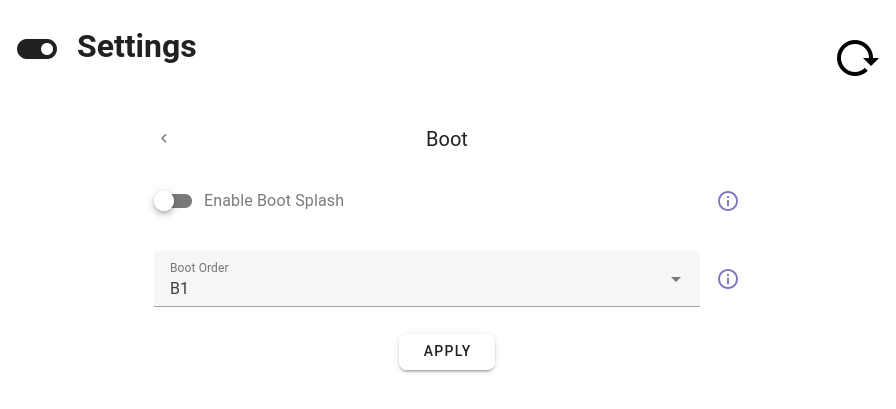
You can enable Boot Splash, which will give you a splash screen when your Raspberry Pi boots.
You can also determine the Boot Order, or which order you would like your Raspberry Pi to check different storage devices.
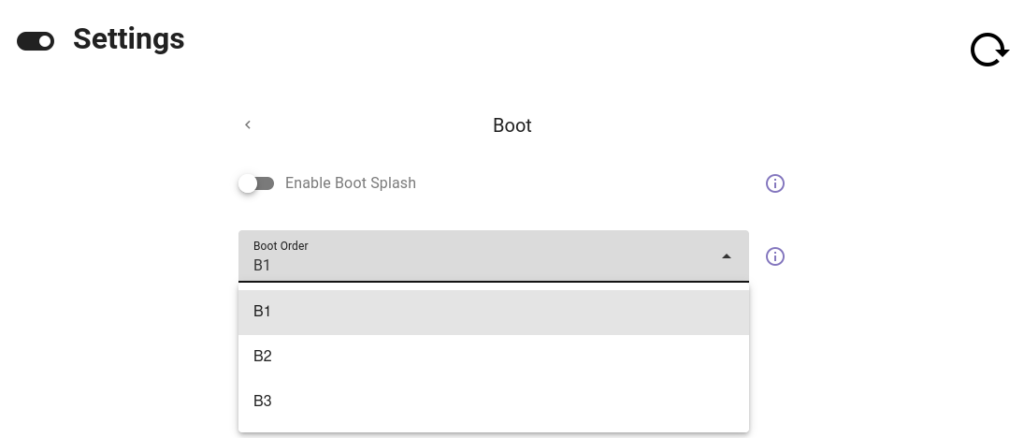
B1 refers to the SD card.
B2 refers to a USB device.
B3 refers to Network Boot.
Daemons
The Daemons module gives you control over remote control. You can enable SSH, enable remote access to your GPIO pins, and enable VNC.
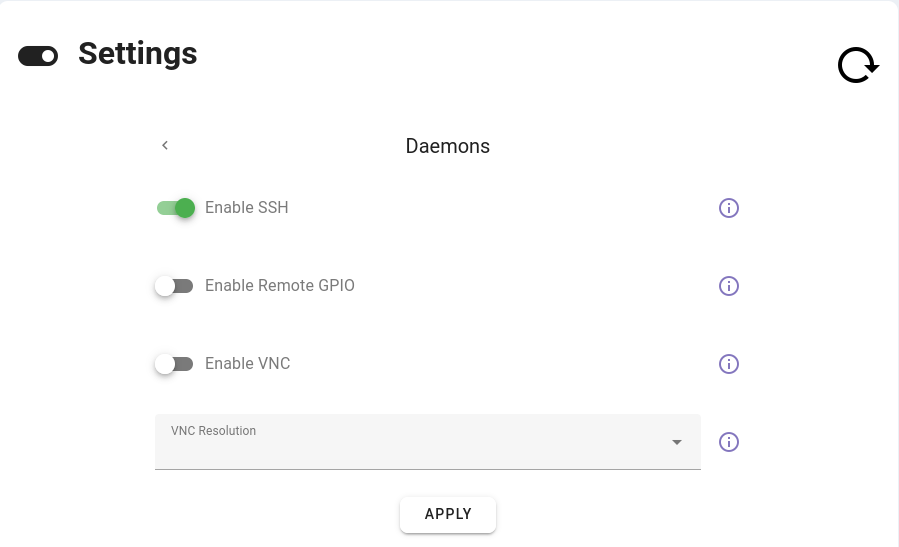
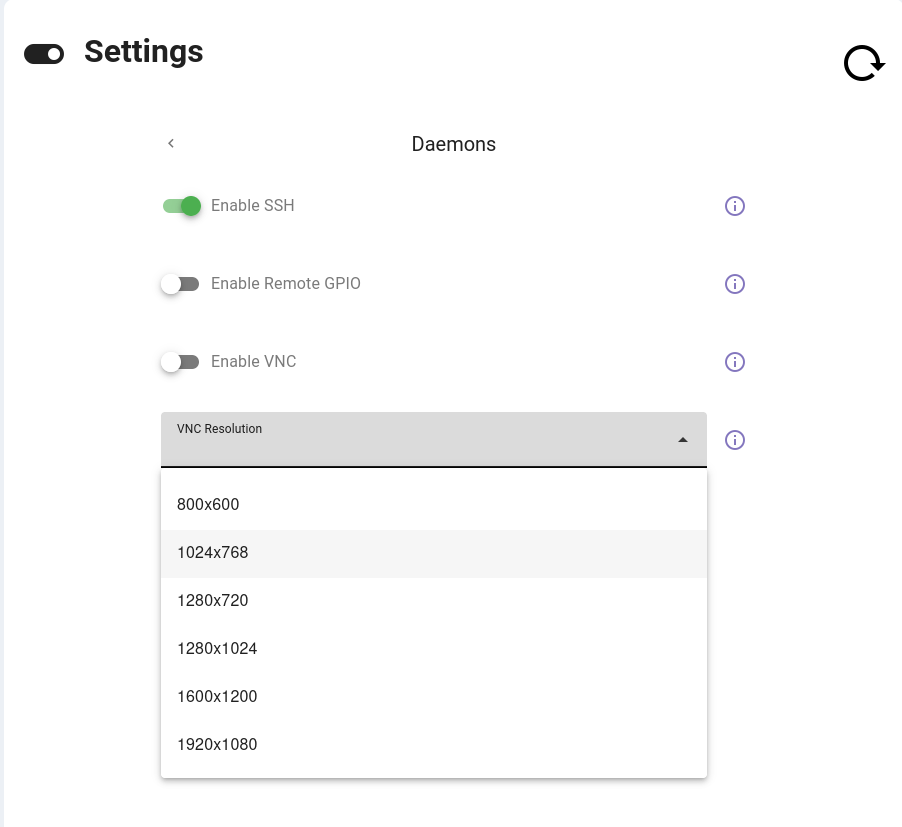
Furthermore, you can determine what kind of VNC resolution you would like.
The Daemons module offers a range from 640×480 to 1920×1080.
Devices
The Devices module allows you to do a number of related tasks related to various hardware-related settings:
- Enable Camera
- Enable Composite Output
- Enable Display Overscan
- Enable I2C
- Enable 1-Wire
- Enable SPI
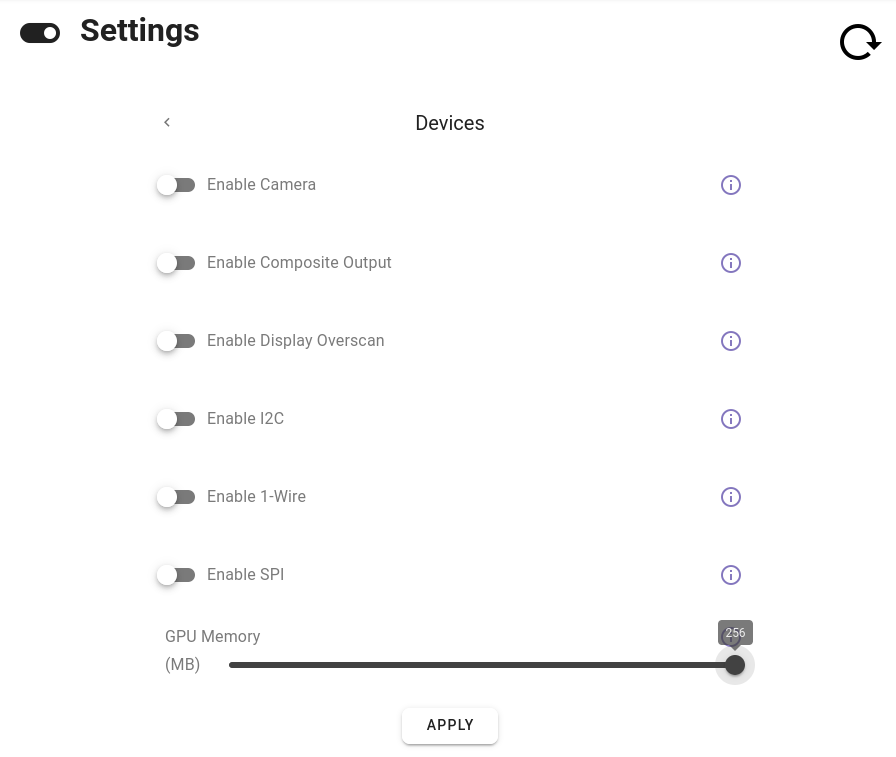
- Change the amount of shared memory allocated to the GPU
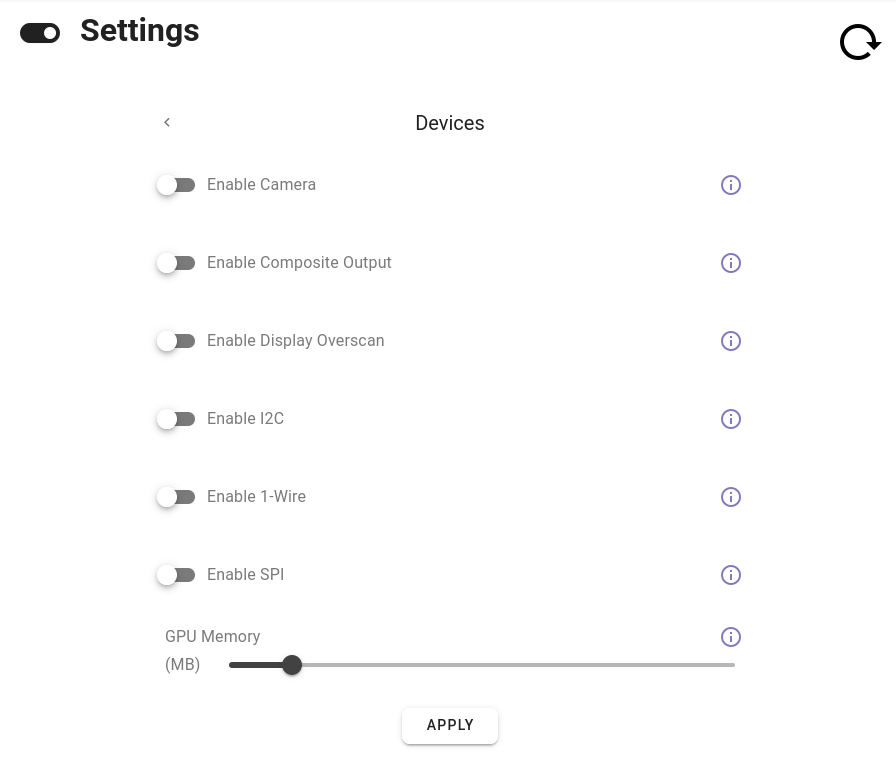
Let’s go through these one-by-one.
Enable Camera: If you have a compatible camera connected to your Raspberry Pi, then you can enable your camera interface. This makes it possible to capture images or video.
Enable Composite Output: Composite video output combines all video information into a single signal. If you connect your Raspberry Pi to a monitor that supports composite input, this can be useful.
Enable Display Overscan: Some monitors cut off the edges of the display. Display overscan adjusts the display area to ensure the entire image is visible.
Enable I2C: By enabling I2C, your Raspberry Pi can communicate with I2C-compatible devices, such as sensors and displays. We have an article explaining the I2C interface here.
Enable 1-Wire: 1-Wire is a communication protocol that allows devices to communicate over a single wire. If you enable 1-Wire, your Raspberry Pi will be able to communicate with sensors or memory devices that are connected to the 1-Wire bus.
Enable SPI: By enabling SPI, your Raspberry Pi can communicate with SPI-compatible devices, such as sensors and displays. We have an article explaining the SPI interface here.
GPU Memory: This module allows you determine how much shared memory (in MB) you want your Raspberry Pi to allocate to the GPU. The range is between 50 MB and 256 MB.
Fan
The Fan module allows you to enable the fan, set the GPIO Pin to which it is connected, and determine the threshold at which it will run.
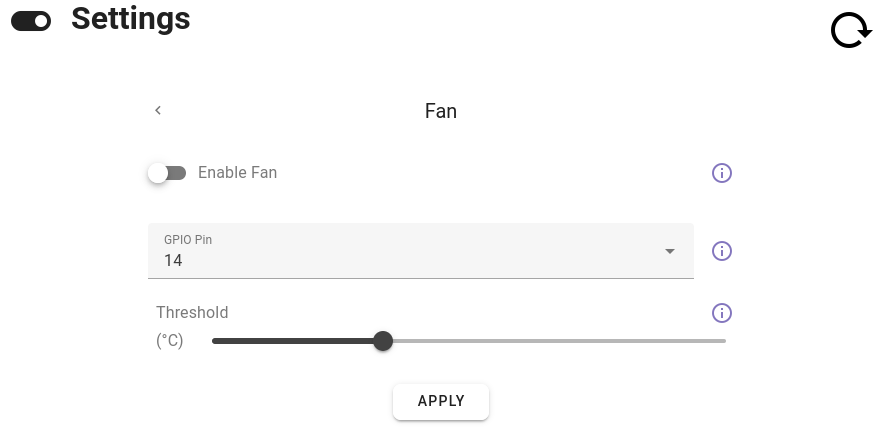
The threshold range is between 60° and 120° Celsius.
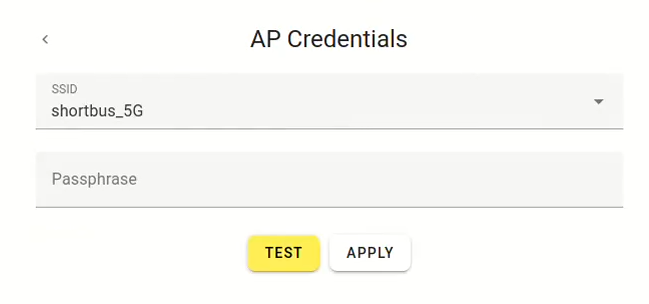
AP Credentials
The AP Credentials module controls the Wi-Fi access point of your Raspberry Pi. You can choose the network and type in the password.
Filesystem
The Filesystem module allows you to configure the overlay of the filesystem.
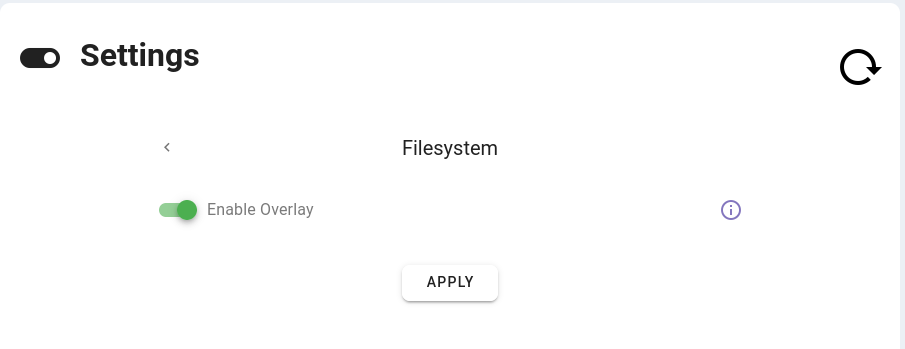
With the overlay enabled, the base filesystem (which contains all the core operating system files) remains read-only.
This is important for the integrity and stability of the system. You should only disable the filesystem overlay if you know what you are doing.
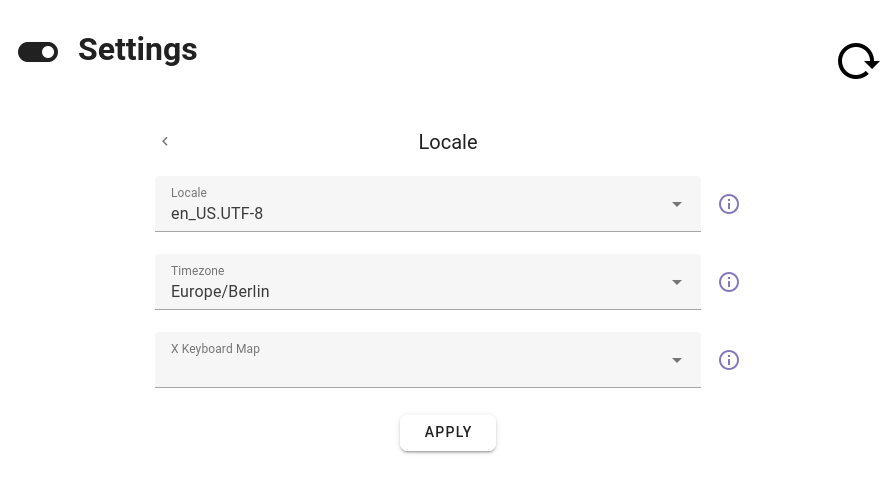
Locale
The Locale module allows you to configure your language, timezone, and keyboard preferences.
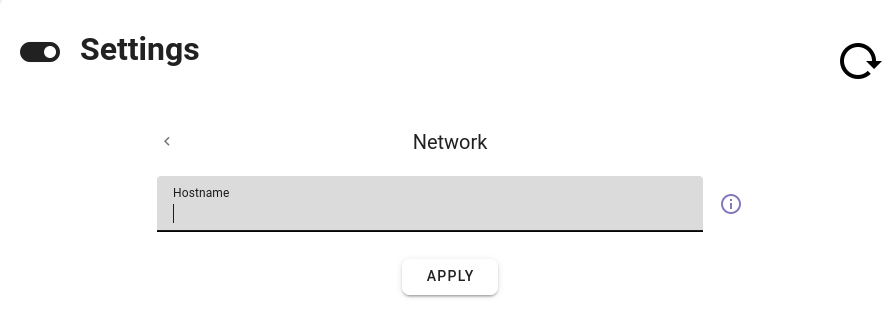
Network
The Network module allows you to change the Hostname of your Raspberry Pi.
X11
The X11 module allows you to enable X11 Blanking.
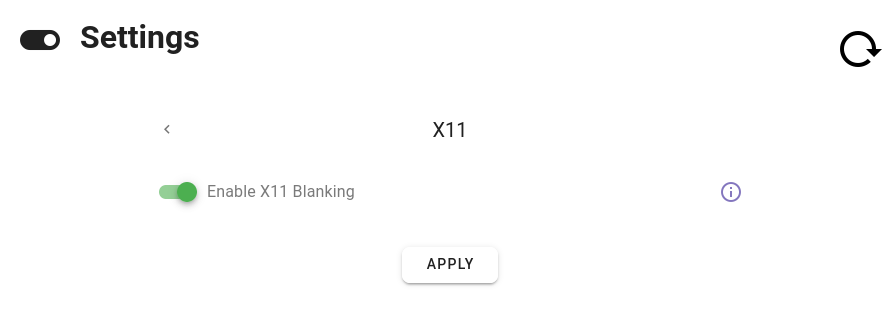
By enabling X11 Blanking, you configure the X window system to turn off the display after a period of inactivity.
Conclusion
If you have any questions or run into any issues, do not hesitate to contact us about how to get the Settings App working with your Raspberry Pi!