I2C – The Inter-Integrated Circuit Bus

The I2C bus is very commonly used in the embedded realm. We explain how it works and how to set it up on the Raspberry Pi with an example.
I2C Characteristics
The Inter-Integrated Circuit Bus is a synchronous serial communication bus. Philips Semiconductors was responsible for the invention in 1982 but the interface quickly gained popularity.
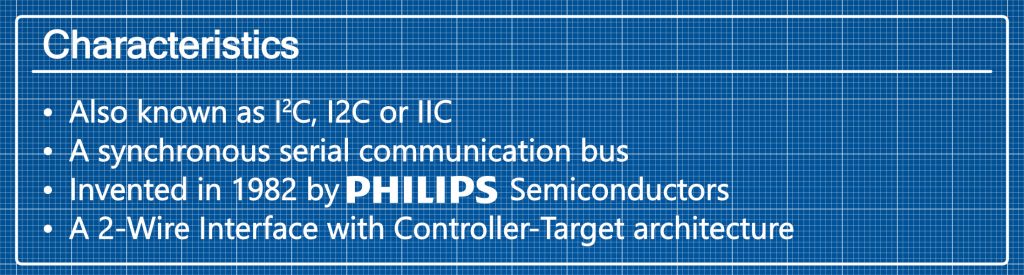
Commonly used synonyms are I2C, I2C or IIC. The interface utilizes a Controller-Target architecture and allows the controller to communicate with up to 112 devices with just two wires.
The controller can adapt the bitrate to fit the specific target’s needs. Hence I2C is comtapible with a lot of devices like Sensors, EEPROM devices, Clocks, Motor drivers and more.
Wiring
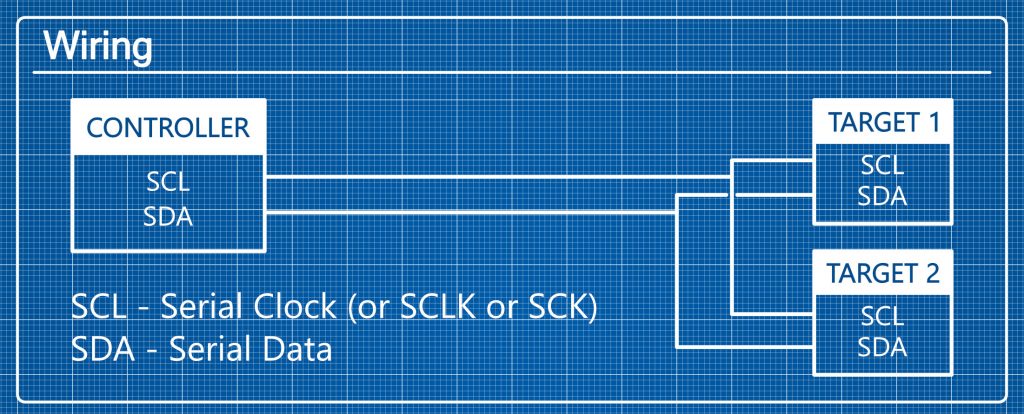
Wiring up the I2C bus could really not be easier, since you only need two wires. Connect the serial clock (SCL) pin of the controller to the serial clock pins of the targets and connect their serial data (SDA) pins as well. The I2C software will do the rest.
If you need to provide power to your I2C device you can use the 3V3, 5V and GROUND pins of your Raspberry Pi.
Some devices like our BME688 Breakout Board have a I2C header so that you don’t need any wires to connect them.
I2C Communication
The Inter-Intergrated Circuit Bus can connect 128 devices with just two wires. This is possible due to the ingenious communication principle.
The wires (SDA and SCL) are never actively driven high. If a device wants to send a logic 1 it leaves the wire floating. To send a logic zero it pulls the wire to ground.
The controller initiates the communication. Any device on the network can act as controller and target.
The graphic below shows the indivdual bits.

To start the communication the controller sends a Start-bit followed by I2C address of the target and the desired operation mode (R – Read or W – Write).
In I2C communication the target has to return an ACK-bit every 8 bits (after every byte). Since the address space is usually 7-bit there are 128 (0 to 127) addresses. 16 of them are reserved. That leaves 112 possible addressses for the devices.
The target address and the operation mode are one byte so the target has to return an ACK-bit. Then the controller sends the (8-bit) register address, which the target acknowledges again. From there on, read and write communication differs.
For writing the controller just sends the data in 8-bit blocks. The target acknowledges each block. Once the controller has finished writing, it sends the Stop-bit.
For reading the controller sends the Start-bit again, followed by the target address. The Target acknowledges and starts to send the data in 8-bit blocks. This time the controller has to acknowledge every byte. To stop reading the controller sends the NACK-bit and finally the Stop-bit.
Advantages, Disadvantages and Applications
Advantages
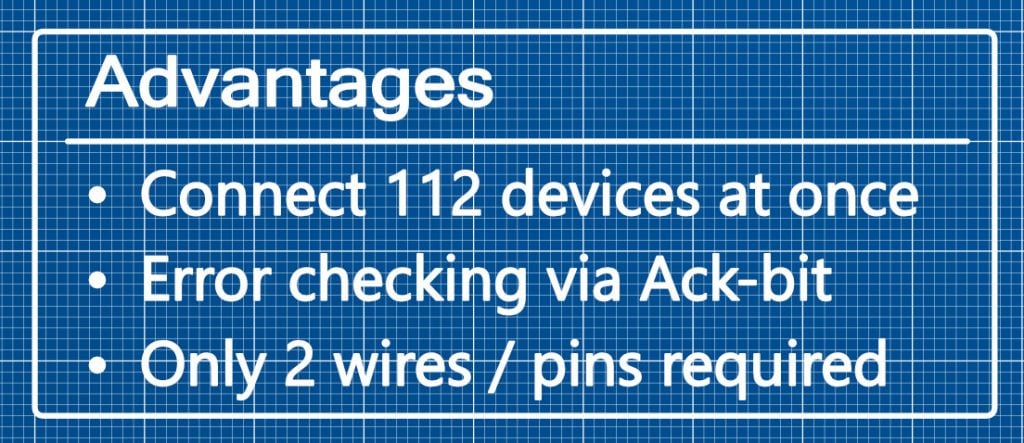
The advantages of the I2C Bus are pretty clear. You can connect 128 devices with just two wires and two pins each. That is really powerful. Additionally you have flexible speeds. The hardware set up could barely be easier. Unlike SPI, the controller knows if the target received the data correctly.
Disadvantages
The Inter-Integrate Circuit Bus requires more space and power because it uses pull-up resistors. It is slower in comparison to SPI. You can run into trouble if two devices use the same I2C address. The address stored directly on the device. Some devices let you choose between two possible addresses by soldering a jumper to a specific spot on the device.

Applications
If you search for Sensor in our Shop you will notice that almost all sensors that are not analog use the I2C Interface. It is very common in the embedded space. There is things like I2C memory. Oftentimes micro-controllers use the bus for communication. Besides that, many DACs (Digital Analog Converter) and ADCs (Analog Digital Converter) are compatible with the interface.
I2C on the Raspberry Pi
Our video shows how to set up the Inter-Integrated Circuit bus on your Raspberry Pi.
[…] Also, if you’re interested in learning more about I2C, check out this article. […]
[…] Want to learn more about I2C? Check out our article on it here. […]
[…] I2C – The Inter-Integrated Circuit Bus […]
[…] I2C – the Inter-Integrated Circuit Bus […]
[…] I2C – The Inter-Integrated Circuit Bus […]
[…] As Naveen explains, the connection between the Nano and the TFT display is based on the Serial Peripheral Interface (SPI). Meanwhile, the joystick and buttons are connected via the Inter-Integrated Circuit Bus (I2C). […]