GPIO App

The PiCockpit GPIO App lets you control your Pi’s GPIO pins. There are four areas in this app:
- GPIO Input
- GPIO Output (On/Off)
- GPIO Output (Software PWM)
- I2C
GPIO Input
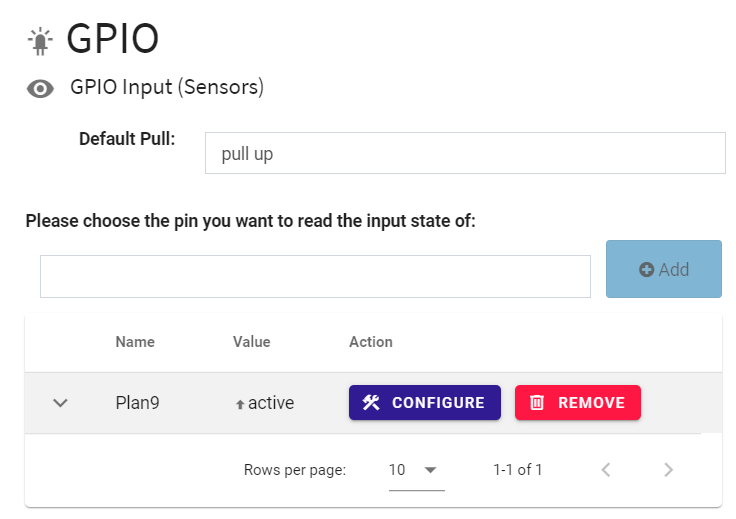
The GPIO Input allows you to see the current state of pins (high / low). You can give custom names to the pins and states.
This way, for example you could rig a pin to a door or cat flap, showing you whenever it’s being opened.

The default pull drop down allows you to choose which state pins should have applied to them electrically. That is, if the pin does not have an external input, or the external input is floating, the pin will be tied to a certain state internally in the SoC. If this sounds too complex, don’t worry – it basically means that the pin will be high, unless you ground it externally, or it will be low, unless it’s connected to 3V3.
Warning: Never connect pins directly to 3V3. Always use a resistor to avoid short circuits.
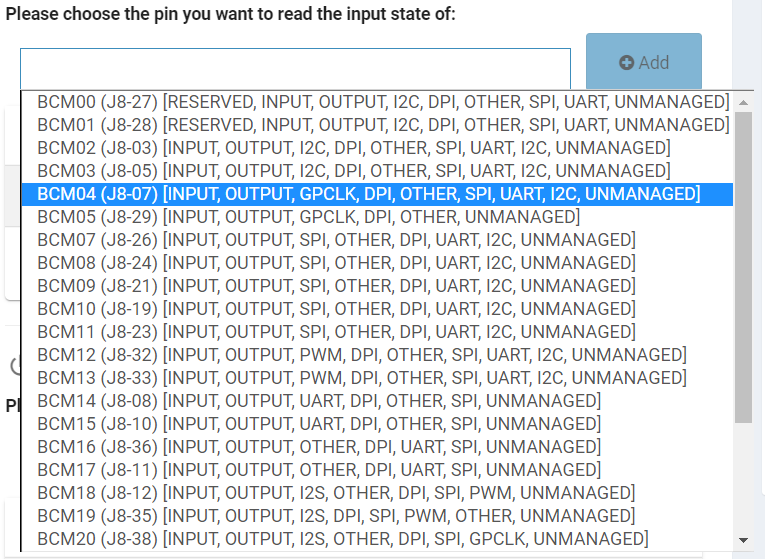
To add a new pin, select a pin from the drop-down menu next to add, and then click the Add button:
Click on the configure button to set up the new pin (or update the settings for an existing pin):

BCM Pin ID:
We show the BCM Pin ID. Note that this is NOT the physical number of the pin.
Name:
Give the pin a custom name.
Pull & Debounce:
Here you can choose the pull – either using the default pull or set a standard pull.
Debounce allows you to choose a protective time during which the pin’s state is not updated (set this to 0 to turn off the debounce feature). This is useful, as mechanical switches will “bounce” between states until settling down when you push them.
State Names:
Per Default low and high are the state names which will be shown in PiCockpit. You can set this to anything you like (which better describes the actual state, e.g. “cat door open”)
GPIO Output (On/Off)
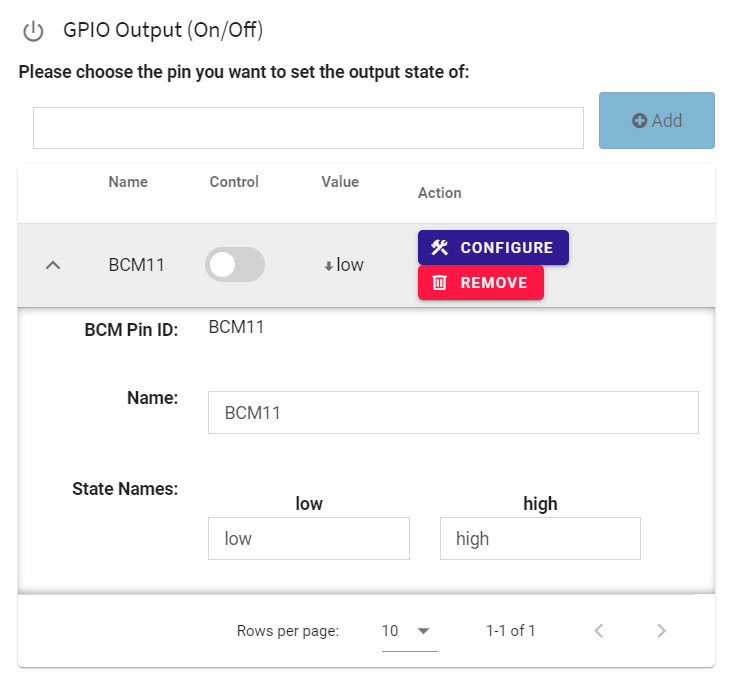
GPIO Output On/Off allows you to switch Pins on and off. (Note that a Pin can’t be used as an input and output at the same time). Use the switch control to turn the pin on and off:

Clicking on configure gives you the following options:
- BCM Pin ID: as above, showing the BCM ID of this pin. Please use a lookup to determine which physical pin this is
- Name: a custom name you can set, defaults to the BCM pin ID
- State names: custom names you can set for the states (low / high are the default names)
GPIO Output (Software PWM)
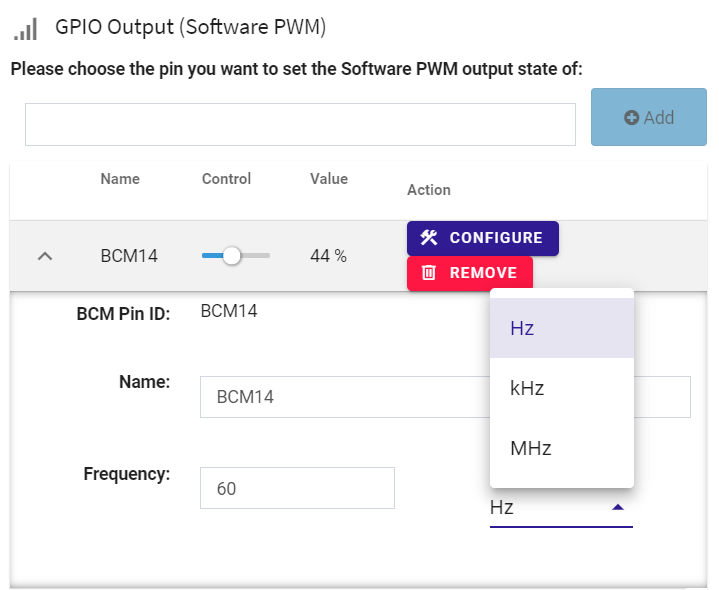
In GPIO Output (Software PWM), you can use PiCockpit’s web interface to dim LEDs, for example.
The slider allows you to set a PWM duty cycle (44 % in the screenshot example), which will determine the brightness of the LED.
The configure dialog gives you some advanced options:
- BCM Pin ID: see above, the BCM Id of the pin being addressed
- Name: a custom name you can set
- Frequency: the frequency the PWM should run at. You can also choose between Hz, kHz and MHz
We recommend a minimum of 60 Hz to ensure that you can dim the pin without the flickering being annoying to human beings.
I2C
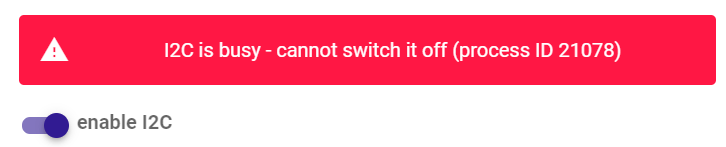
NEW: starting with v2.1 of PiCockpit, you can turn I2C on and off using the PiCockpit web interface. The webinterface will warn you, if I2C is being used and it can’t be switched off.
Note: The BME688 AirQuality App and CO2 Sensor App both use I2C. They will try to enable it automatically for you. If switching I2C does not work, try to disable the sensors in both of the apps.
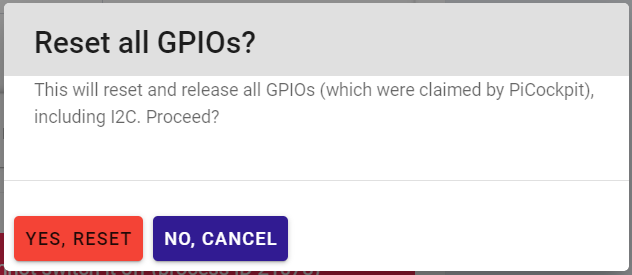
Reset all GPIOs including I2C button
This button will remove all GPIO associations from PiCockpit, and allow you to start over.

Clicking on it will show you a warning dialog, asking you to confirm the deletion:
Note: if I2C is busy, you will not be able to disable it even using this “Reset all GPIOs” button.
Conclusion
If you have any questions or run into any issues, do not hesitate to contact us about how to get the GPIO app up and running!