Does the Raspberry Pi Zero 2 require a heatsink?
On the Raspberry Pi Zero 2 W, throttling kicks in at 80°C.
That means that the Raspberry Pi will slow down your computer in order to keep temperatures below 80°C.
The question is whether you need a heatsink for the Raspberry Pi Zero 2. In most cases, you won’t need one.
There are a few situations in which you will need a heat sink. My conclusion is that you will only need one if you are using the Raspberry Pi Zero case and running the Pi Zero 2 at 100% for a continuous amount of time.
Test methodology
My testing methodology tried to find out whether or not a bare (i.e. no heatsink) Pi Zero 2 W will run at 100% continuously.
I used PiCockpit’s PiStats to track temperature data and PiDoctor to tell me if I have been throttled. If your Pi is throttled, you will also see a thermometer icon on your display.
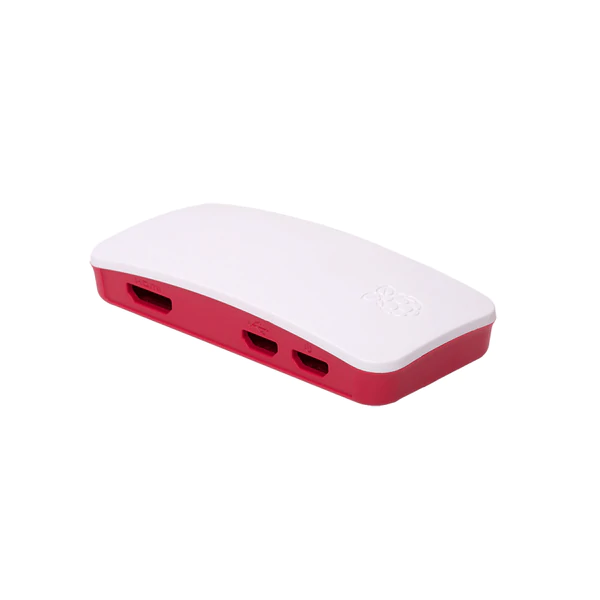
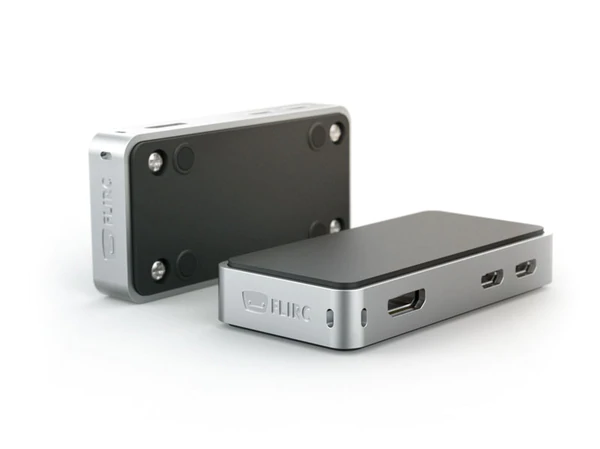
Then, I would use the official Raspberry Pi Zero case, a plastic enclosure, and the FLIRC Zero case, which has a metal body for efficient heat dissipation.
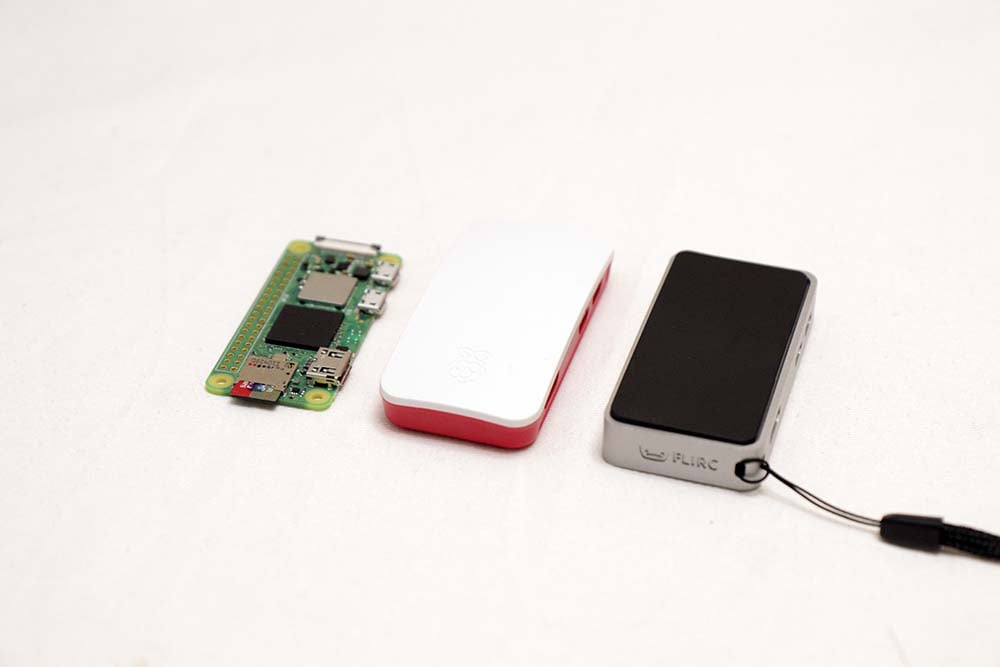
There are three sections to this test. The first is completely idle (1% CPU load) which should show you what the baseline temperature is when you are doing nothing.
Then, there’s the 35% CPU load test, which was done by running a Python script in the background.
Then, I ran stress-ng –cpu 4 –cpu-method fft to get CPU load to 100%. This command is one of the most power-hungry methods out there.
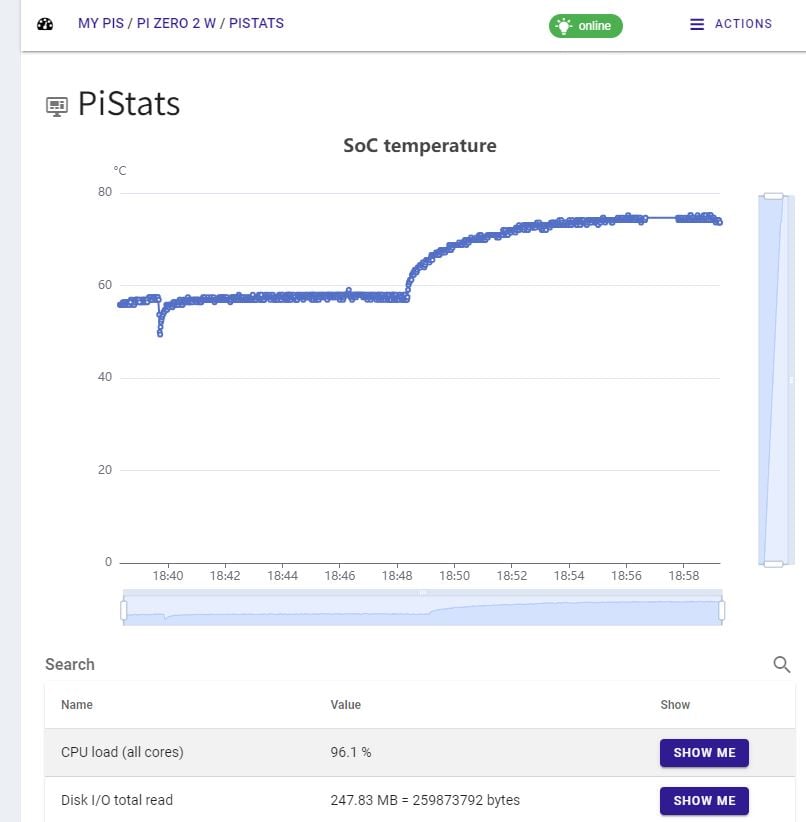
The room temperature was about 22°C.
All tests were done with the Pi Zero 2 connected to a display via HDMI, a mouse and a keyboard.
Here are the results:
| Setup | CPU load=~1% | CPU load=~35% | CPU load= ~100% | Throttling? |
| Board only | 42°C | 57°C | 74°C | No |
| Official case | 46°C | 61°C | 81°C | Yes |
| FLIRC Zero case | 37°C | 51°C | 62°C | No |
FLIRC Zero case thermal pad
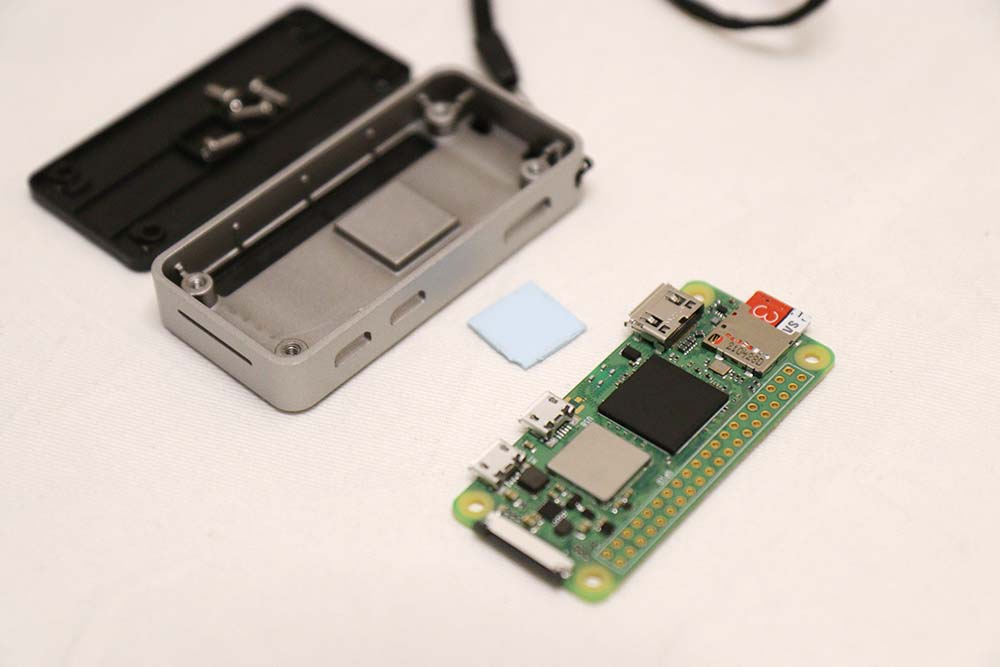
Applying the blue thermal pad properly can greatly improve heat dissipation.
Evidently, using the Raspberry Pi Zero 2 with the FLIRC Zero case produces the best results.
After all, it’s a case with a built-in heatsink.
When I received it, it came with a blue square. Searching online, I realized that some owners did not know what it was for.
The blue square is actually a thermal pad and both sides have plastic films. Peel the plastic film to expose a sticky area. Stick the thermal pad onto your board (or the case), place your Raspberry Pi into the case and then tighten the backing plate securely.
It’s important to keep the backing plate tight so that you can press the Raspberry Pi’s SoC onto the thermal pad.
Can you use a fan with the Raspberry Pi Zero 2
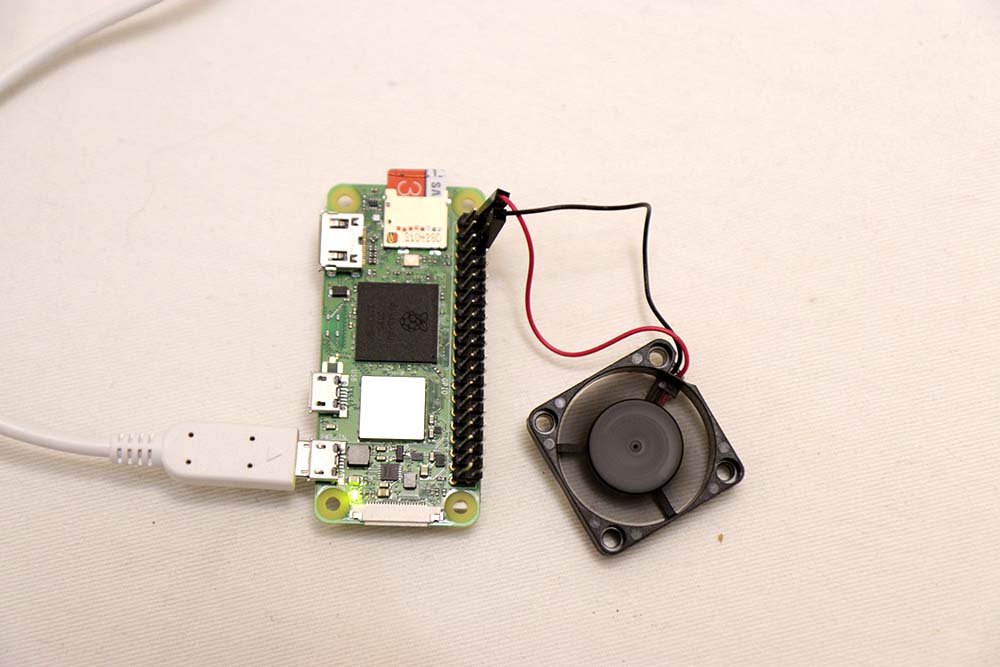
Yes, the Raspberry Pi Zero 2 is capable of running a fan.
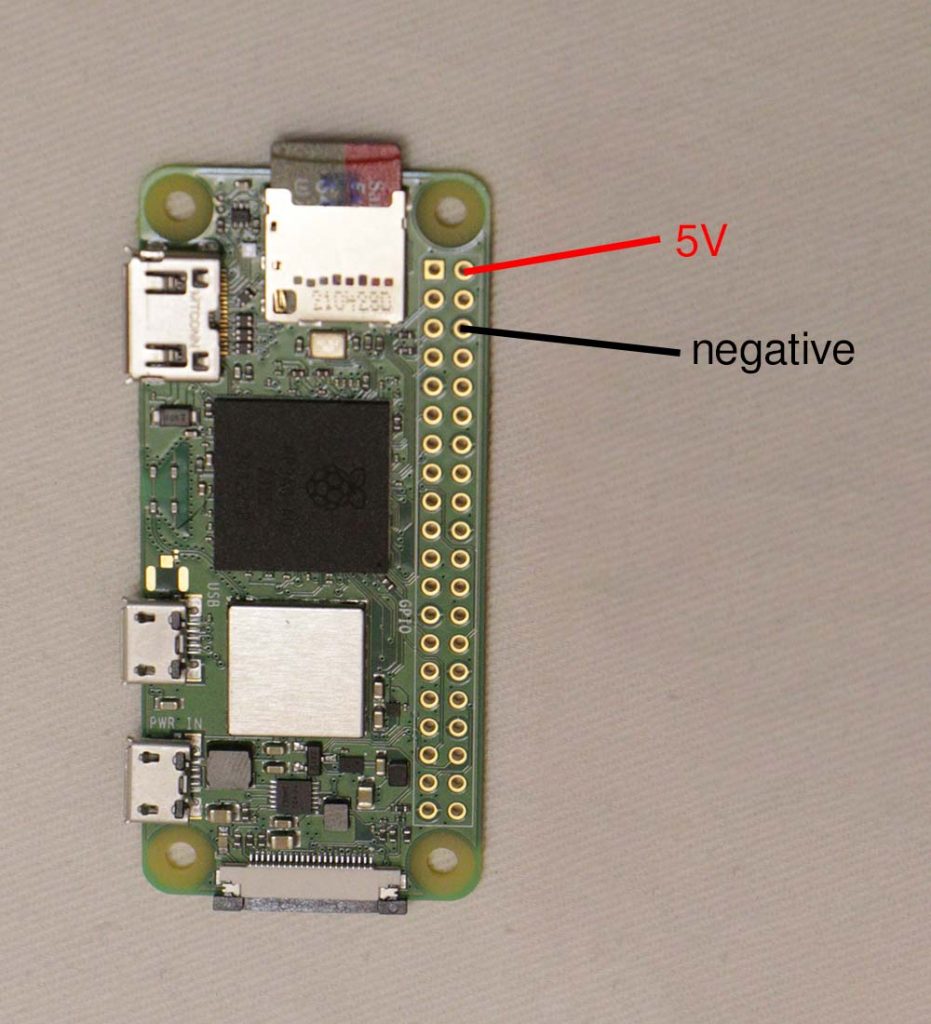
I used a 5V 0.12A fan and powered it directly off the headers.
In order to do this, you need a Pi Zero 2 W with headers soldered on.
Then, you need to connect the fan’s positive lead to PIN 2, and the negative to PIN 6, as per the image below. Use the SD card slot as a reference.
Conclusion
The FLIRC Zero case has the best thermal performance. Definitely logical since it encases the Pi Zero 2 in metal.
However, the official case has the worst thermal performance, with throttling detected by PiCockpit’s PiDoctor module. Quite logical again, since plastic is a poor conductor of heat and the official case encloses the Pi Zero 2 in plastic.

In most cases, you aren’t likely to need a heatsink for the Pi Zero 2.
The only time where you might need a case is when you are pushing the chip to 100% for prolonged period of times and your environment is very hot. Take note that I tested this in a cool 22°C environment. If you start from a higher temperature, then you’ll need something to mitigate the difference in ambient temperature.

Interesting start point for thinking!
Und wie ist der Vergleich mit den billigen China Alu-Kühlkörper-Addons? So ist der Test eher nutzlos….
..dann wird das Ding etwas kalter sein. Und eingesperrt im Gehäuse passt so ein Körper gar nicht, und es würde da auch wenig Effekt haben.