DIY wireless servo switch controller with Raspberry Pi Pico W
One of the biggest problems I have is getting up from bed to turn off the bedroom’s light. It’s very difficult to do so when you’re cozy in bed. And so here, I want to tell you how to solve that problem with a Pico W Servo switch controller.
You see, a few years ago, I built a wireless solution with an Arduino and an IR remote. It worked out pretty well because it was reliable and it solved my problem. It wasn’t without its downsides though.
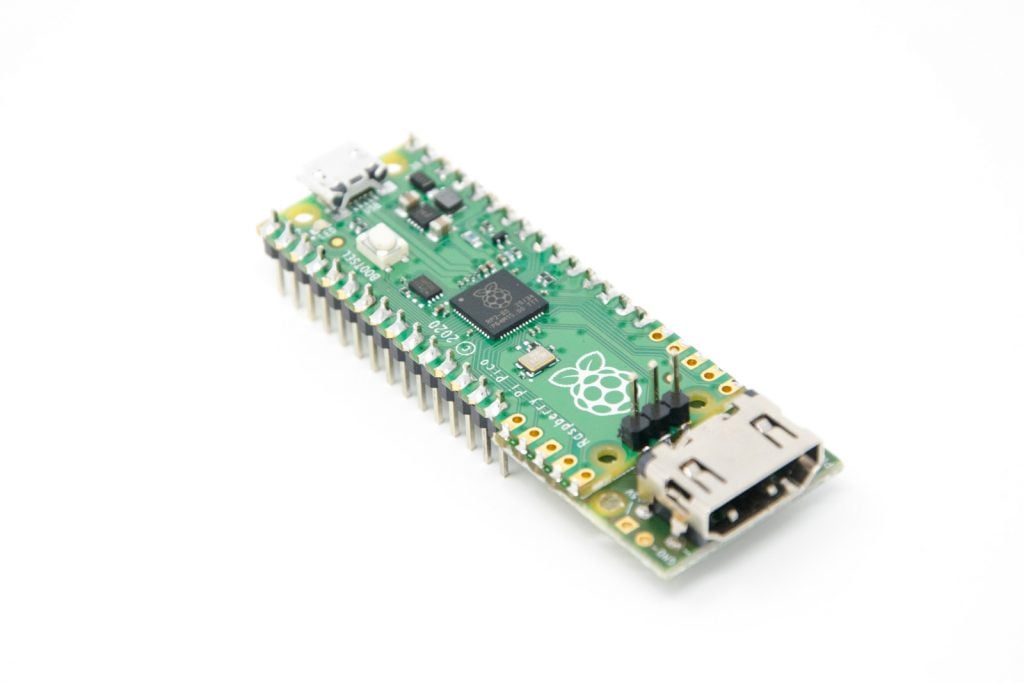
For one, the Arduino Uno was massive as compared to the Raspberry Pi Pico W.
Secondly, it depended on an IR signal, which meant I needed to know where my IR remote was when I wanted to turn the light off.
And this is where the Raspberry Pi Pico W has its advantage. You can control the servo directly from your phone.
Why bother with this DIY project?
It’s ugly. It’s tedious.
But it also involves the joy and fun of crafting your own solution to your problems.
Modern problems require modern solutions, and you can see how people solve their problems with the Raspberry Pi here.
Furthermore, you might need to do this because you aren’t allowed to modify the electrical setup in your home.
Or you don’t want to go through the expense of hiring a professional to do it.
Another reason is because this project is so extensible and portable. You don’t have to use it on a light switch, you can use it on a keyboard, to stop screensavers, for example.
Video
Two-way switch control possible, but one way easiest
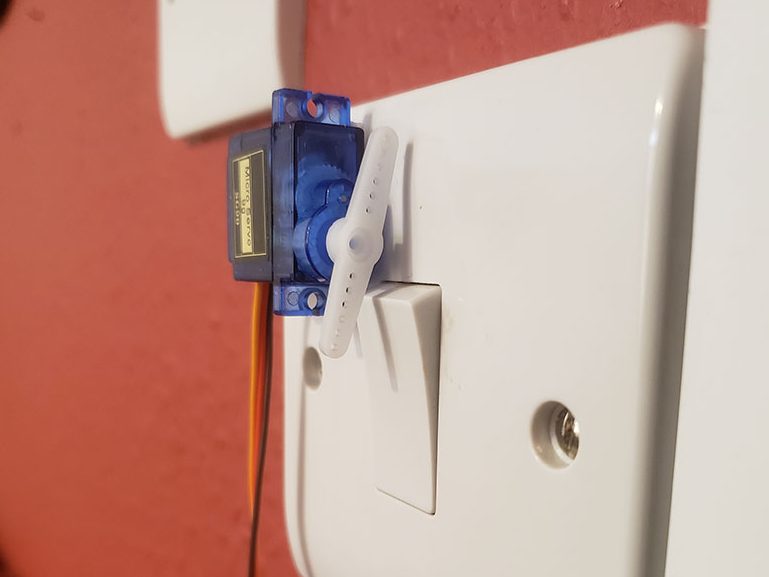
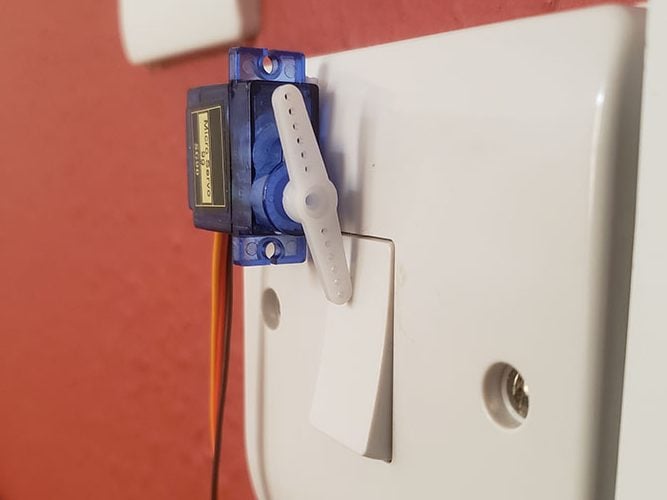
If there’s one thing you can definitely do with all switches in the world, whether European or North American, you can always using a servo to switch it OFF or ON.
But if you want to control the switch both ways, it becomes a bigger engineering challenge because the servo might get in the way.
For example, if you need to be able to manually turn the switch on or off, you might find the servo arms to be in the way. You can’t force it out of the way without destroying the motor as the servo is programmed to keep itself in place with all its might.
Broadcast network or connect to a network?
The Raspberry Pi Pico W can connect to your home network or it can broadcast its own network.
I have tried both and found some pros and cons of both methods.
As a station (i.e. connects to a network)
In the initial design, I made my Pico W connect to my home network and it served a HTML file with a button on its IP address 192.168.0.70.
The benefit of this was that I was easily able to boot up my browser and press the button that turned off the light.
However, the downside is that anyone on the network was also able to do that, unless you implemented some form of authentication.
Another downside is that, if your home network lost power, the Raspberry Pi Pico W won’t re-connect to the network, unless you have implemented code that restarts your Pico W or reconnects it to the network.
As an access point
Currently, I am using my Pico W as an access point, though I am not saying that it’s the best way forward.
It broadcasts a network which I have to connect to separately in order for me to control the servo. This is an inconvenient downside.
The upside to this is, unlike the station method, you have a password on the network so only you can connect to it.
Initially, I had an access point which served a webpage with a button to trigger the servo. I found this to be too cumbersome because you will need to 1) connect to the network, 2) go to the Pico W’s IP address and 3) press the button
I found the best solution is to trigger the servo once the Pico W detects a client connecting to the access point. This way, all you have to do is to connect any device to the Pico W and your lights (or switch) will be off.
Connecting the Pico W to a servo
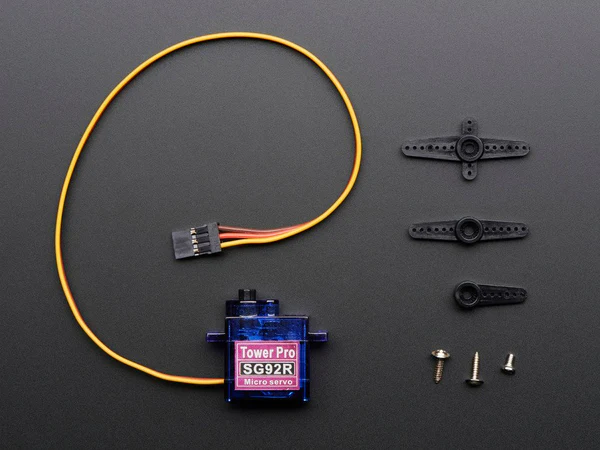
This is a simple project and you should be able to find parts in a beginner’s kit. If not, here’s a parts list.

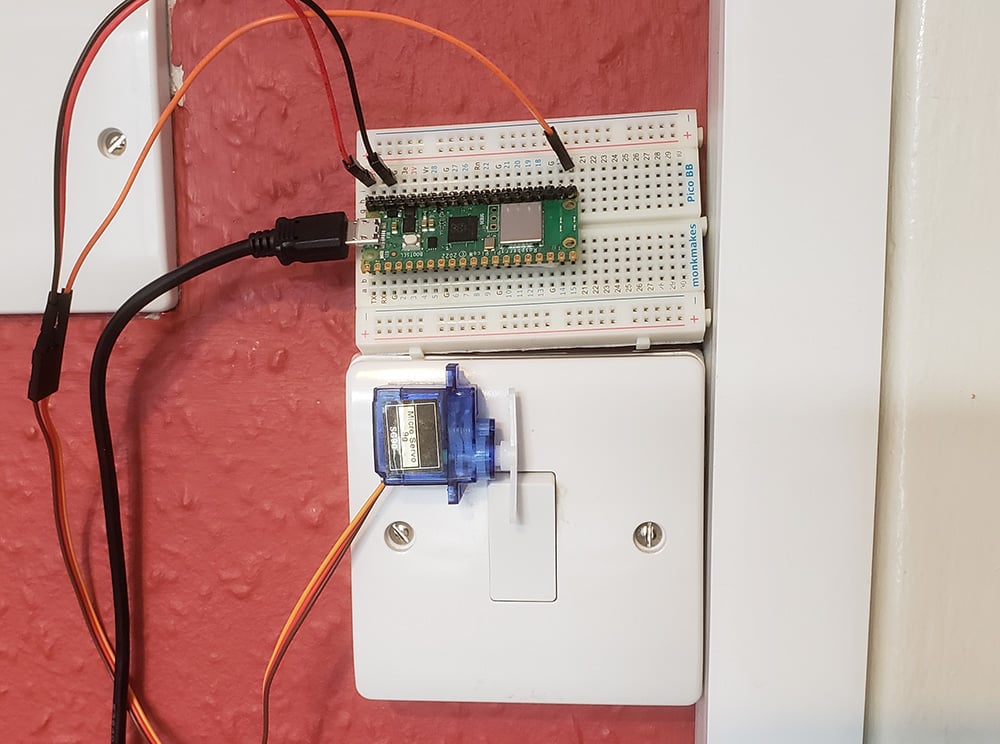
I also used an optional breadboard to connect the servo to the Pico W with male-to-male jumper wires, but you can connect the servo directly to the Pico W’s headers with male-to-female jumper wires.
You will also need double sided tape to stick your servo onto the light switch housing.
Wiring it up
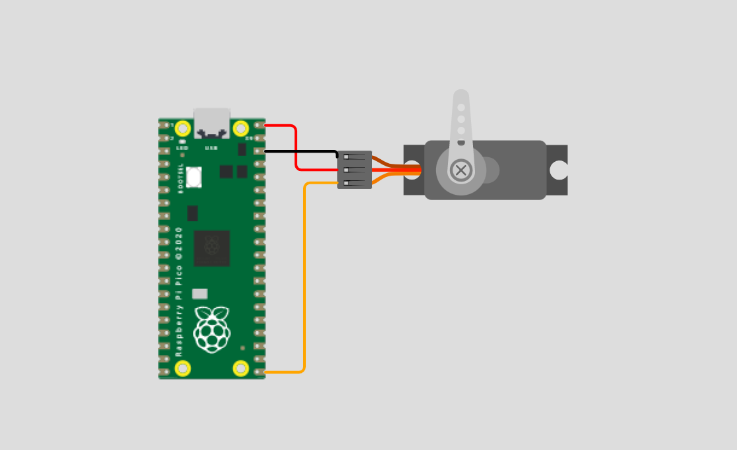
Generally, all servo has a red, black/brown and third wire.
Connect a red jumper wire to the red wire coming from the servo. This is where you’ll send 5V, via VBUS.
Connect a black wire to the black/brown wire. You’ll connect this to GND on the Pico W.
Connect another wire to the third wire. Mine’s orange in colour, so I used a orange jumper wire. This is the signal wire which I connected to GPIO16.
The code
This code will allow you to trigger the servo upon a client connecting to the Pico W’s SoftAP access point.
import network
import machine
from machine import PWM
from time import sleep
#Pin param = servo GPIO pin number
pwm = PWM(machine.Pin(16))
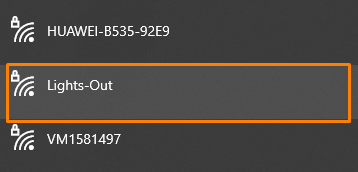
ssid = 'Lights-Out'
password = 'sleeptime'
ap = network.WLAN(network.AP_IF)
ap.config(essid=ssid, password=password)
ap.active(True)
while ap.active() == False:
pass
print('Connection successful')
print(ap.ifconfig())
def rotateServo ():
pwm.freq(50)
pwm.duty_ns(2000000)
sleep(0.5)
pwm.duty_ns(1500000)
#ap.status is a blank array until someone connects, then it will have one entry
#when ap.status = true, then it will trigger rotateServo()
# then it will shut itself off to kick the user off the network,
# allowing the device to reconnect to its usual network
while True:
try:
if ap.status('stations'):
print('client connected')
rotateServo()
sleep(5)
ap.active(False)
sleep(2)
ap.active(True)
except OSError as e:
print('Connection closed')
Certain important lines of code to explain:
The code assumes you connected the signal wire to GPIO16. If not, change the “16” integer in this line to the GPIO pin you’re connected to.
#Pin param = servo GPIO pin number
pwm = PWM(machine.Pin(<strong>16</strong>))
This sets up the SoftAP, declares the SSID name and password,
import network
...
ssid = 'Lights-Out'
password = 'sleeptime'

ap = network.WLAN(network.AP_IF)
ap.config(essid=ssid, password=password)
ap.active(True)
Servo control on the Pico W
This controls the servo. You will probably have to modify this.
For my servo, I could use a value of 500000 (500K) to 2000000 (2 mil). This would give the full range of the servo.
However, I only needed small rotation. Hence, I put the servo to its full rotation with pwm.duty_ns(2000000) and then let it return to pwm.duty_ns(1500000).
It’s probably best to test this while your servo is free-floating so you can see if it’s rotating in the right direction and then you can fine tune the degrees of rotation.
def rotateServo ():
    pwm.freq(50)

    pwm.duty_ns(2000000)

    sleep(0.5)

    pwm.duty_ns(1500000)
Broadcasting an AP, triggering rotateServo on connection
This line of code runs repeatedly.
while True:
    try:
        if ap.status('stations'):
            print('client connected')
            rotateServo()
            sleep(10)
            ap.active(False)
            sleep(2)
            ap.active(True)
If ap.status(‘stations’) detects a connection onto the wireless network, it will return an array with one item.
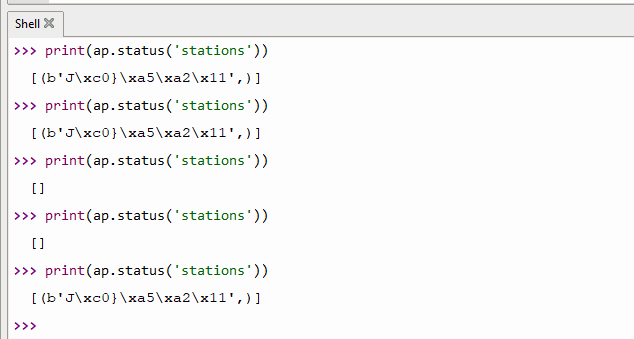
Hence, if the code isn’t an empty array, it will launch rotateServo and shut off the AP before turning it on again.
The idea of turning the AP on and off is to kick the connected client off the network. This allows it to connect to its habitual network with an internet connection.
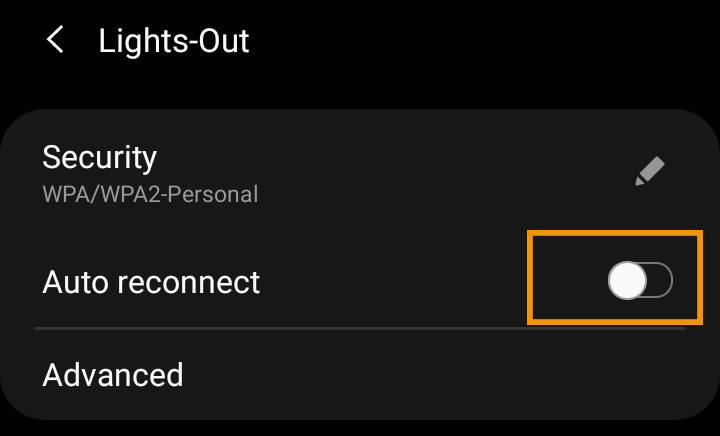
Just make sure to turn off auto-reconnect in your phone or computer.
Why do we need the sleep(x) in between ap.active() calls? That’s because I learned that if I turn the AP off and on too quickly, my phone will not drop the connection.
Learn more about the Raspberry Pi Pico W
We have written an article specifically about the Raspberry Pi Pico W that will help you get the most out of your Pico W. Click here to learn about things you never knew.
Sehr interessant,
ich betreibe gerade viel Recherche zum pico w.
Vielleicht ist meine Idee auch zu selten, deshalb bin ich nur auf eine ähnliches Projekt mit dem Pi Zero gestossen.
So ganz blicke ich bei dem Pico noch nicht durch.
Mein Ziel: Den Pico W als Keyboard Remote eingabe zu nutzen.
Bedeutet: Ich schicke von meinem Smarthome per Handy oder Script Tastaturbefehle, die der Pico empfängt und quasi die Tasten am PC drückt.
Mit der hid library ist es wohl möglich eine Keyboard zu emulieren.
So könnte ich z.B. zu einer gewissen Zeit den PC automatisch per Tasturbefehl fernsteuern.
Der Vorteil an der hid emulation: Es läuft quasi überall ohne Treiber und Software auf dem PC. Egal welches System. So könnte man selbst das Bios steuern.
Vielleicht hast du ja eine Idee, ob sich das mit dem Pico W realisieren lässt.
Ohne Wlan geht das wohl: https://www.heise.de/tests/Ausprobiert-Raspberry-Pico-mit-USB-HID-als-Tastatur-oder-Maus-benutzen-6011697.html
Ob das auch mit dem pico w per wlan geht?
Hi Udo, ich sehe nicht warum man das nicht mit dem Pico W realisieren könnte. die Ausgabe per USB HID funktioniert genauso, es müsste im Prinzip nur ein Webinterface geschrieben werden.
Ich habe das als Anregung für PiCockpit aufgenommen, als eine neue App für den Pico W. (PiCockpit unterstützt ja auch den Pico W!)
Wir arbeiten gerade daran, dass der Pico W auch PiControl unterstützt – damit könnte man bspw. auf dem Pico W ein Python Skript hinterlegen und bestimmte fest definierte Sequenzen bereits ausgeben.
(Falls es per Python auch geht – ich habe den Heise Artikel gerade nicht angeschaut).
Danke jedenfalls für die Frage und die Anregung!
Max