Raspberry Pi project ideas: increase your productivity
There are too many distractions out there and sometimes I wonder if what I need is a Pomodoro timer. No matter what – I know that what I really need are more Raspberry Pi project ideas!
In this article, I will examine the different approaches to building a Pomodoro timer with the Raspberry Pi and how each approach differs from one another.
What is a Pomodoro timer?
A Pomodoro timer is a tool that helps you increase your productivity within a specific amount of time.
It sets clearly a specific amount of time for work, and then a short amount of rest, and repeat. The usual ratio is 25 minutes of work to 5 minutes of rest.
This technique keeps you accountable. If you find yourself wasting time doom scrolling on Twitter or playing with your phone during work times, building a physical Pomodoro timer can help you stay on course.
Let’s take a look at some examples.
MagPi’s Pomodoro timer (Pi Pico)
Board: Raspberry Pi Pico
MagPi is the official Raspberry Pi magazine and they have a tutorial to build a Pomodoro timer with a Raspberry Pi Pico.
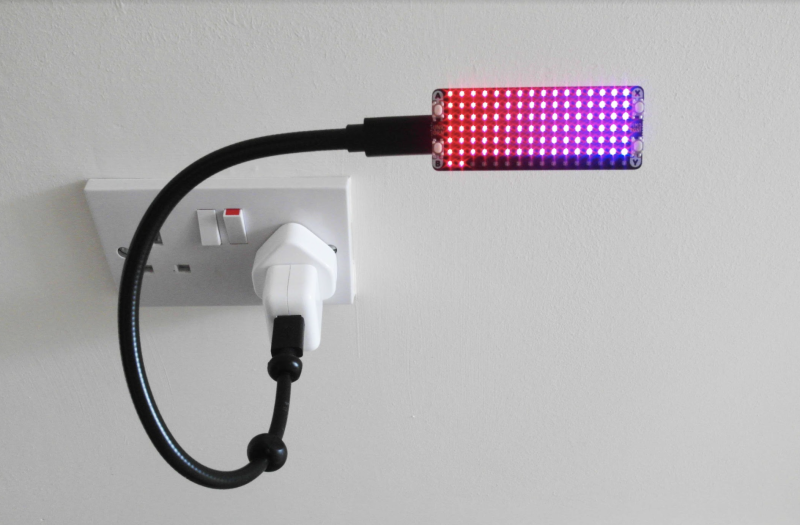
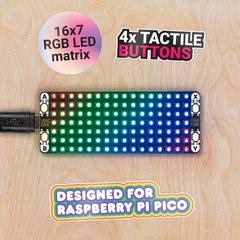
Their design centres around using a LED matrix called Pico Unicorn Pack from Pimoroni. By using a ready-made solution, this makes it a lot easier to build your own Pomodoro timer.
This Pomodoro timer will extinguish one LED every 1/112th of a cycle in order to give you a visual indication of how much longer you have on your work or rest cycle.
The use of the Unicorn Pack also allows you to use one of its buttons to start the timer and another to stop it.
The tutorial takes you through the steps of flashing a custom UF2 for the Pico and talks you through the steps of coding. You can also just download the finished Python code here.
Pros: easy and functional; gets the job done with the cheapest Raspberry Pi that’s in stock
Cons: requires you to buy a Unicorn Pack; not much building involved if you’re in for the project experience
Maryanne Wachter’s Pomodoro Timer (Pi Zero)
Board: Raspberry Pi Zero
Don’t shoot the messenger. I know you can’t buy a Zero these days.
The best part about Maryanne’s tutorial is how she says, “I spent too much time on Adafruit and ended up with a few Raspberry Pi Zero Ws”
Wow, how times have changed. These days you’d be spending too much time on rpilocator and probably getting nowhere.
But the good thing is that this project can be built with any Raspberry Pi microcomputer, though it might not look as elegant.
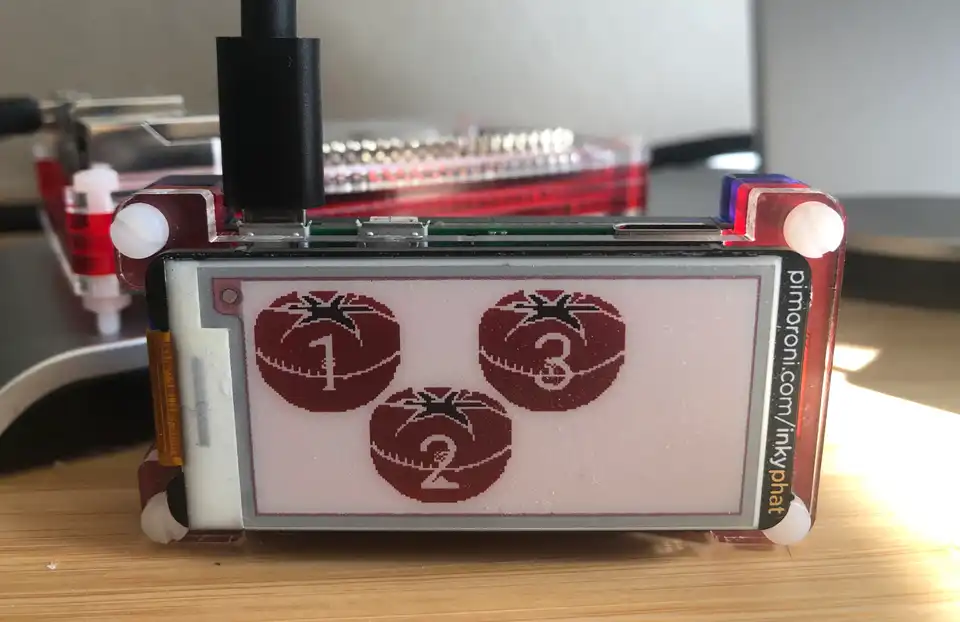
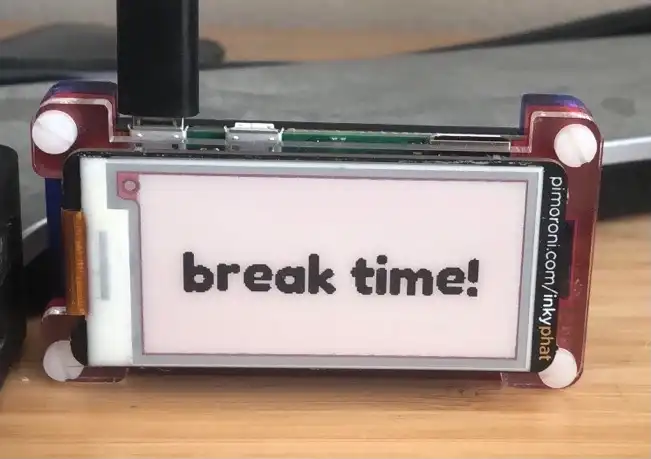
Maryanne’s design uses a Pimoroni InkypHAT, a three-colour e-ink display.
An e-ink display allows the user to see a more direct message. For example, the previous Pomodoro timer uses LEDs to tell you what’s happening, but you need to know how to interpret it before you’ll know what it’s trying to say.
With an e-ink display, you can send messages such as “break time” below. It’s immediately apparent and requires much less interpretation.
Going further, with an e-ink display, you could also create a timer that show how many minutes are left, though it’s unlikely that you can show a seconds timer because of the low refresh rate of e-ink display (and how distracting it would be when it refreshes!).
See Maryanne’s introduction of the Pomodoro timer on her website, and also the code on Github.
Pros: e-ink allows you to communicate in English and pictures (rather than having to interpret the meaning of LEDs)
Cons: built on a Pi Zero which you can’t buy easily these days.
Timothy Kist’s Pomodoro timer (Pi Zero)
Board: Raspberry Pi Zero
An e-ink display works fine for a Pomodoro timer as long as you don’t need to see a countdown clock with seconds.
What if you want a low-powered solution that shows seconds?
Timothy Kist used Pimoroni’s Scroll pHAT which is a 17×7 single-colour LED matrix.
Unlike the first example, the LEDs here send a direct message. A person can see a countdown timer of how much time is left, rather than a representation of how much time is left.
His tutorial is quite thorough, so read it here.
Pros: low-powered solution that allows you see the seconds the countdown timer.
Cons: built on a Pi Zero (you can’t buy it easily these days).
HackSpace’s Pico Talking Pomodoro timer (Pico)
Board: Raspberry Pi Pico
If you aren’t already bored of all the Pimoroni mentions above, here’s one from another big player in the Raspberry Pi space.
Rob Miles contributed this to the 51st issue of Hackspace Magazine, which you can download here. Refer to page 88 for the article.
This Pomodoro timer is one of the more complex ones and one reason is because it plays sounds that updates you on how much time is left.
Now, you might be wondering… how does a Pico produce sound?
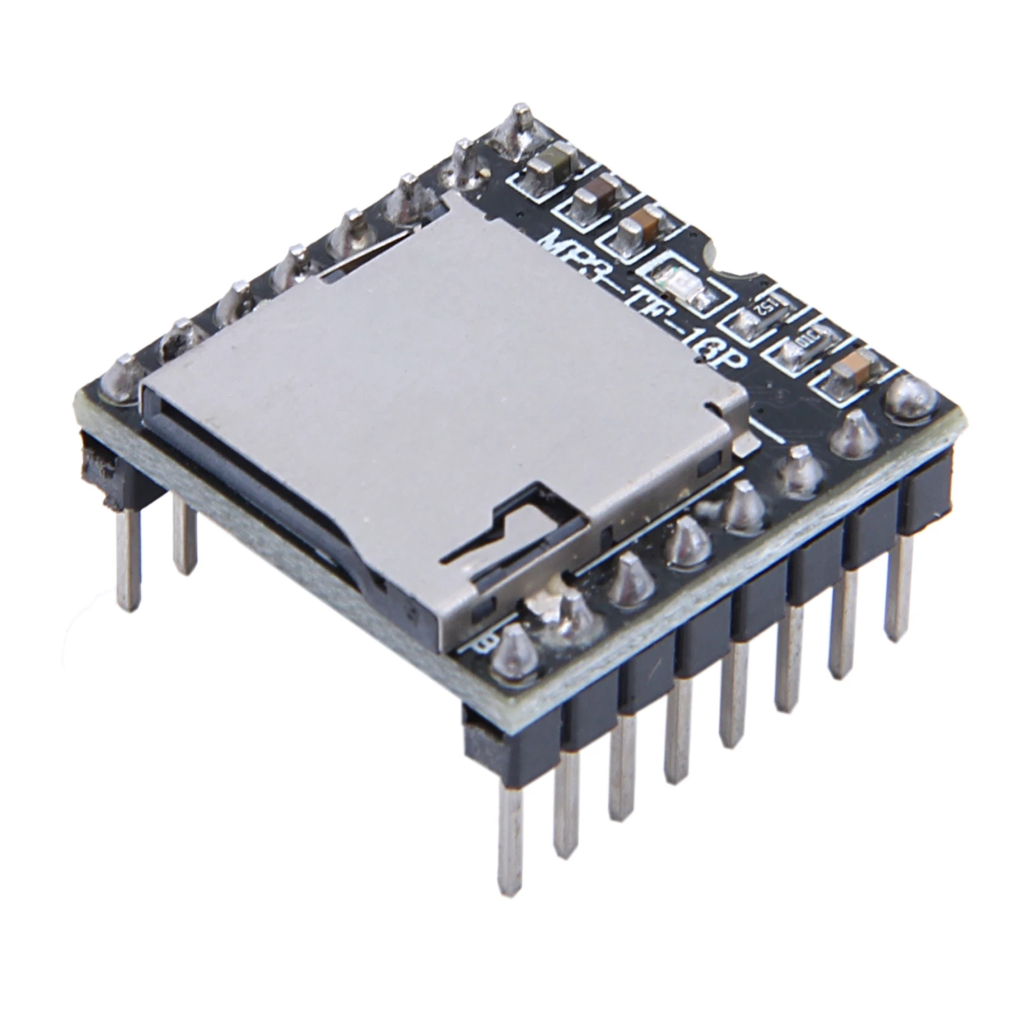
Rob did this by combining a speaker with a DFPlayer Mini MP3 player. You’d then record a few MP3 files of you reading the words “one hour”, “fifty four minutes” and “remaining”, and these samples are played sequentially to tell you how much time is left.
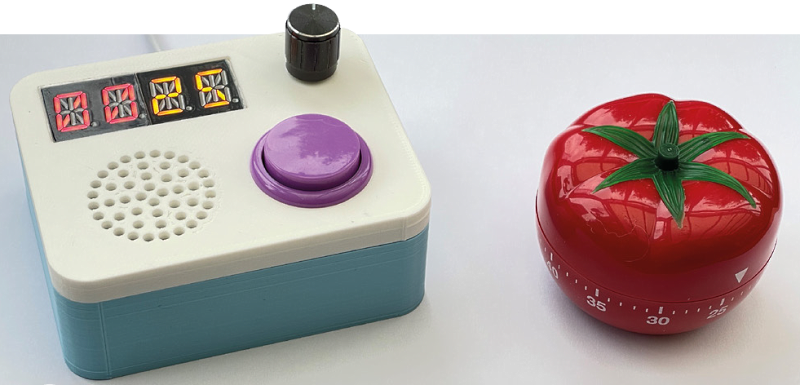
The project also features a timer that uses a four-character display, so you get a visual display of how much time is left.
Is this overengineered? Only you can tell, I’m here to show you the possibilities.
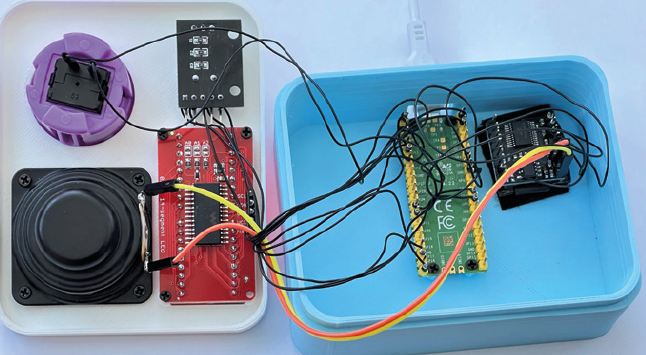
But take a look at how many wires are involved in this project!
Now you know why people love Pimoroni so much. They provide ready-made, tangle-free solutions. Here’s a meme showing the dilemma makers face which we first used in our newsletter:

Pros: Has sound and a timer and uses a Pico (available and low-power consumption)
Cons: Lots of parts, lots of wires and you’d have to record the audio files (could be a pro if you enjoy building and tinkering)
Pomodoro timer and digital photo frame (Pi 3B)

Board: Raspberry Pi 3B
Bumhan Yu created a two-in-one device that displays pictures as well as functions as a Pomodoro timer.
His design uses a 7″ touchscreen display that has a touchscreen and has an enclosure to take the Pi 3B. This allows it to be a self-contained Pomodoro timer.
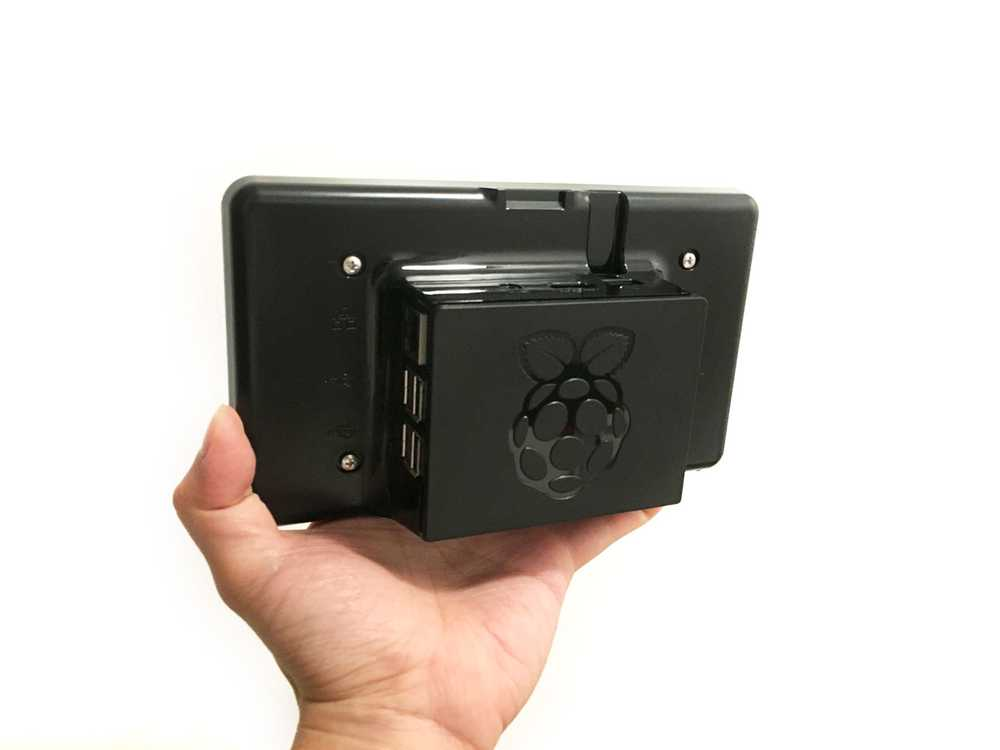
Doing it this way is probably the most expensive and most energy intensive, but the benefit is that you have a device that can do multiple tasks.
You can learn more about what he used here and find the JavaScript app here.
Pros: you have a Raspberry Pi microcomputer running, so you can run other tasks besides the Pomodoro timer
Cons: You have a Raspberry Pi microcomputer running with a display which means highest cost and power requirements relative to all other projects here. It is also the most expensive.
You can see our series called “Paragon Projects” that cover all sorts of Raspberry Pi project ideas by clicking here.