DIY Sensors
Learn how to build your own DIY sensors. It’s easy, it’s fast and it costs almost nothing. Additionally, you will learn a lot about sensors.
Check out our Video if you do not feel like reading.
How do sensors work
There are countless types of sensors. Sensors for measuring temperature, light, sound or forces, to name just a few. Every sensor is built differently and research is being done constantly on how to make them even better.
Nevertheless, most sensors work on a similar principle. They are basically a variable resistor that responds to the input being measured.
Let’s look at temperature sensors as an example. For many materials the resistivity increases with rising temperature. In addition, most metals conduct heat very well, which means that they react fast to temperature changes.

So if you measure the resistance of a very thin copper wire, it will increase almost in realtime when the temperature rises.

This change in resistance can be measured to calculate the temperature.
Now that you know how most sensors work let’s build our own sensors!
Requirements
These materials are very cheap and you probably have most of them at home.
| Pressure Sensor | Flex Sensor | Vibration Sensor |
| Cardboard | Cardboard | Resistor (10 kΩ) |
| Aluminum foil | Aluminum foil | Copper wire (single strand) |
| Tape | Tape | Bolt or screw with ~ 3mm Ø |
| Glue | Glue | Hot glue gun |
| Scissors | Scissors | |
| Copper wire | Copper wire | |
| Pencil | Pencil | |
| Paper | Paper |
Pressure sensor
Cut two 2×2 cm squares from the cardboard, one 2×2 cm square from the paper and two 2×2 cm squares from the aluminum foil. For the contacts you can use the copper wire or jumper wires. Cut 4 cm off the copper wire or jumper wire and make sure to remove the insulation. Finally, use the pencil to shade both sides of the paper square completely black.
Note If you have Velostat at home you can use that instead of the shaded paper square.
Now everything is ready for assembly.
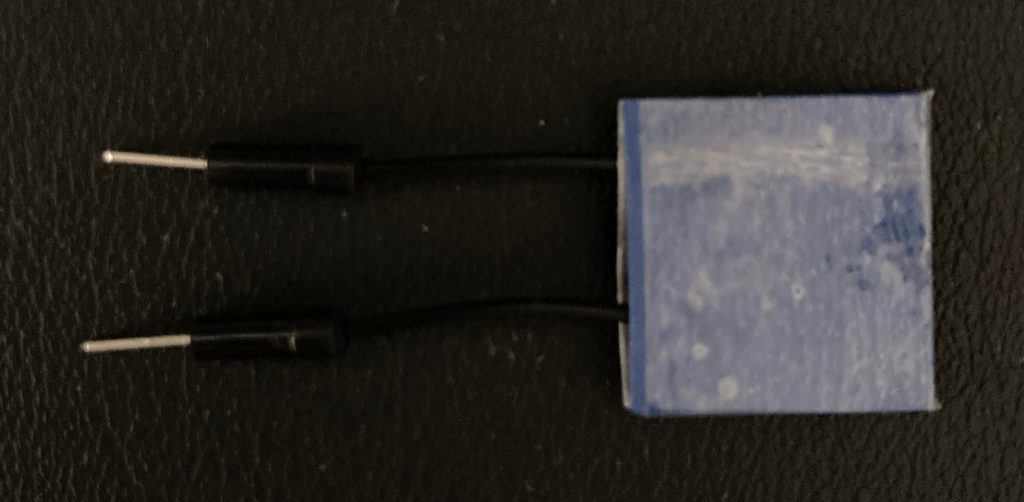
Take a cardboard square and apply glue to one side. Glue a contact so that it is slightly next to the center and protrudes about 2 cm. Cover everything with one of the aluminum foil squares.

Now build an identical copy with the remaining cardboard, contact and aluminum foil. After that put the shaded paper square between the to aluminum foil squares like a sandwich – a cardboard, wire, aluminum foil, paper, aluminum foil, wire, cardboard sandwich.
To conclude the build, wrap everything firmly with the tape.
Flex sensor
The flex sensor is similar to the pressure sensor the only difference is the size. For the flex sensor you need to cut anything into rectangles instead of squares.
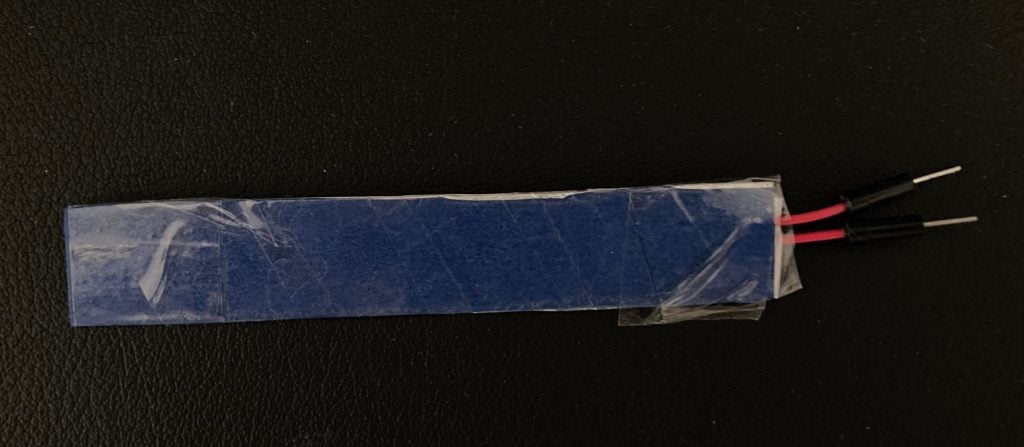
I used 1×6 cm rectangles because I need this format for a future project.
Any guesses what that could be? Leave them in the comments 😀
Vibration sensor
Building a vibration sensor is very easy. Wrap the copper wire around a screw to obtain a spring. Then straighten one of the sides. This serves as contact later. The spring should be very wobbly. I was using 0.6 mm Ø copper wire and found 5 cm to be a good final length for the spring.
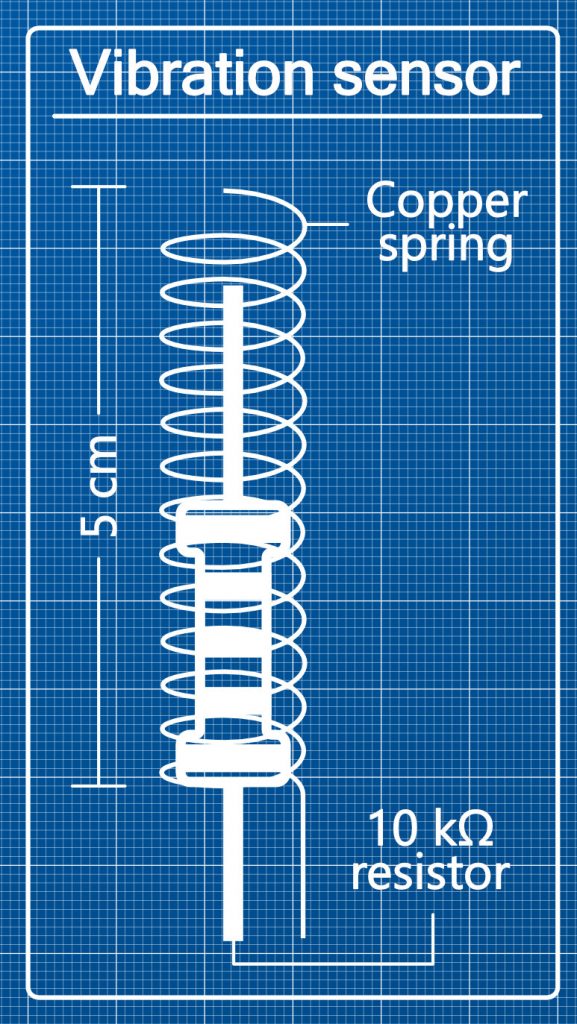
Now glue the resistor into the spring with the hot glue gun. One of the leads will be the second contact. The other lead needs to be perfectly centered while the glue dries so that it doesn’t touch the spring.

In a motionless stadium the resistor and the spring don’t touch and hence the current can’t flow. Once the sensor vibrates due to impact, the resistor and the spring touch and close the circuit.
Testing the sensors
The quickest and easiest way to test the sensors is to use a digital multimeter.
Plug the black probe into COM and the red probe into Ω. Then turn the dial to Ω.
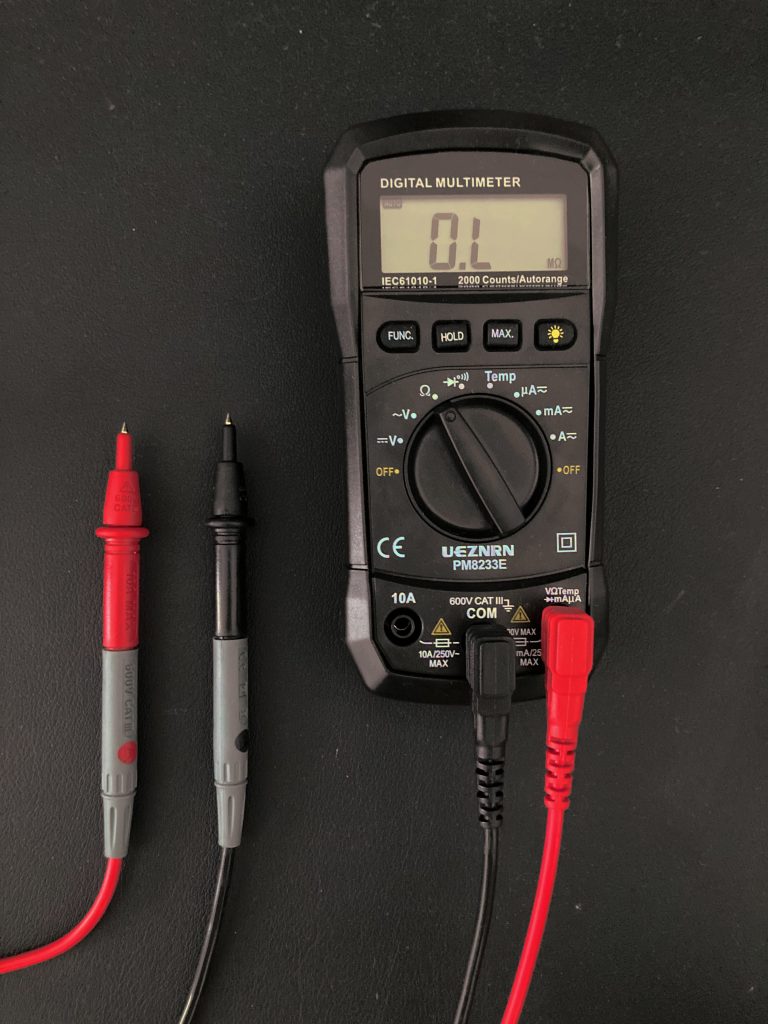
To test a sensor connect one probe to one of the contacts and the other probe to the other contact. Then you can press or bend, or shake the sensor to see if it is working.
Of course each sensor will behave differently, but you can for example measure the flex angle of a flex sensor and note down the corresponding resistance. Then you can read out the resistance of that sensor using an ADC (Analog Digital Converter) to measure the corresponding flex angle.
Here are some project ideas for the sensors in case you need some inspiration.
- Build a floor mat with integrated Pressure sensors that triggers the lights if a person steps on it
- Build a protractor from a Flex sensor to measure angles
- Hook up a Vibration sensor to your laundry machine so that you get notified when the laundry is done