How to use RealVNC on a Raspberry Pi (remote desktop)
This guide shows you how to connect to your Raspberry Pi using RealVNC. Use RealVNC to easily access your Raspberry Pi’s desktop from your main computer, to transfer files and share the clipboard. This is really convenient if, for example, you don’t want to get an additional monitor for the Raspberry Pi.
Terminology: VNC, RealVNC, VNC Server, VNC Client
Let us introduce some terms first, so you can follow the guide easily:
- VNC: stands for Virtual Network Computing, allows you to access your Raspberry Pi as if you were present at the screen yourself.
- RealVNC: a company which originated VNC (there are many other implementations). A RealVNC server is included with the Raspberry Pi, so that’s the implementation we’re going to use.
- VNC Server: an application which runs on the Raspberry Pi, and allows the VNC client to connect, view and control your Raspberry Pi desktop.
- VNC Client: an application which you can install on your desktop computer (Windows / Linux / Mac / …) or smartphone / tablet, to connect to the Raspberry Pi running the VNC server. Also called VNC viewer
Of course, the Raspberry Pi can also run a VNC viewer, allowing you to connect to other Raspberry Pis or other computers.
RealVNC and other VNC implementations are not limited to the Raspberry Pi – you can also install a RealVNC server on your Windows computer!
Raspi Berry’s helpful productivity tips
VNC Fundamentals & Prerequisites for this tutorial
VNC allows you to connect to another computer on the same network (or on the Internet, if ports are opened & forwarded accordingly, which is currently beyond the scope of this article).
For this tutorial, you will need two computers, both on the same network. One will be the Raspberry Pi to which you will connect, the other will run the RealVNC Viewer software.
The Raspberry Pi should run Raspberry Pi OS in Desktop mode.
The other computer should have an Internet connection to download the RealVNC Viewer software.
First step: activate RealVNC on the Raspberry Pi
You will need to connect your Raspberry Pi to a screen for this first step – you can remove the screen later, however.
Note: VNC can also be enabled using the command-line. Run sudo raspi-config, if you want to start the Raspberry Pi configuration utility.
Raspi Berry’s helpful Raspberry Pi tips
Enable RealVNC using the Raspberry Pi Configuration tool
Click on the Raspberry Pi OS menu, select Preferences, and in the submenu Raspberry Pi Configuration.
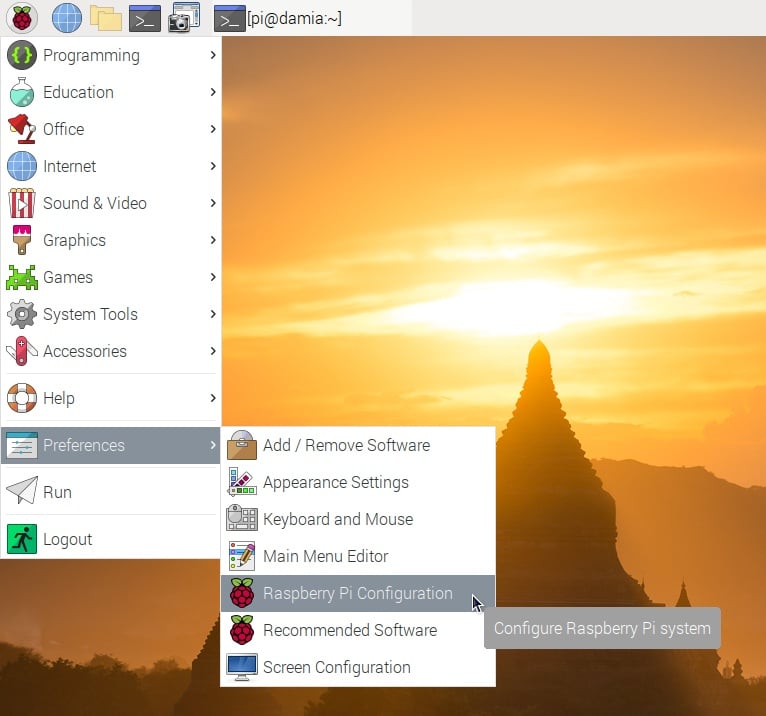
The tool will have several tabs, click on the tab “Interfaces”, to see the available options there. Note that VNC is disabled by default:
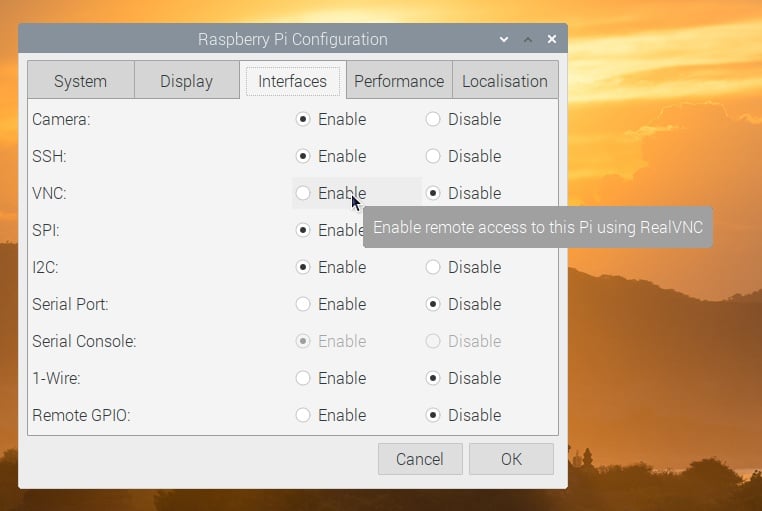
(“Enable remote access to this Pi using RealVNC”)
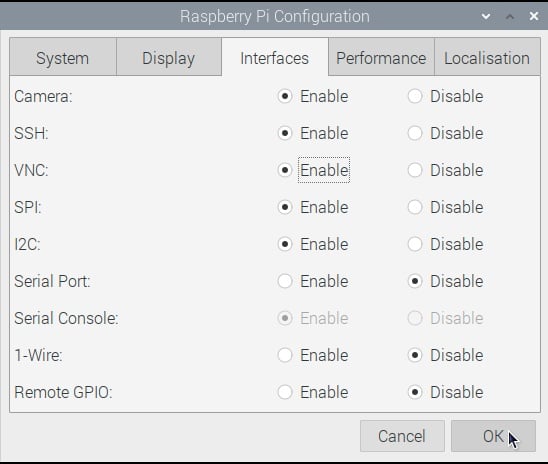
Click on the enable radio button, and then on OK:
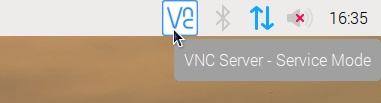
Watch the task bar at the top of the screen. A new icon with a V2 symbol will appear:
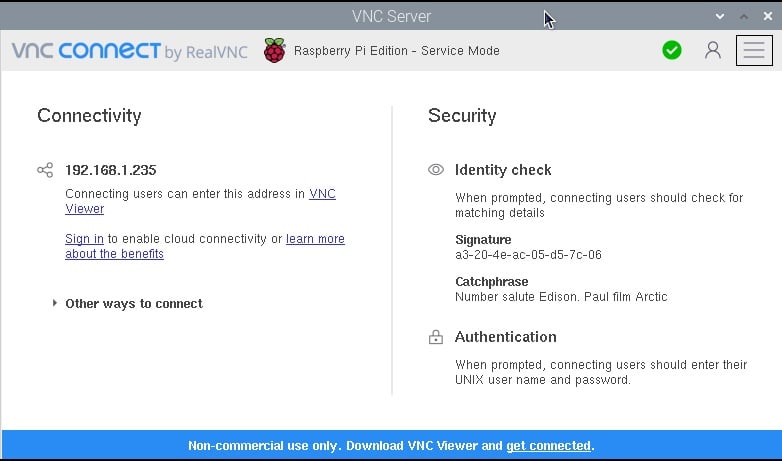
Second step: obtain your Raspberry Pi RealVNC IP address and credentials
To be able to control your Raspberry Pi remotely, you need to know the IP address of the Raspberry Pi running the RealVNC server to connect to it.
Click on the new icon (V2) in the taskbar (using the left mouse button, single click). A window will appear, showing you all you need to know to connect:
Third step: Download and install the RealVNC viewer
The following steps are run on your main system, from which you desire to control the Raspberry Pi remotely using VNC.
Download the VNC viewer from RealVNCs website. Be sure to select the appropriate operating system (Windows / macOS / Linux / Raspberry Pi / iOS / Android / Chrome / Solaris / HP-UX / AIX).

Install the VNC viewer according to the default procedure on your operating system.
You can also use other VNC viewers, but using the RealVNC VNC viewer is recommended, since they have the best interoperability.
Raspi Berry about software diversity
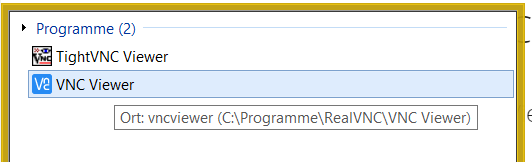
Step four: Run VNC Viewer
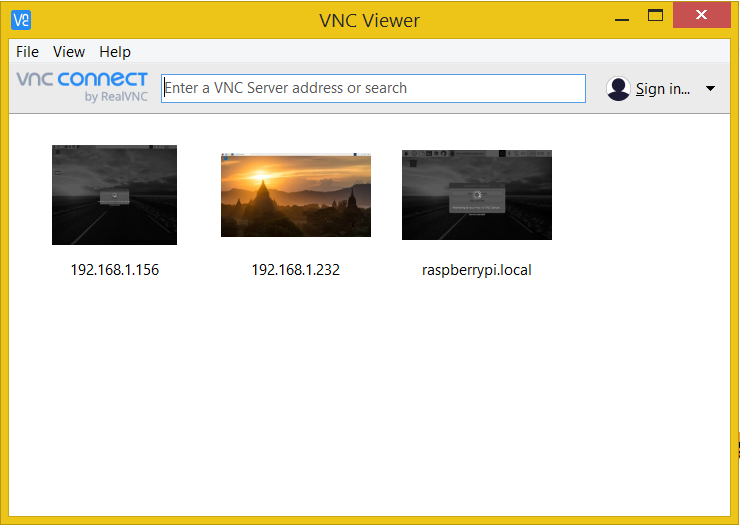
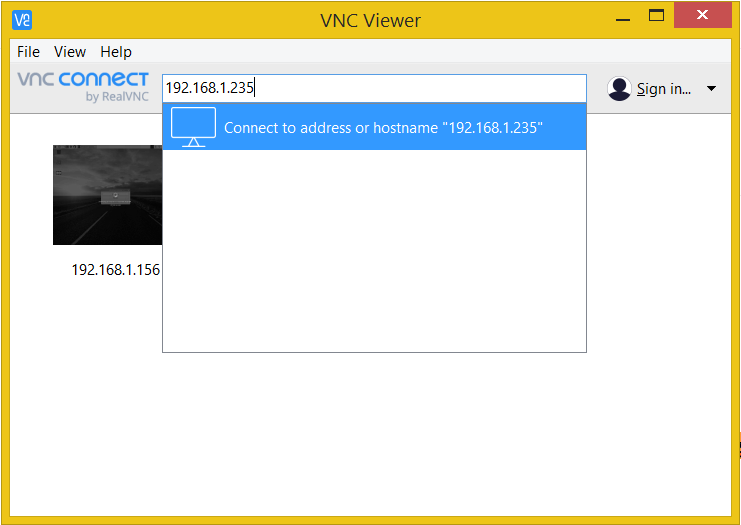
Here you can enter the Raspberry Pi IP address we have identified in step 2. Type in the address, and click on the “connect to address or hostname” area (or simply press enter):
You will be presented with an identity check first:
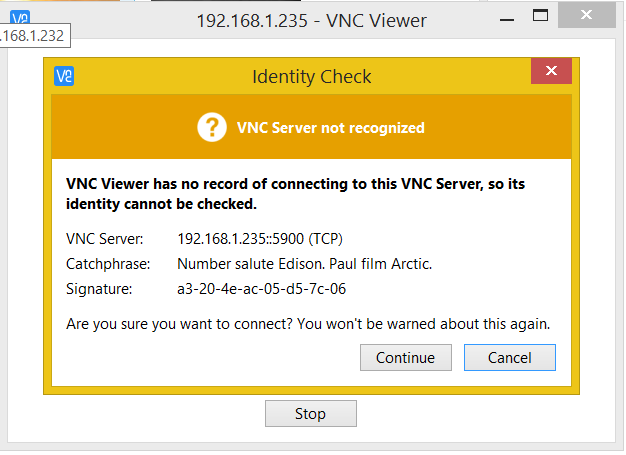
Here you’ll recognize the other part of the VNS Server information window on your Raspberry Pi. Click on Continue, if the information matches (Catchphrase and Signature).
Step five: Authenticate with your Raspberry Pi
Now the VNC Viewer will show you an authentication screen, asking you to sign in with your credentials (password and username).
These are the credentials which you use on your Raspberry Pi, most likely for the user “pi”. (If you have not changed the default Raspberry Pi passwords, you should now – as everyone on your network could access your Raspberry Pi using VNC!)
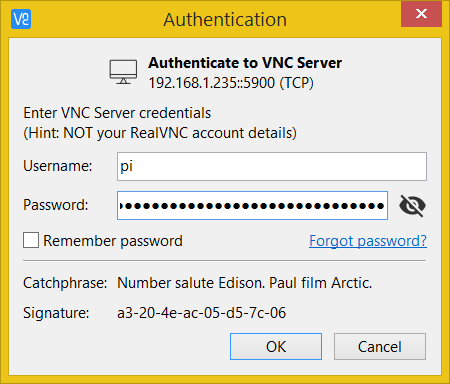
There is an option “Remember password” here. In case you will need to connect to your Raspberry Pi only sporadically, I recommend to not enable it – otherwise anyone with access to your main computer will get access to the Pi as well.
Click OK, and …
Step six: Control and view your Raspberry Pi Desktop using VNC
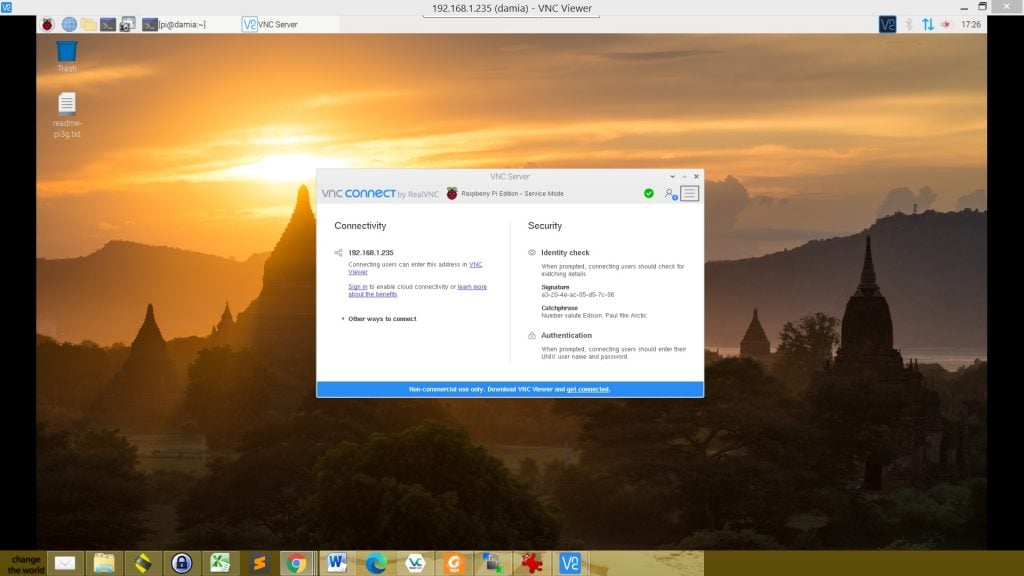
Now you can simply use your main computer’s mouse and keyboard to interact with the Raspberry Pi Desktop, using RealVNC.
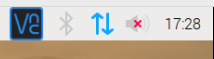
Note that the V2 icon has turned a different color, to indicate that you are connected to the Raspberry Pi:
Move the mouse, and if your Raspberry Pi is still connected to a screen, you will see how the mouse moves on it. Click on Windows, use the web browser, edit documents, manage files – all of this can be done using the VNC Viewer.
Note: VNC is not a good protocol to stream video playback or quickly changing images / screens (e.g. for games). Playback will be choppy.
Raspi Berry on limitations
RealVNC Remote Desktop Tips
There are several additional cool things you can do, depending on your VNC settings.
The clipboard is shared – you can copy text from your main computer to your Raspberry Pi, and vice versa – very useful for quickly transferring URLs, etc.
Move your mouse to the top of the VNC viewer window to access some additional settings & tools:
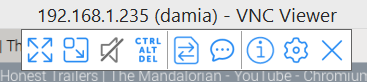
Here you can go fullscreen (the first icon), scale the desktop to 100 % (adding scrollbars)

File transfer using RealVNC
This button / icon from the additional tools allows you to transfer files:

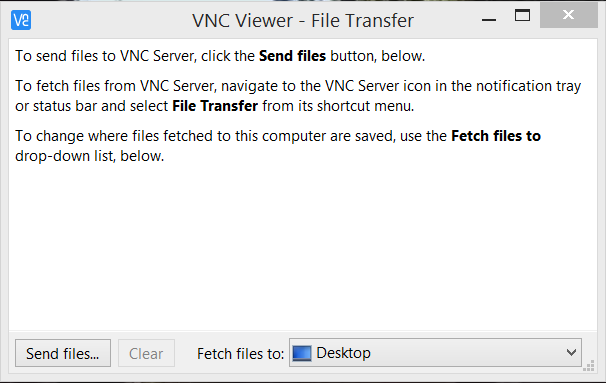
The Transfer works both ways.
If you want to send files to the VNC Server (that is the Raspberry Pi), you can click on Send files here.
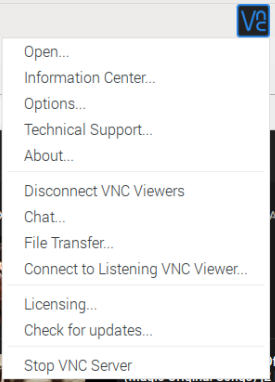
If you want to transfer the files from the VNC server to your desktop machine, follow the instructions in this dialog and right-click the V2 RealVNC Server icon, to see the File Transfer option:

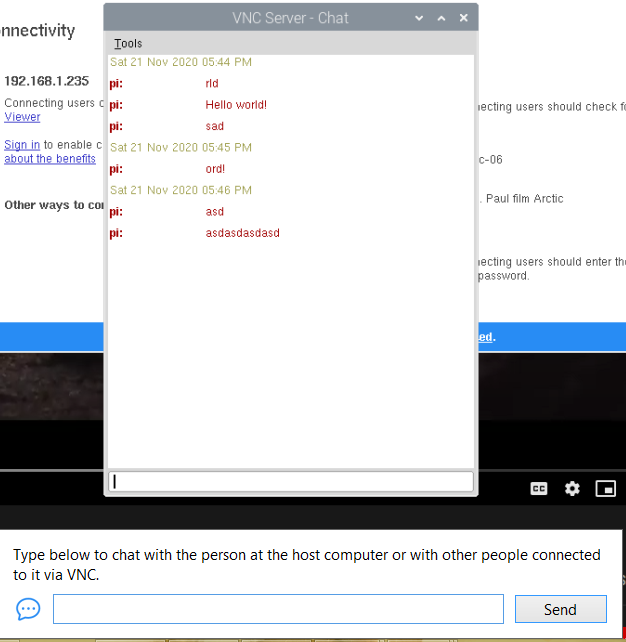
Chat
There is also a Chat, which I found to be unusable, due to input being cut off & not being able to control it through VNC itself.
Session information
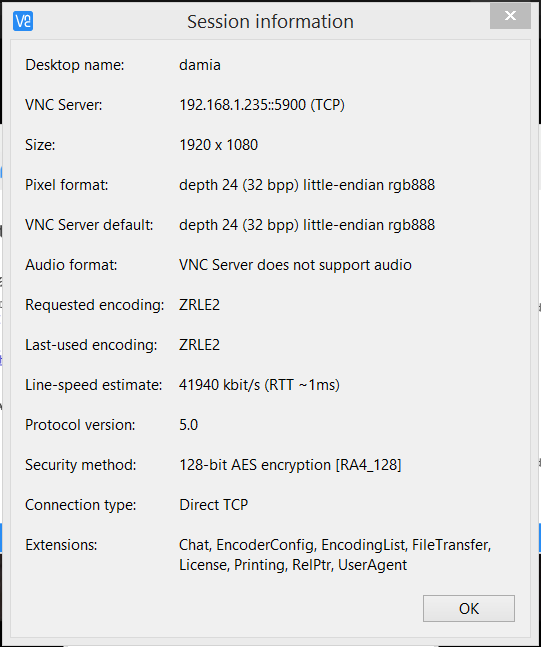
This session information could be useful for debugging. Take note of the Extensions – if you want to transfer files to your Raspberry Pi using VNC, FileTransfer should be listed amongst the Extensions here.
And more …
VNC also allows you to share printers, forward audio, and more. We will expand this RealVNC guide if readers ask us to include further information 🙂
Other ways to access your Raspberry Pi remotely
RealVNC (and VNC in general) is quite useful for GUI applications which do not have quickly changing content (e.g. video playback).
There are other ways to access your Raspberry Pi remotely, all of them having their own distinct advantages and drawbacks:
- RDP (a Windows Remote Desktop Protocol)
- SSH (command line)
- X-11 X Window forwarding over SSH (forwards the X11 drawing output to a different screen)
- Nomachine NX (compressed / augmented X Window forwarding to decrease latency and round-trips)
If people request it, I will expand this article to show the advantages and drawbacks of the individual methods, and how to go about using them.
Conclusion
Using RealVNC it is really easy to access your Raspberry Pi remotely, and to see the Raspberry Pi OS Desktop. You can also use built-in capabilities to transfer files, share the clipboard, and more between the two computers.
RealVNC is free to use for non-commercial purposes, and offers licenses for businesses (and the capability to access your Raspberry Pi from the Internet).
مرتبسازی بر اساس: جدیدترین گرانترین ارزانترین
محبوبترین پلیور بافت یوآر
یکی از بهترین مراکز خریدی که
میتوان برای خرید انواع لباس، هودی و سویشرت در بازارهای آن قدم زد و لذت برد، هودی فروشی در رشت است.
فروشگاه اینترنتی پارچی به عنوان یکی از مراکز اصلی هودی، این امکان را برایتان بوجود آورده که لباس موردنظرتان را پس از پرداخت در محل تحویل بگیرید.