Master Electricity with a Raspberry Pi Pico Oscilloscope

Oscilloscopes are powerful electronic test instruments primarily used to visualize and analyze electrical signals in electronic circuits. They are extremely useful. But they’re also extremely expensive. In this tutorial, I will show you how to make a cheap and easy oscilloscope with a Raspberry Pi Pico.
This oscilloscope – what I’m calling a “Picoscilloscope” – revolves around a Pico and the Scoppy app on an Android device. You can use it to detect and analyze low voltage signals.
So here, I will show you how to put together a super cheap oscilloscope using a Raspberry Pi Pico W and Scoppy in 5 easy steps.
I’ll be doing this with a smartphone, but you can also do this with a tablet. As long as you have Android 6.0 or newer, then you should be set.
WARNING: Electricity is dangerous. Please be careful and ensure that you do not use the oscilloscope in any way that could harm you or others. This Pico Oscilloscope only works with low voltage and low frequency signals and should only be used in such cases.
This oscilloscope setup is designed to detect voltages below 3.3V. If you want to go higher, you can find out more here. But here, we won’t be playing with anything that reaches that.
What you’ll need
I’m using a few components here:
- A Raspberry Pi Pico W
- An Android smartphone
- A breadboard
- Some male jumper cables
- A USB-to-micro-USB cable that’s able to transfer data
- A USB-OTG adapter
Really, all you need is a Pico, an Android device, the USB cable, and the USB-OTG adapter to get everything set up. But you won’t be able to do much with that.
Step One: Download the Pico W firmware
The Scoppy firmware is available for both the Pico and the Pico W. You can download the firmware here:
That will give you a .uf2 file, which you then need to flash onto your Pico.
Hold down the BOOTSEL button and plug your Pico into the computer. Make sure that you’re using a USB cable that can transfer data. If it can’t, nothing will happen.
Provided you’re using the correct cable, you can then let go of the BOOTSEL button and a new folder will appear: RPI-RP2. You should also see the LED on your Pico blinking.
Move the .uf2 file into the RPI-RP2 folder and it will automatically eject after the file transfers.
Now your Pico is good to go.
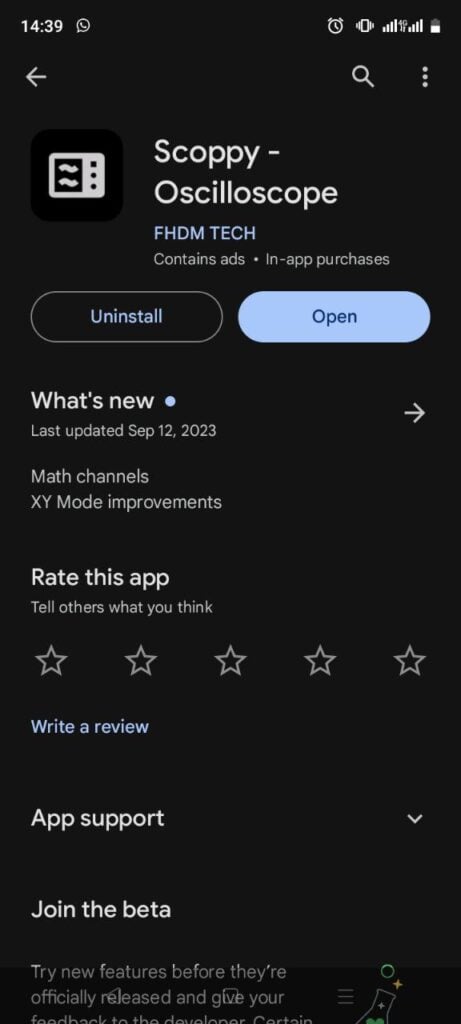
Step Two: Download Scoppy on your Android
Scoppy is a free app that you can download directly from Google Play Store. You can also upgrade to Scoppy Premium, which is a one-time payment of €2.29 at the time of writing.
I think you’ll find that the free version is good enough for many purposes, but the paid version does offer extra functionality. So if you’re planning on making use of Scoppy for some more complicated setups, premium is probably worth the money.
And it’s significantly cheaper than any of the other oscilloscopes you’re going to find!
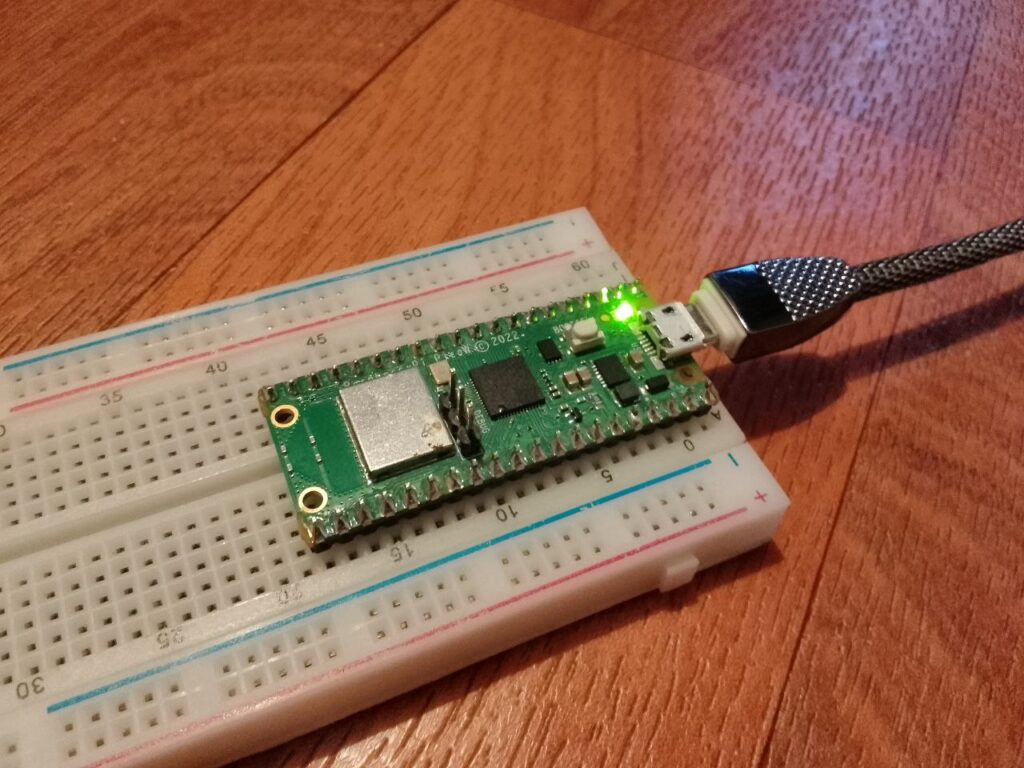
Step Three: Plug your Pico W into the breadboard
You don’t need to use a breadboard, but I always find it easier for projects like this. So, I’ve got a Pico W with a header attached, that way I can snuggly push it down into my breadboard.
You can always solder on a header yourself if you don’t have one.
Be careful when pushing the Pico into the breadboard to ensure that you don’t accidentally break any of the header pins.
Step Four: Attach the Pico W to your Android
You’ll need to plug in the USB-OTG adapter into your phone and then attach the data transfer cable into the Pico W. USB-OTG (on-the-go) is a specification that makes it possible for your smartphone to act as a USB host.
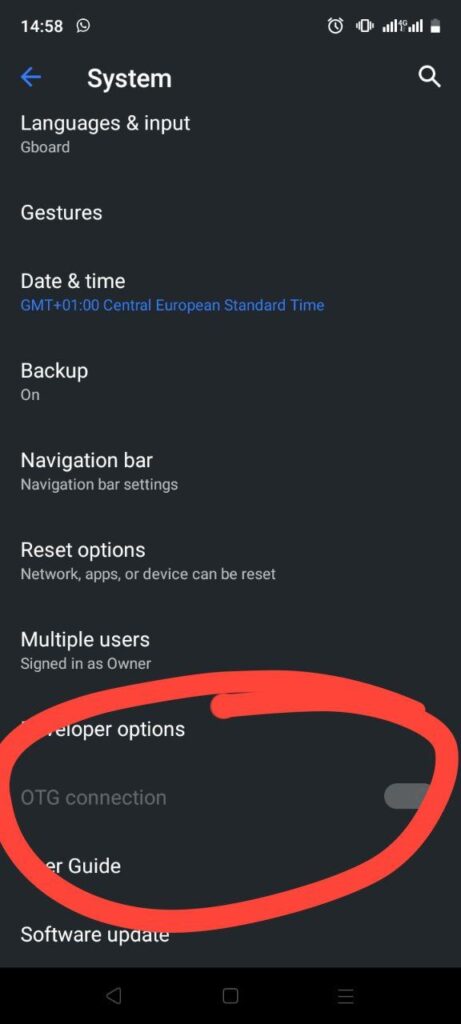
You might need to enable USB-OTG on your phone. And I should mention that some smartphones don’t have USB-OTG capabilities. But usually, on newer phones, you shouldn’t have a problem.
In order to enable USB-OTG, you typically have to simply go to Settings > System > OTG connection.
For instance, on my phone, it looks like this:
Step Five: Checking your Picoscilloscope!
Here, you’re going to need a simple male-to-male jumper cable. We’re going to plug in one side to GP26 and the other to GP22. So it will look like this:
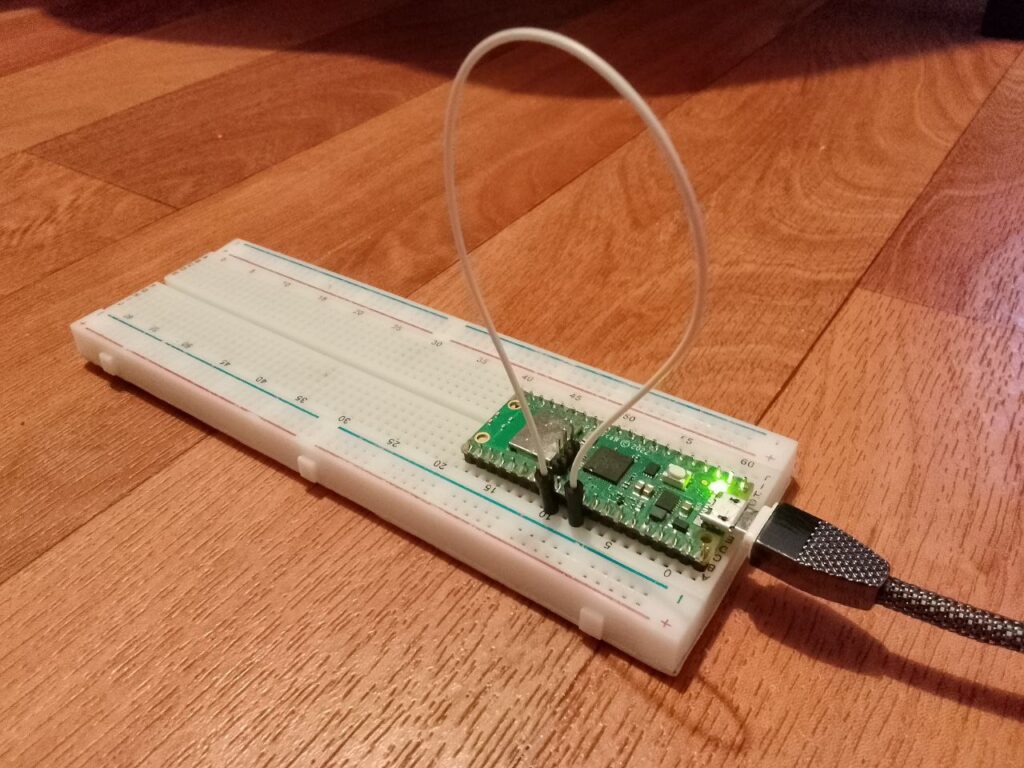
GP26 is one of the analogue-to-digital converter (ADC) pins on the Pico. In the Scoppy app, it’ll correspond to Channel 1, because it’s ADC0. GP27 corresponds to Channel 2, as it’s ADC1.
If you need a reference to the GPIO pins, you can look at this diagram:

If everything is up and running properly, you should be able to go to Scoppy and press “Run” and ensure that it’s set to Channel 1 for GP26 and Channel 2 for GP27.
You’ll see something that looks like this:
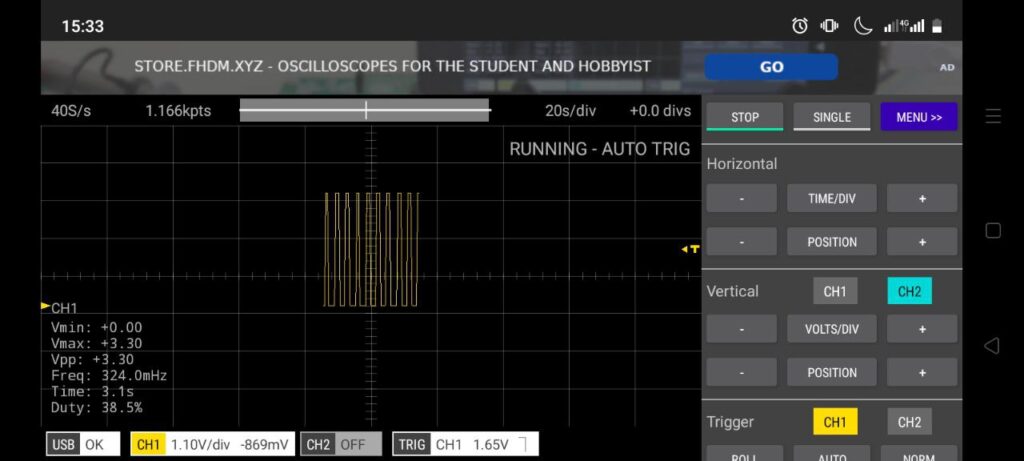
And that’s it! You’re ready to start playing around with your new oscilloscope! You can increase the Horizontal TIME/DIV if you want the peaks and valleys farther apart on the visualization. You can also increase the Vertical TIME/DIV if you want them to run higher on the app.
Conclusion
If you want more details, you can check out the Scoppy GitHub repository here.
Over at GitHub, you can also find the following specifications for both the oscilloscope and logic analyzer functions of Scoppy:
Oscilloscope specifications:
- Max. Sampling Rate: 500kS/s (shared between channels)
- Max. Analog bandwidth: 150kHz
- Time/Div: 5us – 20secs
- Memory depth depends on sampling rate. It ranges between 2kpts (shared between channels) and 20kpts in Run mode and up to 100kpts for Single shot captures.
- 2 channels
- Auto and Normal triggering
- Cursors
- X-Y Mode
- FFT
- Wireless connectivity
Logic Analyzer specifications:
- Max. Sampling Rate: 25MS/s (per channel)
- Time/Div: 50ns – 100ms
- 8 channels
If you’re looking for some other projects for your Raspberry Pi Pico, then be sure to check out our Paragon Projects series:
If you have any questions or run into any problems, feel free to comment below!
What will you do with your new Picoscilloscope?
Wo gibt es die Premiumversion?