Create a Wi-Fi Doorbell with a Raspberry Pi Pico W
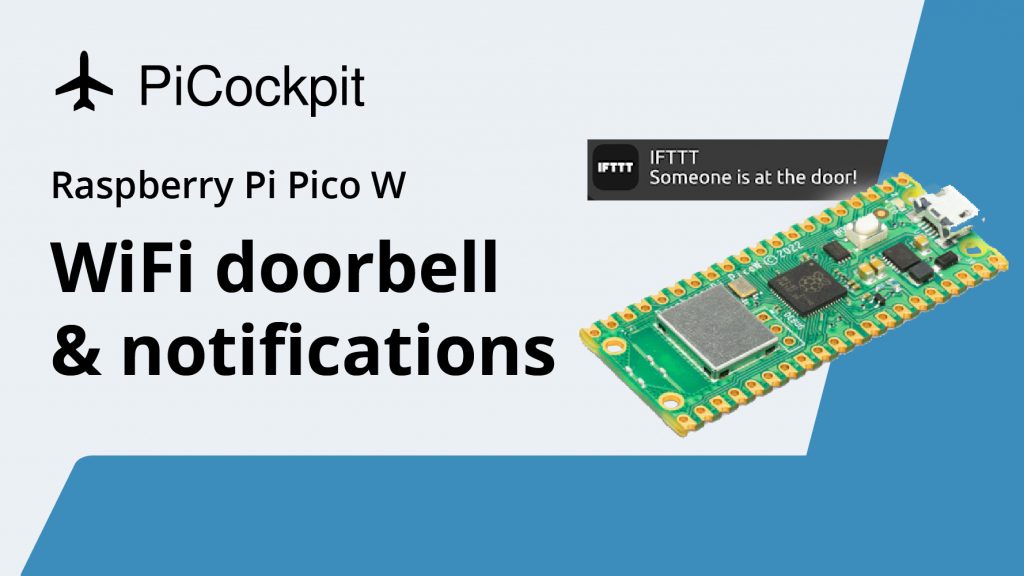
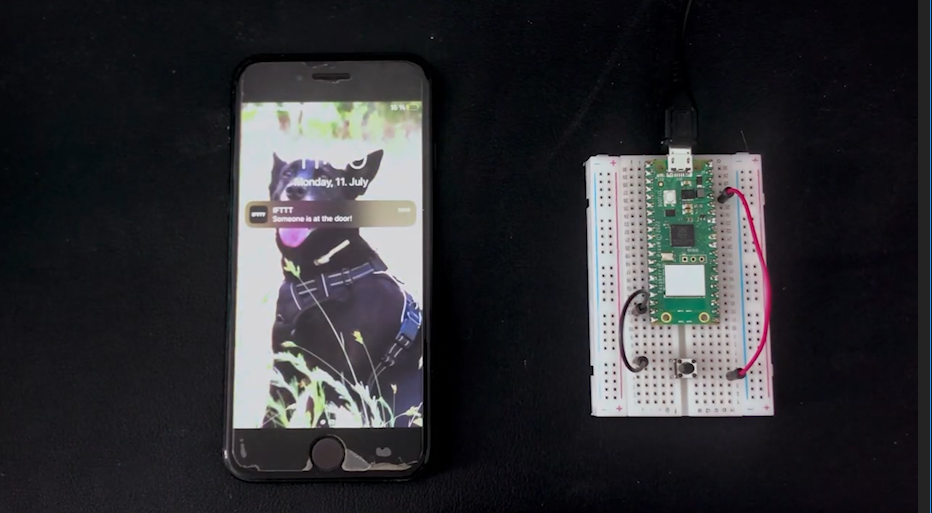
Here’s a simple but practical tutorial that helps you understand how to trigger an email to send (or a notification to appear on your phone) when a button connected to the Raspberry Pi Pico W is pressed. Thus, you can use your Pico W as a Wi-Fi doorbell!
Through this project, you will learn how to make HTTP requests to connect to the IFTTT endpoints.
Video
Parts needed
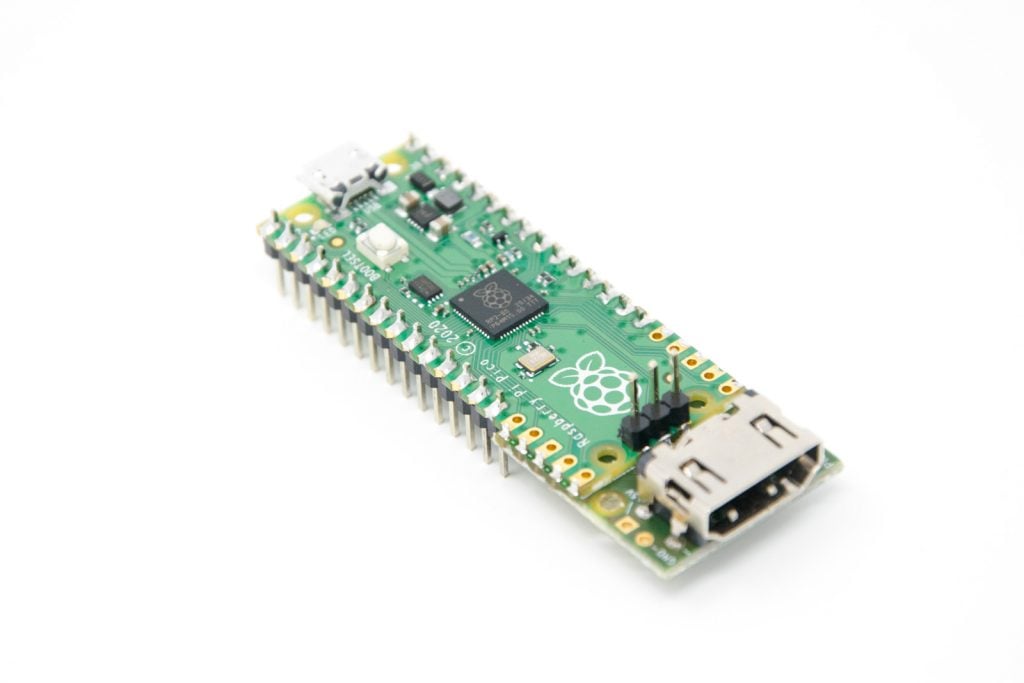
Raspberry Pi Pico W with headers

Wiring up the Raspberry Pi
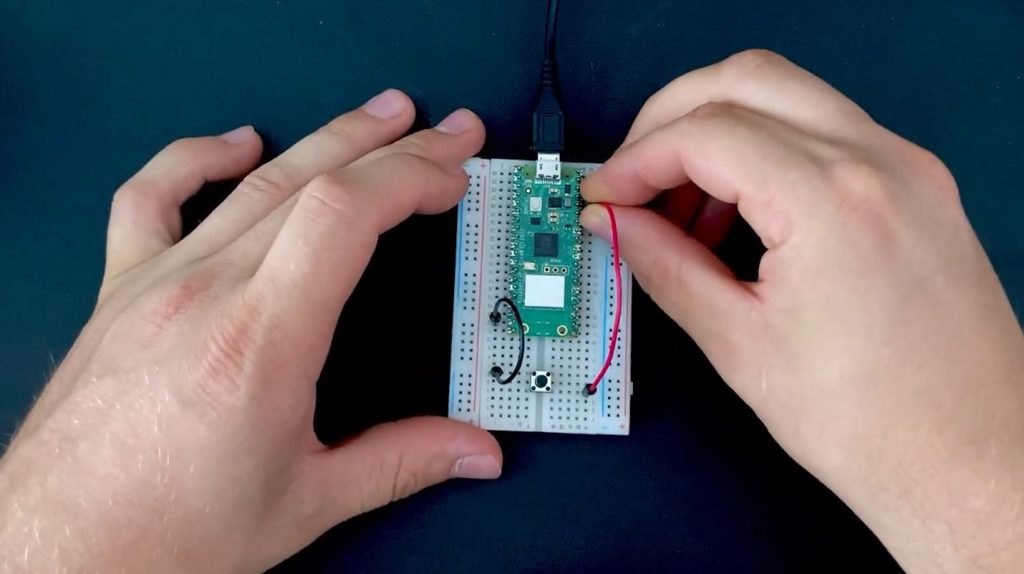
In order to connect the Raspberry Pi Pico W to the button:
- Connect one side of the button to a GPIO14
- Connect the other side of a button to a 3.3V pin
Note, there are buttons that have four prongs and buttons that have two prongs.
If you have a four-prong button, you can connect the the jumper wires diagonally to ensure they’re on opposite sides.
If you have a two-prong pin, then just connect the opposite prongs.
Setting up IFTTT to send an email

IFTTT stands for IF This, Then That.
Instead of writing your own code, we will use IFTTT to make everything easier.
Click here to go to IFTTT.com and sign up for an account.
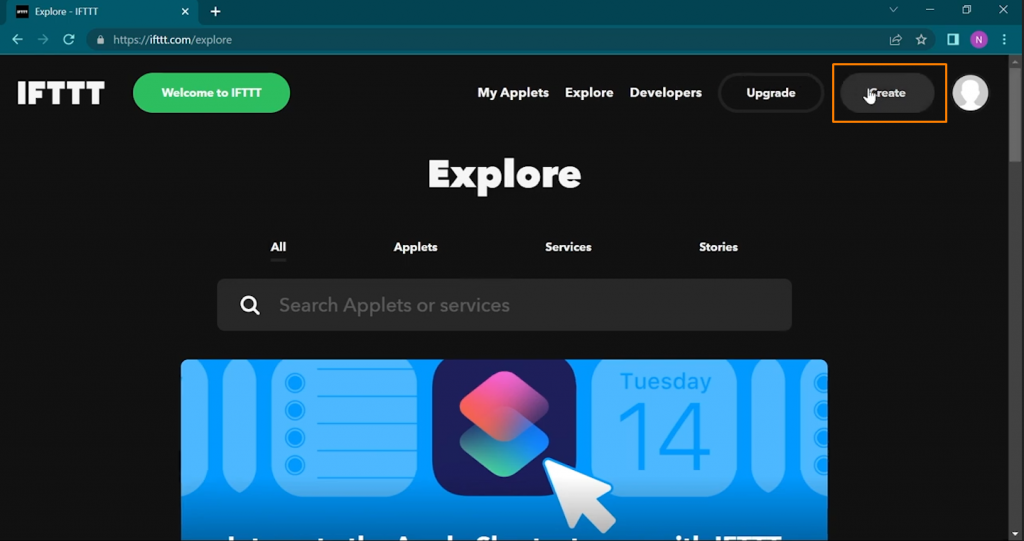
Once you have signed up, click “Create”
In the “If This” part, click “Add” to set up an event. This sets up the conditions required to trigger the “Then That” part, which is to send a notification.
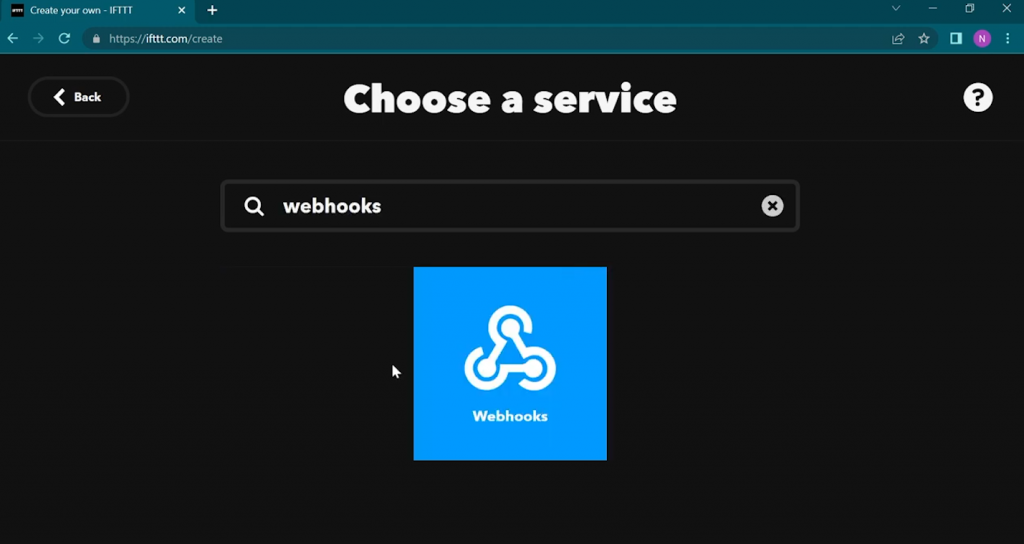
In the following screen, “Choose a service”, type “Webhooks” and click on it.
Then, click “Receive a web request”.
Type the event name pico_w_request and scroll down and “Create Trigger”.
You will return to the “If This Then That” screen. It’s time to set up your “Then That” part, so click on it.
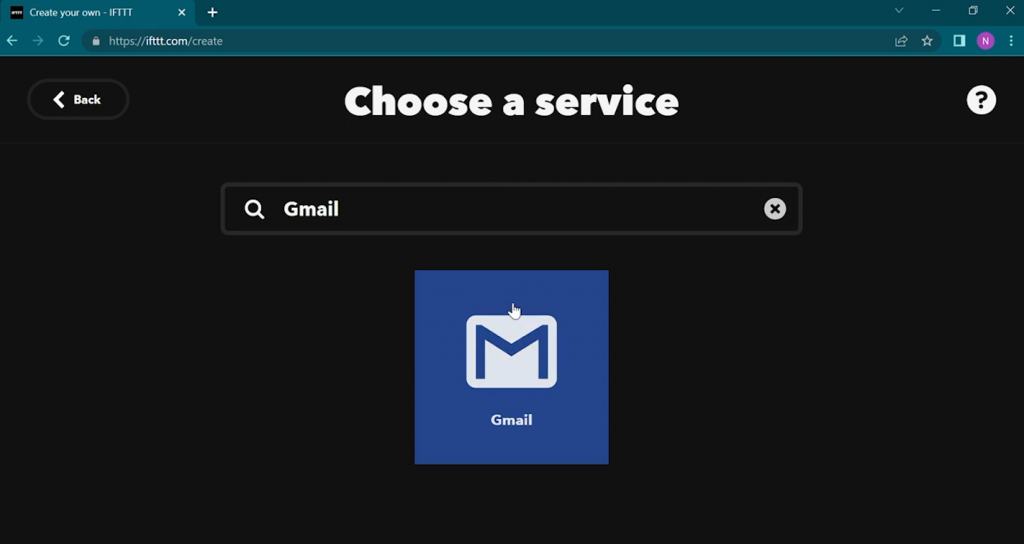
Search for Gmail and click on it. Then click “Send yourself an email”
Choose your email.
Then type a subject in. We wrote “Someone rang the doorbell!”
In the body, we more or less duplicated the subject’s message, except, we put in
{{OccurredAt}} to show what time this was triggered.
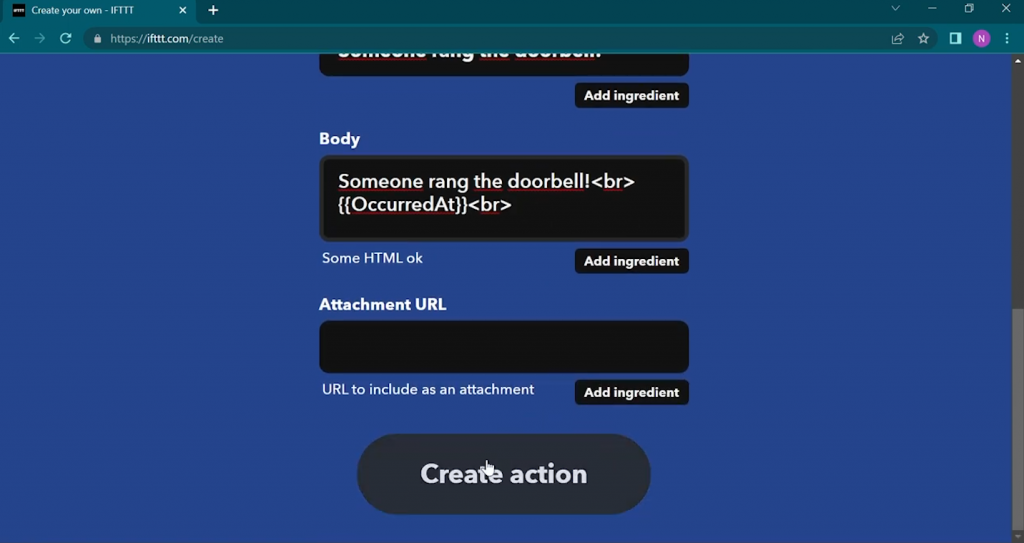
Click “Create Action“. On the next screen, click “Continue”.
Then type in a name for the Applet. We used “Pico W to Gmail”.
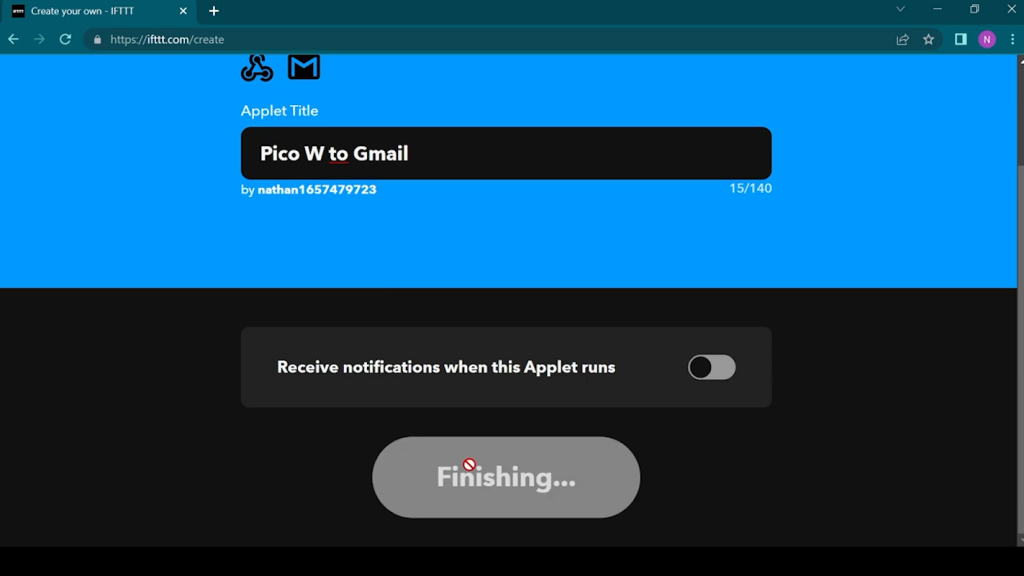
Cool! It’s time to click “Finish”.
Setting up IFTTT to send notification to phone app
You can also get IFTTT to send a notification to the app every time someone rings the doorbell.
The process is very similar to the email notification process.
For the “If This” part, choose “Webhooks” as your service and choose “Receive a web request”. Type in a name for the event. We used “door_bell_rang”.
For the “Then That” part, this is where it differs.
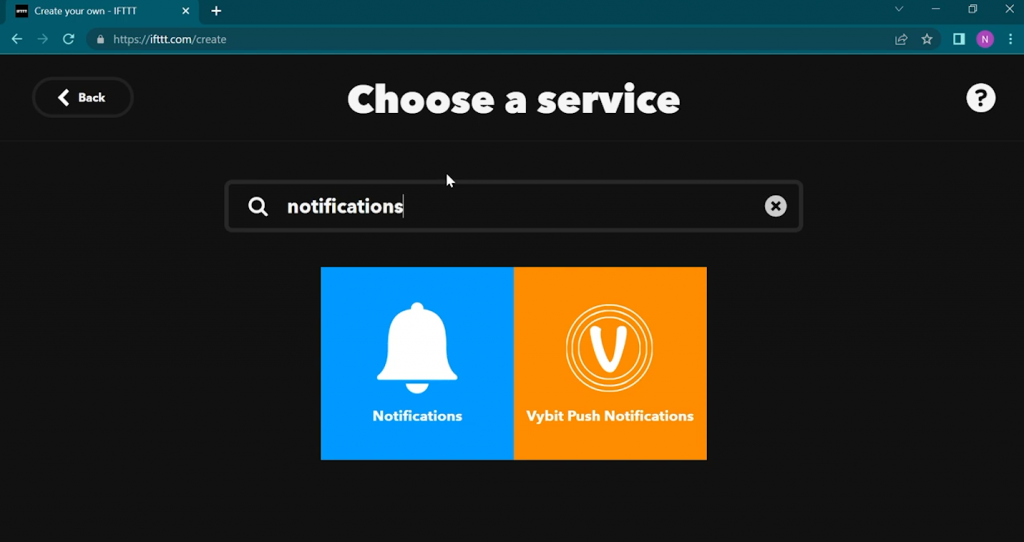
You will instead choose a “Notifications” service and then “Send a notification from the IFTTT app”.
When both your “If This” and “Then That” are filled in, click “continue”. Type in an Applet Title and click Finish.
Finding your IFTTT credentials
Now that you have the If-Then applet set up, you can proceed to finding your credentials so that the Pico W can connect to IFTTT.
In order to do this:
- Click on your profile picture on the top right
- Click on “My Services”
- Click on Webhooks
- Click on the Documentation button.
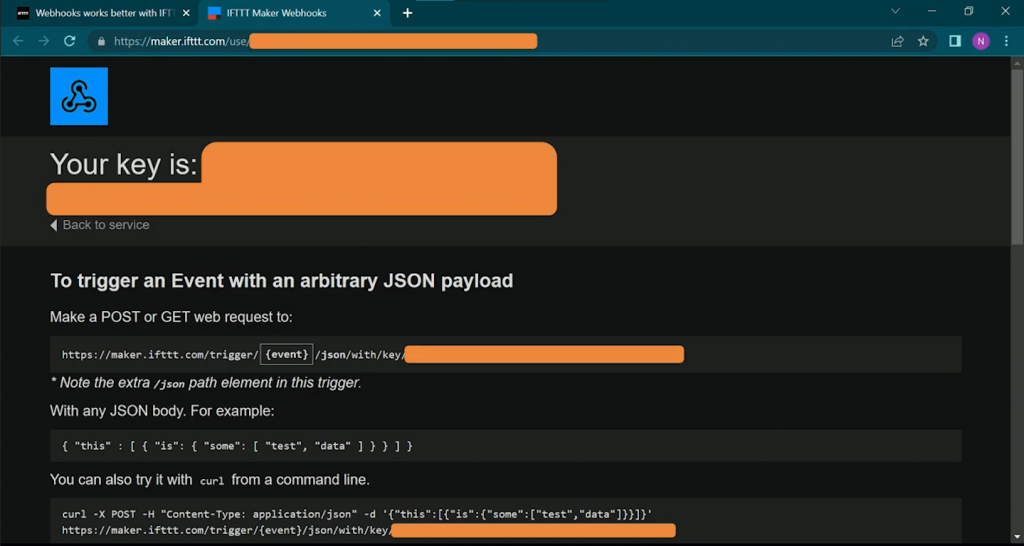
You will see some information on this page including your secret key.
Connecting Raspberry Pi Pico W to IFTTT
All our code is now on our Github repo, which you can find here.
Download the code and unzip it. Copy the code onto the Raspberry Pi Pico W.
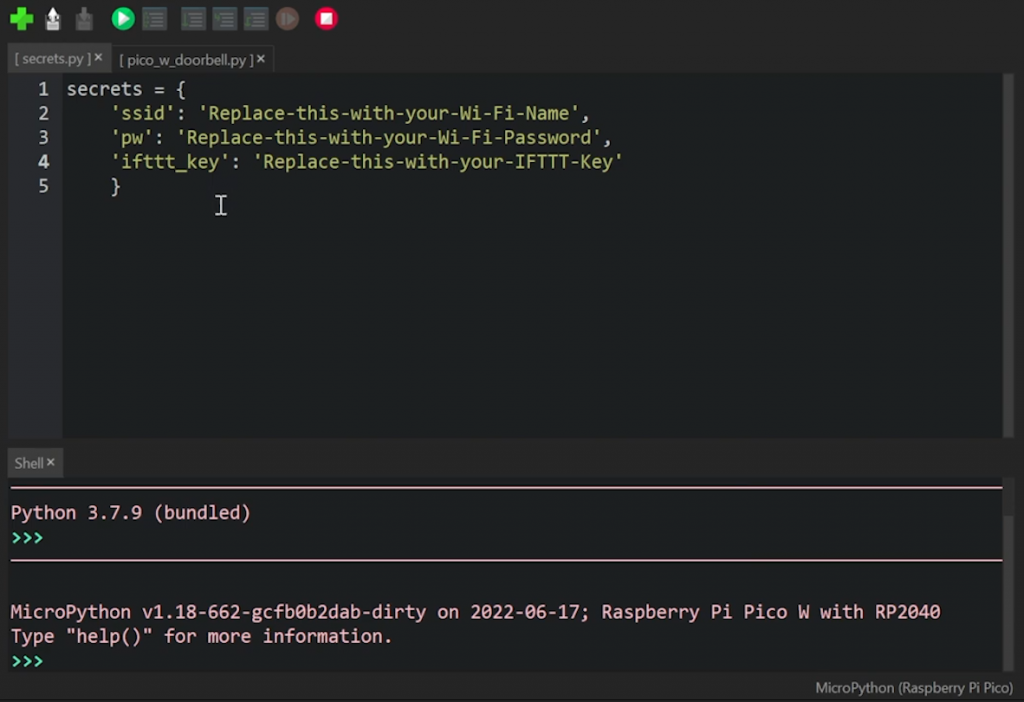
You will need to modify secrets.py.
Replace ssid with your WiFi network’s SSID, then put the password in the pw field.
Use the key you got from the previous section and paste it into the ifttt_key‘s value.
Doorbell code
The doorbell code builds upon the previous tutorials. In short, here’s what the code does:
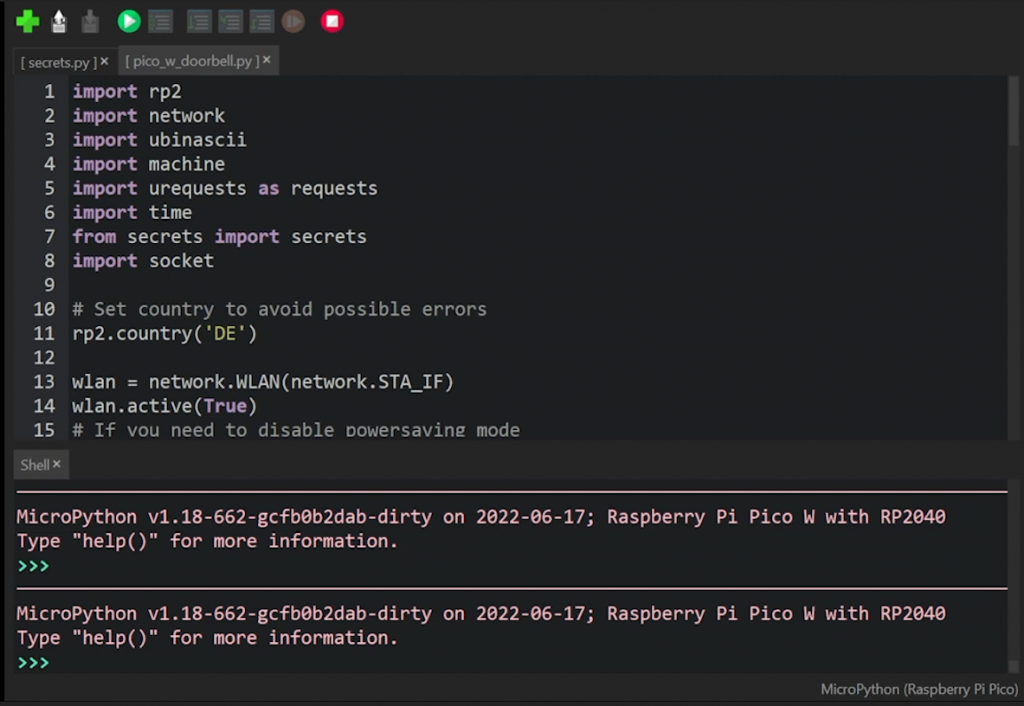
- Imports necessary packages
- Sets up WiFi and connects to network
Here’s the doorbell-specific code:
door_bell = machine.Pin(14, machine.Pin.IN, machine.Pin.PULL_DOWN)

last_state = False
current_state = False

while True:
    current_state = door_bell.value()
    if last_state == False and current_state == True:
        # Make a GET request to trigger webhook on IFTTT
        # ifttt_url = 'https://maker.ifttt.com/trigger/pico_w_request/with/key/'+secrets['ifttt'_key']
        ifttt_url = 'https://maker.ifttt.com/trigger/door_bell_rang/with/key/'+secrets['ifttt_key']
        request = requests.get(ifttt_url)
        print(request.content)
        request.close()
        time.sleep(2)
    last_state = current_state
If you remember, we connected the button to GPIO14. Hence, we want to create an object that reads the value of that GPIO.
door_bell = machine.Pin(14, machine.Pin.IN, machine.Pin.PULL_DOWN)We want IFTTT to send a notification only if the state changes from False to True. We also want to avoid IFTTT sending multiple notifications if the button has been pressed once.
Hence, these safeguards:
last_state = False
current_state = False

while True:
    current_state = door_bell.value()
    if last_state == False and current_state == True:
        # Make a GET request to trigger webhook on IFTTT
        # ifttt_url = 'https://maker.ifttt.com/trigger/pico_w_request/with/key/'+secrets['ifttt'_key']
        ifttt_url = 'https://maker.ifttt.com/trigger/door_bell_rang/with/key/'+secrets['ifttt_key']
        request = requests.get(ifttt_url)
        print(request.content)
        request.close()
        time.sleep(2)
    last_state = current_state
The issue here is that when you press the button, you might hold it for a while without even noticing it. It might seem like one press to you, but to the Pico W, it could be five. So, we want to avoid getting five notifications.
This is where the last_state and current_state variables come in.
When you press the button, current_state becomes True.
This triggers the code that connects with IFTTT.
Once that’s done, there’s a two-second pause thanks to time.sleep(2).
Then, last_state becomes True because it takes on the value of current_state.
This therefore denies any further recorded presses from triggering more notifications, as both variables are now True, because of this line:
if last_state == False and current_state == True:Once the extra presses have passed, last_state returns to False and therefore is ready to receive a True to trigger the connection to IFTTT again.
Choose your notification method
Now, this is where you choose your path.
If you have created an email send notification, you can uncomment this line:
# ifttt_url = 'https://maker.ifttt.com/trigger/pico_w_request/with/key/'+secrets['ifttt'_key']This assumes you have named your event “pico_w_request”. Or else, change that part of the URL to the name you have given it.
If you want an app notification, then you are going to need to use the next line:
ifttt_url = 'https://maker.ifttt.com/trigger/door_bell_rang/with/key/'+secrets['ifttt_key']Where do you go from here?
With this simple project, you can go far.
A button can be used to trigger many things once you are familiar with interacting with APIs.
For example, you can program the button to hit the Spotify API to stop your music or to skip a track.
Want to stay up-to-date with news and other Pico projects? Click here:
How would you set up this Pico Wi-Fi doorbell to suit your needs?
Greetings
I wanted to try a few of your RPI Pico W projects, I.e. IFTT send mail and the webpage project. I ran into problem, when I ran the IFTT example, the micropython program was looking for a ‘sockets’ module. I could not find a sockets module to enable the program to function correctly. Can you advise on correctly the problem
[…] 参考にしたサイト:Raspberry Pi Pico W Wi-Fi Doorbell tutorial (HTTP requests & IFTTT) […]
[…] Notably, this project isn’t that different from our Pico W Doorbell Tutorial that we shared back in July of last year. […]
[…] Looking to make your home smarter? A Raspberry Pi can serve as both central and peripheral devices in automating everything. For instance, you can transform it into a surveillance camera or security system, you can use it as a voice assistant, you can create a smart mirror with it, or you could use it for smart lighting. You could even use it for watering plants, monitoring the birds in your yard, or for a smart doorbell! […]