Paragon Project: Linux Handheld Terminal
In our Paragon Projects series, we highlight the coolest projects that we find. This Linux Handheld Terminal though fits into a very special genre.
It’s a tool that can help you develop even more awesome projects.
It was put together by Balazs, who then published the details over at Hackaday and made the whole thing super accessible.
With two micro-USB ports and 16 GPIO pins, the possibilities are limitless. But Balazs has it set up primarily as a Linux handheld computer or it works as a UART terminal.
This is a project that’s perfect for Linux enthusiasts, people interested in hardware, and hackers!
Hardware
First, you’ll need to get your hands on a NanoPi NEO Air, an Adafruit RA8875 board, and a Raspberry Pi Pico. These are the three main boards that power the terminal.
Balasz designed a customized printed circuit board for the project, but was kind enough to include the file on the Hackaday page. So if you’re planning on building your own, you can just download the file and send it off to a PCB maker!
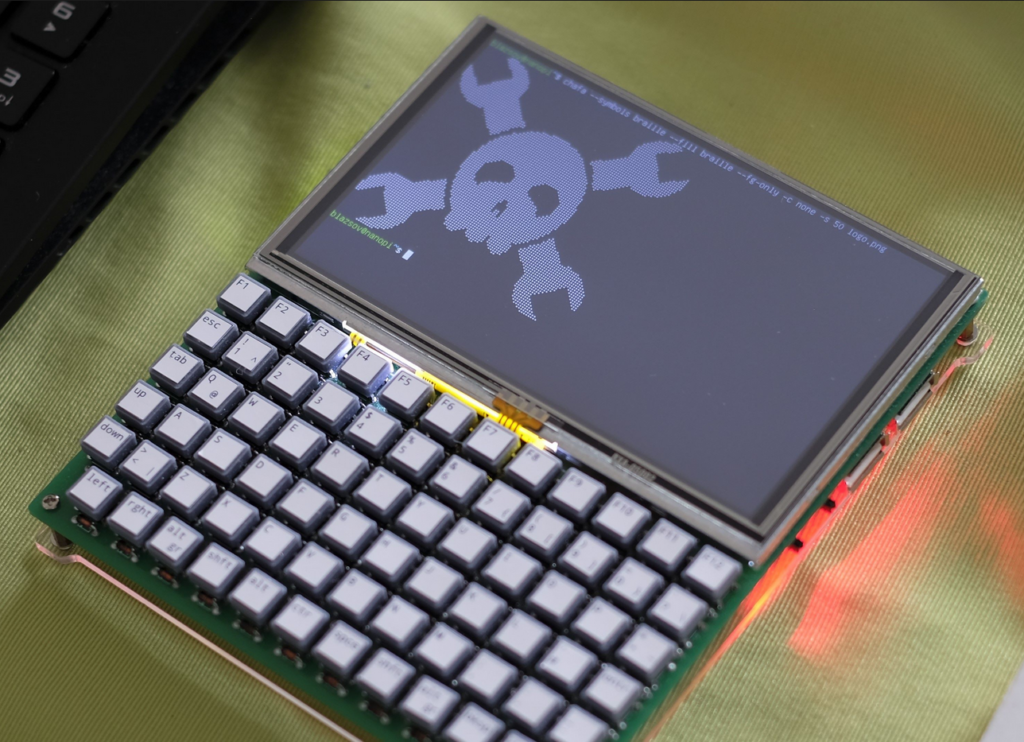
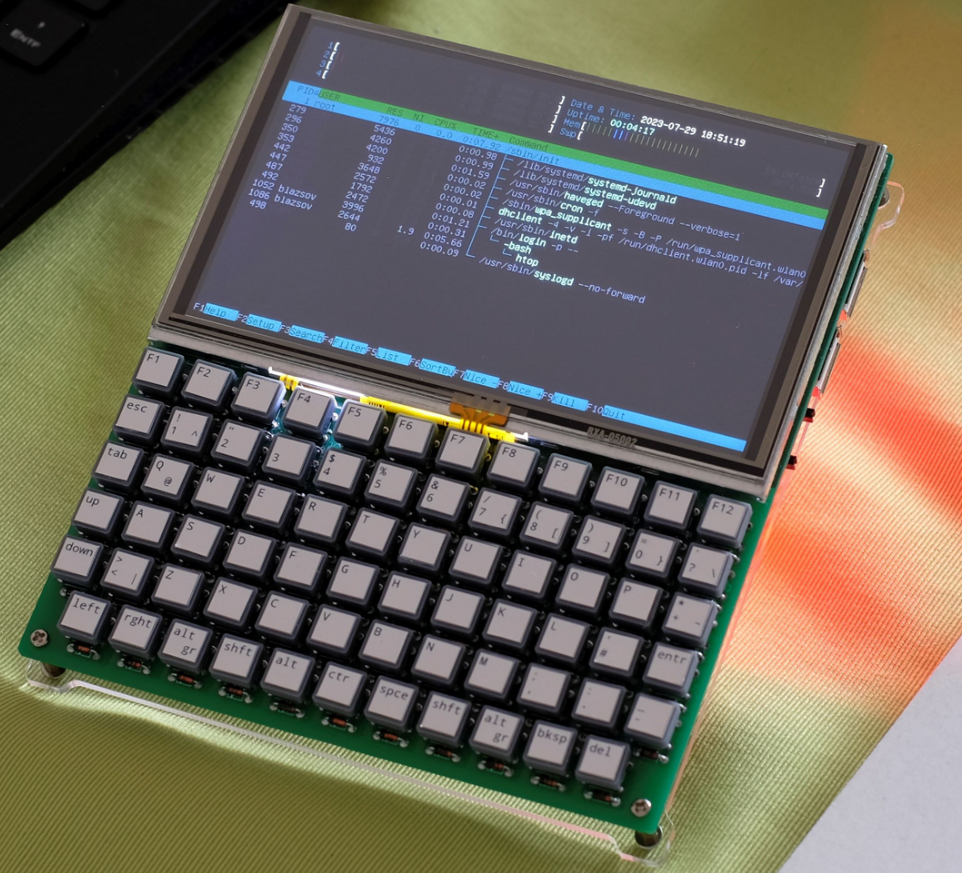
As you can see, there a few other key parts that you’ll need. The screen is an Adafruit 800×480 TFT display. And the keyboard is mostly 3D-printed. Balasz has also included the 3D printer files on the project page.
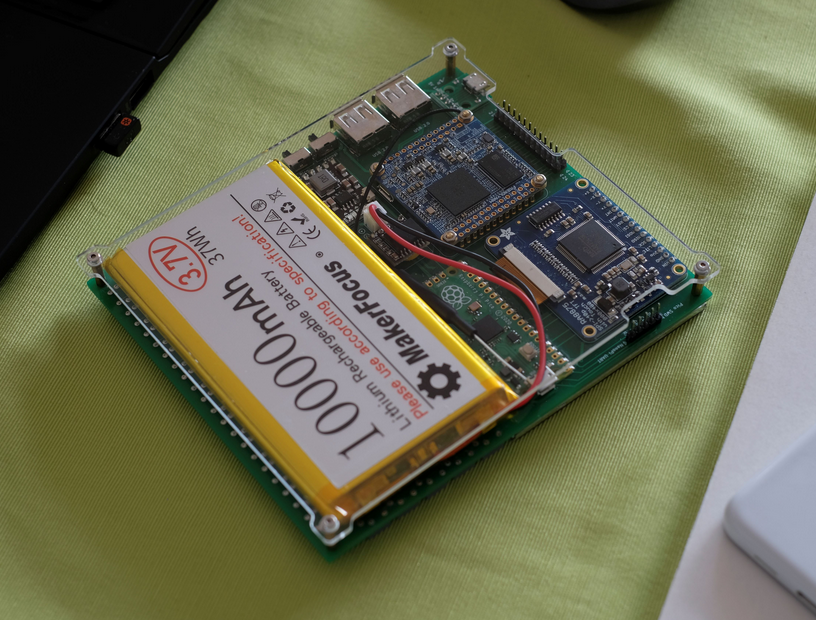
With that rechargeable 10000mAh battery that runs at 3.7V lasts roughly 15 hours. And Balazs has set it up so you can recharge it via micro USB.
This terminal screams for some customization though, so if you end up putting one together, please send photos to us and we’ll be sure to share them here!
Software
Balazs has not only shared all the KiCad and Gerber files to get the hardware, but also the firmware and source code for the Pico.
Additionally, the project includes very detailed instructions on how to get the Linux Handheld Terminal to run Debian or Ubuntu.
In order to do that, you’ll need to compile OpenOCD and to get VSCode to work. Luckily, Balasz has included exactly the code you’ll need:
#Install libhidapi
apt install libhidapi-dev

#Add support for cmsis-dap before you compile OpenOCD
./configure --enable-cmsis-dap

#Use example of OpenOCD
sudo openocd -f interface/cmsis-dap.cfg -c "adapter speed 5000" -f target/rp2040.cfg -c "program blink.elf verify reset exit"

#Get VSCode running
usermod -aG plugdev user
add openocd udev rules (just google it)
Once you’ve got your terminal up and running, you’ll be set for everything from basic text editing and programming to networking and security.
Conclusion
So, special thanks to Balazs for creating and sharing this really cool project.
Head over to the Hackaday page for more details.
We’ve featured a couple of similar projects that give you a terminal:
And, if you’re curious about other projects for your Raspberry Pi, be sure to check out more Paragon Projects here.
What would you do with this handheld terminal? I’d like to see if I could set up Kali Linux on it and do some PenTesting!