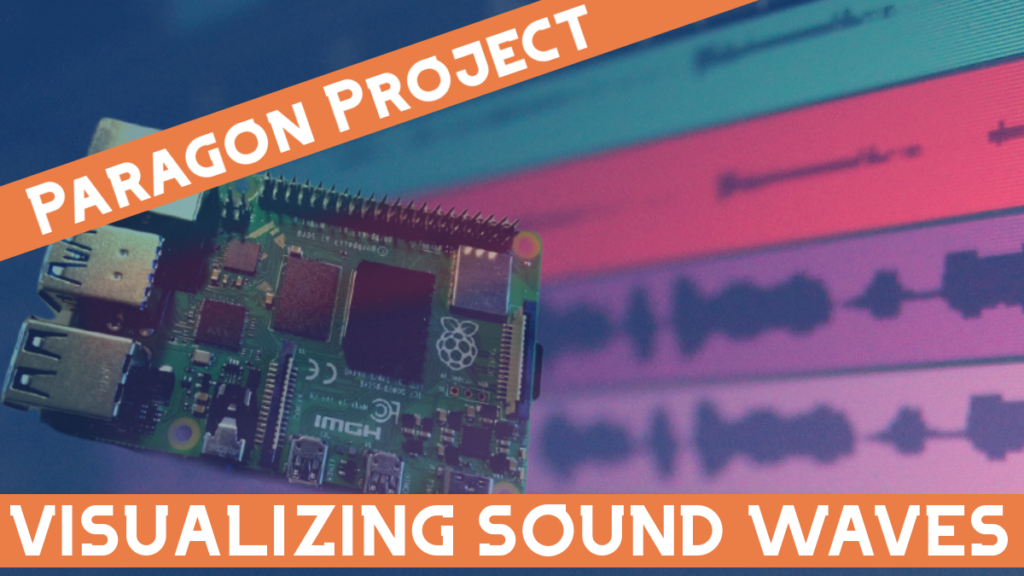
Paragon Project: Visualizing Sound Waves

We haven’t featured many artistic projects in our Paragon Projects series. However, artists are some of the most frequent (and, obviously, most creative) users of microprocessors around. And so, today, we’re correcting this oversight by highlighting this very cool project about visualizing sound waves.
It’s called, simply, “Waves” and its developers are Bomani Oseni McClendon, Eunice Lee, and Matthew Zhang.
It is a very straightforward little project.
First, you select a button that corresponds to a question. You speak into a microphone while keeping the button pressed. You then receive a little piece of paper with the audio waveform.
Simultaneously, this audio waveform appears on a webpage, where it joins other responses, creating a sound wave archive.

Hardware
Aside from a Raspberry Pi 3 and an Adafruit Thermal Printer, this project obviously requires a microphone.
Additionally, for the setup, Bomani, Eunice, and Matthew used a very straightforward build with some buttons set up on a little breadboard. You can see the wiring in the picture below.

They use four buttons for the four questions, but of course, you can play around with the number of questions and buttons for your build.
They went with a USB microphone from Blue, but you could also be creative with how you want to record the audio.
Aside from that, it’ll be useful to get a container for your push buttons to look stylish. They recommend a Kleenex Box. You can then paint it black to get it looking like their version.
And that’s it for the hardware components.
Software
When it comes to software, this project relies exclusively on Python and HTML.
They’ve got all the code uploaded to the GitHub repository, but it’s very straightforward.
They have a script to recognize that it’s recording and then it saves that recording and uses the matplotlib library to turn it into a waveform image.
Then it prints it through the thermal printer and also sends the waveform to a Flask server.

Conclusion
Once you’ve got your project environment up and running, you’re ready to make art with your friends!
If you want more details, you should go check out the GitHub page here. You can also check out the post on the Raspberry Pi website here.
I’d also be very curious about getting this build running on a Pico. If you want to see more about audio running on the Pico W, we have an article on Everything about Sound Output Using the Pico W here.
And be sure to check out more Paragon Projects here.
Once you’ve got yours, which questions are you going to record?
I’d do “Describe a moment when you felt truly alive.”
🙂