RaspiGPT – Build an AI assistant
With the meteoric rise of language models such as GPT-4 we wanted to bring the power of AI to PiCockpit. So our developer Chloe designed the new RaspiGPT Tool for PiCockpit, which is a GPT based AI assistant.
It’s purpose is to answer Rasperry Pi related questions right here in PiCockpit. Of course if you need to know something else, it will gladly answer your question but with a quick reminder that it is meant for Raspberry Pi and technology related topics.
We were amazed how easy it is to set up such an AI assistant so we want to show you how to create a similar application yourself!
1 How does the AI assistant work?
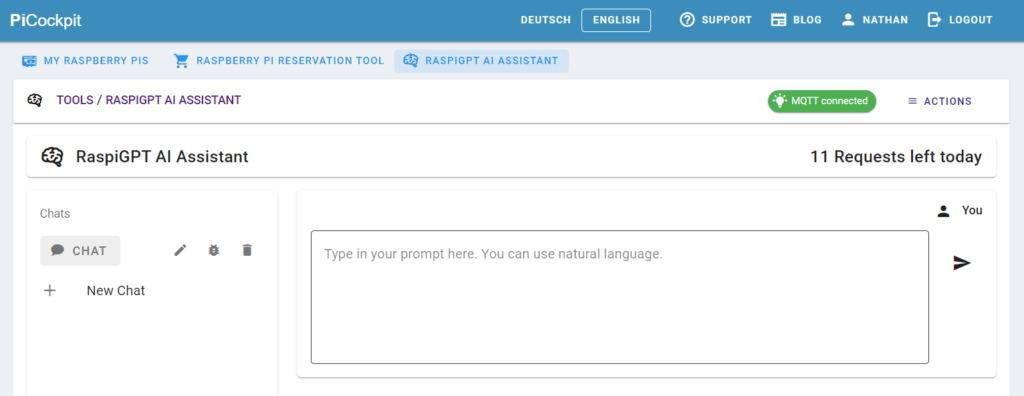
The app is quite basic but it contains just about all you need. There is a text field to enter prompts and buttons to rename, report, delete or to create chats.
Note You need an OpenAI API Key to build your own version of this app.
2 Install dependencies
We are going to be running the demo on a Raspberry Pi 4 but any other system that runs node.js will work exactly the same. Installing the dependencies for our AI assistant is pretty straight forward.
First we need to clone the Repository from GitHub.
git clone https://github.com/pi3g/GPT-AI-Assistant.gitNow we need to install node.js, npm and yarn. Go to the node.js downlad page and download the required version for your system.
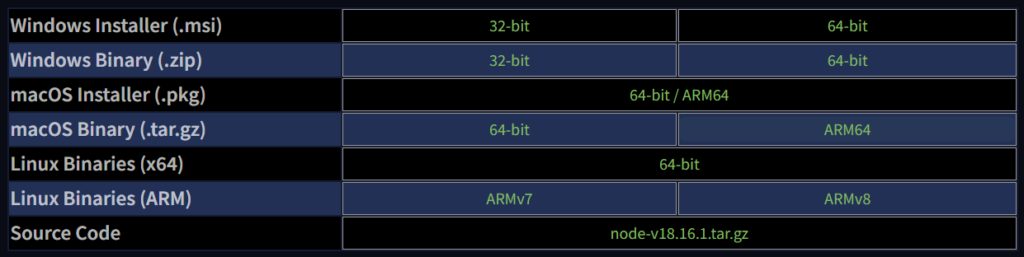
Since I am running the example on a Raspberry Pi 4 I need to download the ARMv8 version.
To extract and install node.js run
tar -xavf node-v18.16.1-linux-arm64.tar.xz
cd node-v18.16.1-linux-arm64/
sudo cp -R * /usr/local/
Of course the filename might differ for you depending on which version you downloaded.
Use these commands to check if node.js and npm were installed correctly.
node -v
npm -v
These should output the correct version or an error if something went wrong during the installation.
Note Further instructions can also be found in the README file.
Now we can install yarn using the following command.
npm install -g yarnWith this, all the dependencies are installed and we can proceed with building the app.
3 Build the app
Let’s see how to build the AI assistant.
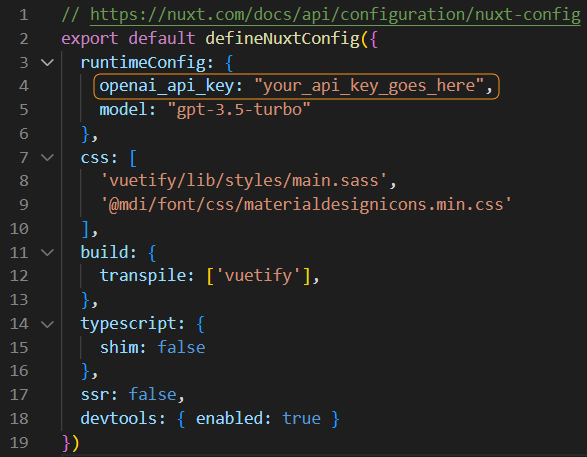
Navigate to the API Keys page of your OpenAI account and create a new API Key.
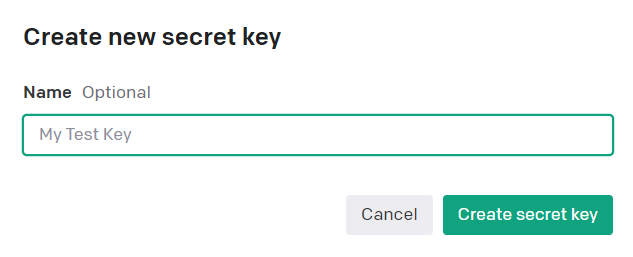
You can name it something like “RaspiGPT-Key”. Make sure to copy the API Key to your clipboard.
This needs to be pasted into line for of the “nuxt.config.ts” file.
4 Run the AI assistant
At this point all thats left to do is to build and run the AI assistant. Hence we need to run the following commands (make sure you are inside the “gpt-demo” directory).
yarn install
yarn build
yarn preview
The last command will host the AI assistant locally so to access the App open “http://localhost:3000” in your browser. A cool feature is that the answer is streamed as it is being generated, so you can read along.
Watch this video (coming soon) to see the AI assistant in action.