Control Your Raspberry Pi’s Fan with PiCockpit
In this article, I want to show you the best way to keep your Raspberry Pi cool with PiCockpit. Our apps enable you to not only monitor how hot your Raspberry Pi is getting, but also to take control of your Raspberry Pi’s fan.
Keeping any computer cool is important for its health and longevity and a Raspberry Pi is no exception. If the System-on-a-Chip (SoC) overheats, the system can throttle, which causes it to slow down or to stop running entirely.
Passive coolers, like heatsinks, can go a long way in preventing the Raspberry Pi from overheating. However, active cooling, like a fan, is a guarantee that you can keep the SoC within a healthy temperature range.
With PiCockpit, you’re able to easily monitor the temperature of your SoC as well as control the threshold as to when the fan turns on.
Monitoring your Raspberry Pi
First, if you don’t have PiCockpit yet, then be sure to make an account and install it on your Raspberry Pi.
Once you’ve done that, then all you need to do is sign in and go to the “My Raspberry Pis” page.
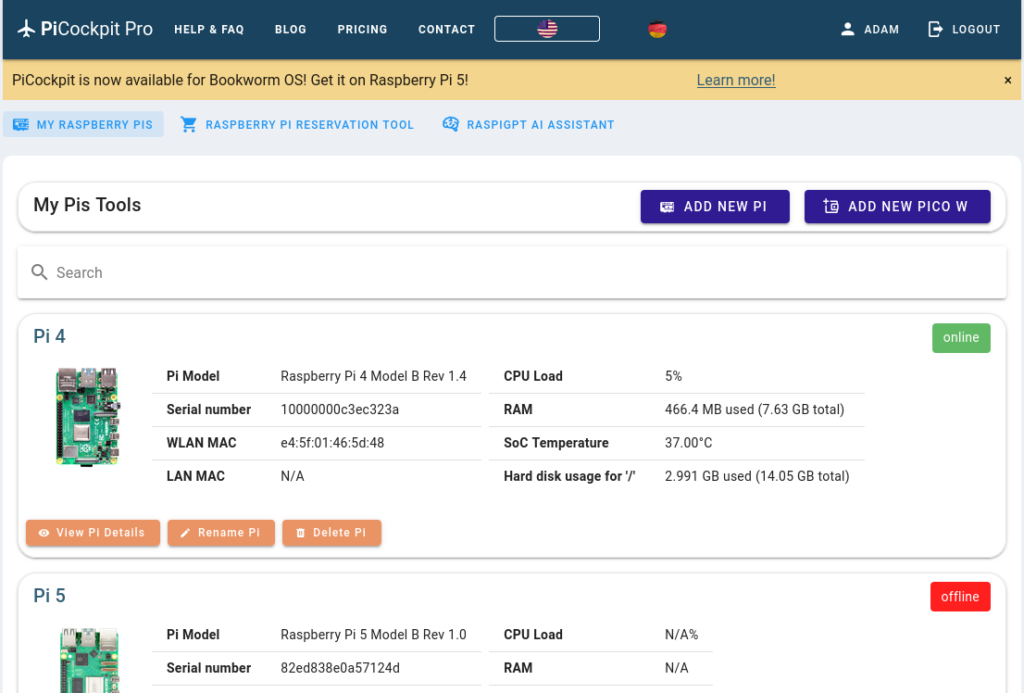
Once you’ve determined which Raspberry Pi you want to monitor, you can click on “View Pi Details” and then go to our PiDoctor App. PiDoctor is the app dedicated to monitoring your Raspberry Pi’s vital signs. It allows you to run quick tests in order to make sure that everything is in working order.
If you scroll down, you’ll see the System Module. This shows you all the information about the essentials of the Raspberry Pi system.
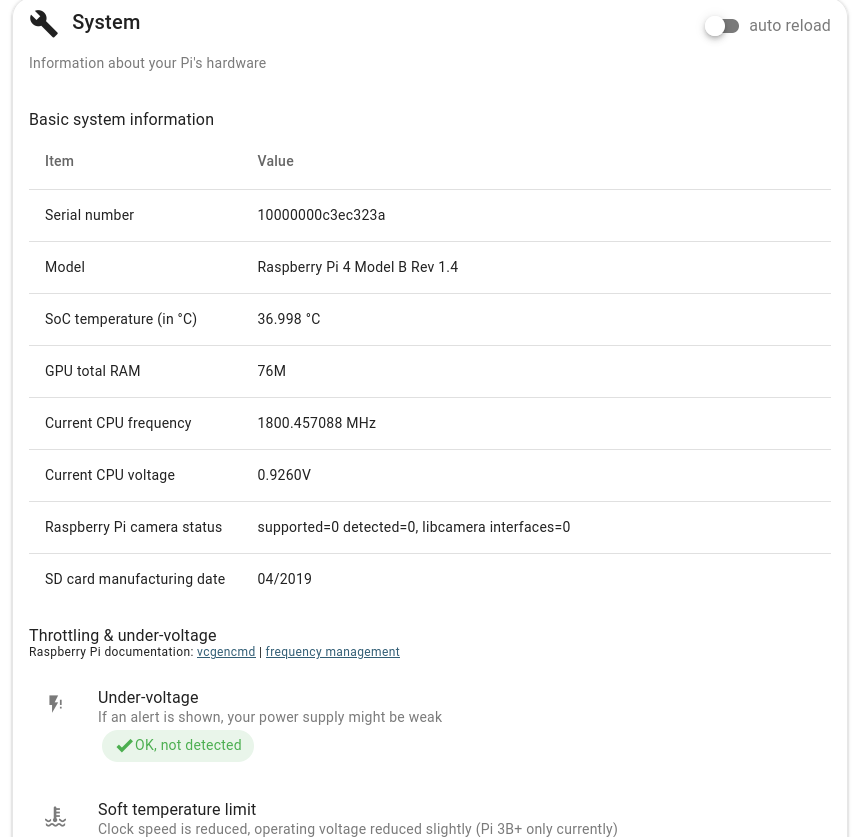
The basic system information gives you the SoC temperature (in Celsius). This tells you how hot your Raspberry Pi is running. If you notice the temperature going over 60°, then you really should consider a different cooling mechanism.
Controlling your Raspberry Pi’s Fan
When it comes to your fan, then one of the ways to control it is through our Settings App.
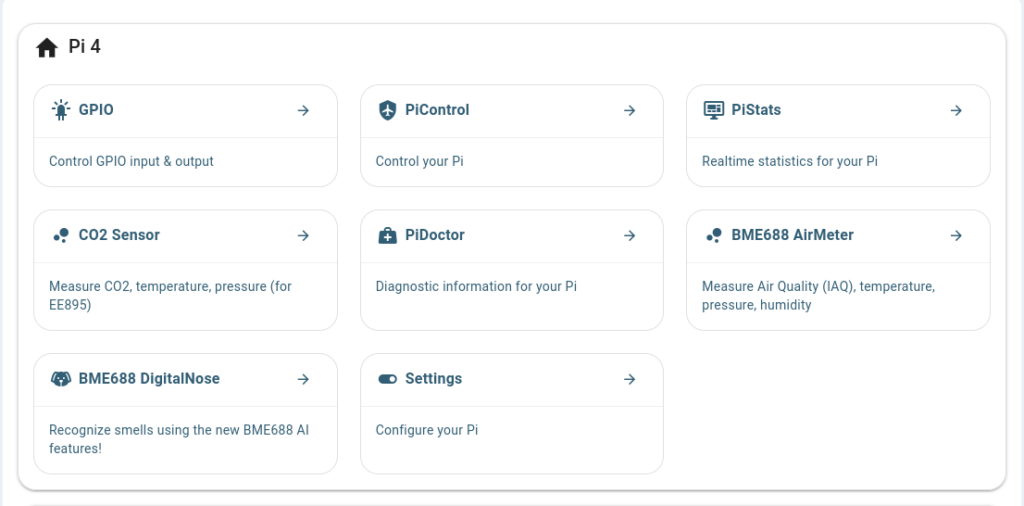
If you go to Settings, you’ll see the following page:
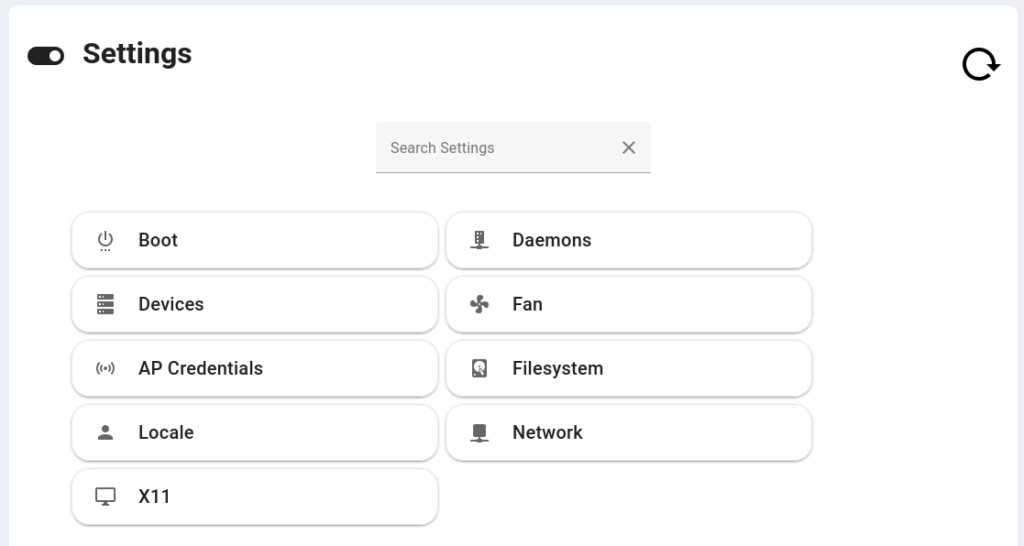
From here, as you can see, you have advanced controls over your Raspberry Pi’s configuration. You can configure everything from your Raspberry Pi’s AP Credentials, to the File System, to the Fan.
Click on fan and then you’ll see the following:
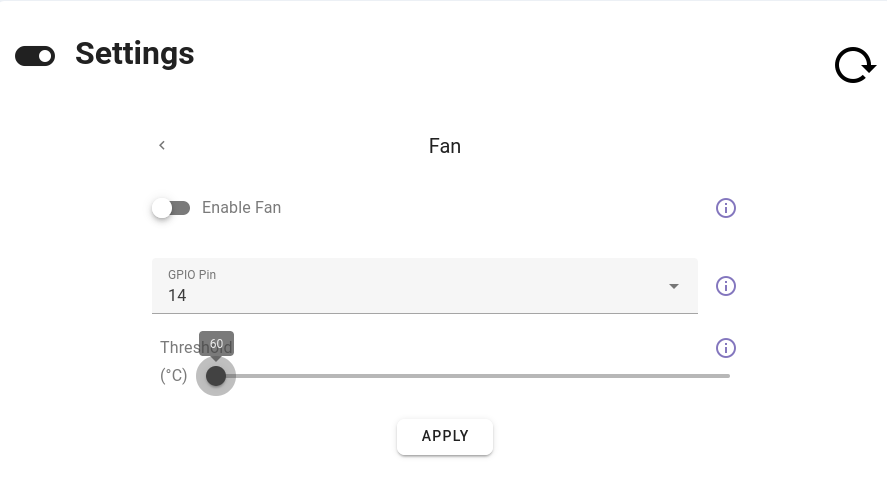
As you can see, you can control whether or not the fan is enabled and then threshold at which it will turn on. If you want it to turn on at anywhere between 60° and 120° Celsius, then you simply move the threshold point.
It’s important to make sure that you’ve linked up the correct GPIO Pin, so be sure to double-check.
But once you’ve configured everything, then PiCockpit takes care of the rest. Your Raspberry Pi fan will now turn on and off accordingly.
Conclusion
So that’s a very simple way to control your Raspberry Pi’s fan.
If you have any questions, please do not hesitate to contact us or simply to leave a comment below. We’re very happy to help!
Furthermore, if you’re interested in seeing what else you can accomplish with our app suite, you can click here to see a collection of how PiCockpit can transform your Raspberry Pi fleet.