Exploring MicroLua: Lua Programming for RP2040
Have you ever wanted to delve into the world of Lua programming and explore the capabilities of the RP2040 microcontroller? Look no further – MicroLua offers an exciting opportunity to do just that!
In this article, I want to dive into what MicroLua is, how it works, and why I think it’s a super valuable tool for developers.
I want to send a huge shout-out to Remy Blank for developing MicroLua and sharing it with the world. Remy’s put it out with an MIT license (as Lua is itself), making MicroLua available for everyone.
I’m really excited to use it in some future projects.
What is MicroLua? What is an RP2040?
So, MicroLua uses the Lua implementation and packages it.
Lua is a dynamically-typed, multi-paradigm language. And it is, of course, one of the fastest scripting languages around. It’s also super small (the source code and documentation together take up 1.3 MB!)
So it’s fast, it’s small, and it’s ideal when you want to embed something within larger applications.
Lua has also got 21 highlighted keywords and a pretty straightforward syntax, so it’s relatively simple to learn.
But, if you aren’t familiar, the immediate thing that everyone complains about with Lua is that it is a 1-based indexed language. And honestly, it gets me every single time.
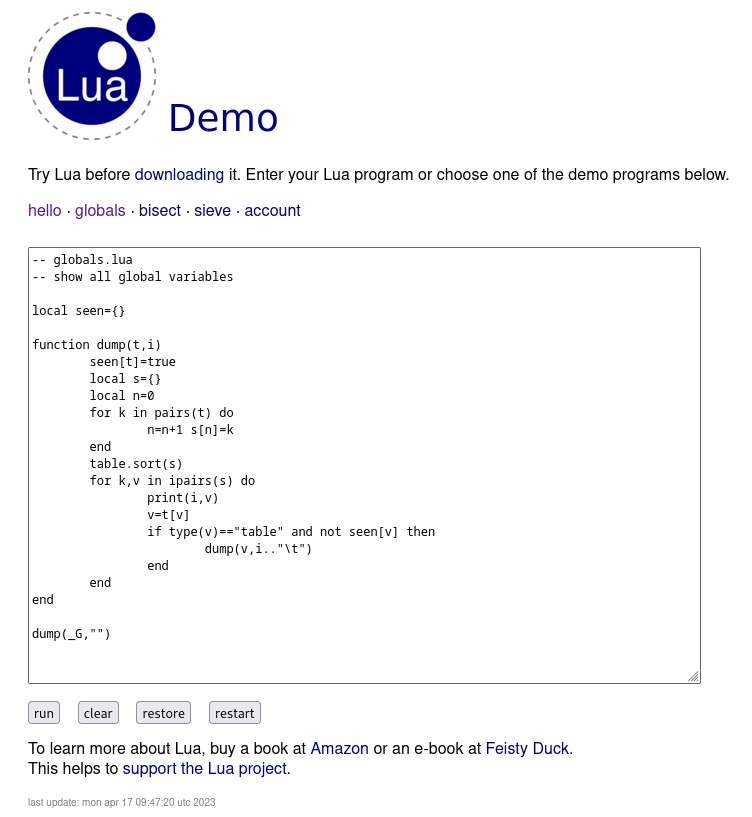
Here’s an example of Lua, so you can see it:
Remy has designed MicroLua to program specifically for the RP2040 microcontroller.
The RP2040 microcontroller is a Raspberry Pi in-house chip that drives a Pico. However, Raspberry Pi also sells the RP2040 chip separately. So, you can find the RP2040 in other boards as well, such as an Adafruit Feather.
MicroLua, then, packages Lua for these boards. In this context, MicroLua integrates the latest Lua interpreter (version 5.4) with interfaces for the Pico Software Development Kit and includes a cooperative threading library.
By putting the Lua interpreter together with the Pico interfaces, MicroLua lets you access the GPIO pins and timers. And I really love that Remy has included a cooperative threading library. So, if you’ve got a Pico, you can play around with both cores.
Additionally, MicroLua has Fennel support, so if you have a love of Lisp (like me), you can still take advantage of MicroLua. Want to use a Lisp-like language with your Raspberry Pi Pico? Remy just made that ridiculously easy.
Getting Started with MicroLua
To set up MicroLua, you’re going to have to clone the repository, initialize submodules, and follow the provided build instructions.
The GitHub has the following code that’ll get a test suite up and running:
# Configure the location of the Pico SDK. Adjust for your setup.
$ export PICO_SDK_PATH="${HOME}/pico-sdk"

# Clone the repository and initialize submodules.
$ git clone https://github.com/MicroLua/MicroLua.git
$ cd MicroLua
$ git submodule update --init

# Connect a Picoprobe to the target, on the UART and optionally on the debug
# port. Then view the Picoprobe's UART connection in a separate terminal.
# The "term" script uses socat.
$ tools/term /dev/ttyACM0

# Build the unit tests.
$ cmake -s . -B build -DPICO_BOARD=pico
$ make -j9 -C build/lib

# Start the target in BOOTSEL mode and flash it with picotool.
$ picotool load -v -x build/lib/mlua_tests.elf

# Alternatively, start the target in BOOTSEL mode and copy to its boot drive.
$ cp build/lib/mlua_tests.uf2 /mnt/RPI-RP2/
Once you’ve got that, you’re good to go.
I should mention that Remy has identified a few issues with MicroLua’s performance. First and foremost, the fact that the event dispatch latency is relatively slow and needs some improvement.
Furthermore, if you go to the GitHub page, Remy’s included a roadmap for things to add, like more bindings for the Pico SDK, a filesystem, and multi-chip communication. And Remy wants to improve threading performance, cross-core communication, and tune the garbage collector.
So this is a project that’s very much alive and worth keep your eyes on.
I wrote that little program in the video in MicroPython – but next time I’m using Fennel and MicroLua!
Conclusion
So now that you’ve got it, go start on your next Pico project. The world is your oyster!
The first thing I thought of when I saw this project was Lua RTOS for an ESP32. So if you’re looking at your options for Lua with microcontrollers more generally, be sure to go check that project out as well.
If you need some inspiration though, you can check out some Pico projects we’ve featured:
- Everything about Sound Output Using the Pico W
- Everything about Bluetooth on the Raspberry Pi Pico W
- A Raspberry Pi Pico W Security Alarm
- A Raspberry Pi Pico Keyboard
- A Raspberry Pi Pico Clock
- A Raspberry Pi Pico Air Quality Monitor
Also, if you’ve got a Pico W, don’t forget to connect it to PiCockpit, that way you can connect to it from anywhere in the world via the internet.
What projects are you going to create with MicroLua? I’m really looking forward to using Fennel for my next Pico project!